
Adding a new field consists of two steps. The first is specifying the type of field we want to use, which can vary based on the type of data the field will be holding. The second is configuring the field based on the type of field chosen. We will see this in more detail as we add various field types. Let's see how we can add the Published Date, Author, Teaser, Content, and Featured Image fields to our page:
- Published Date
- Click on the Add field button.
- Choose Date from the Add a new field drop-down.
- Enter Published in the Label textbox:
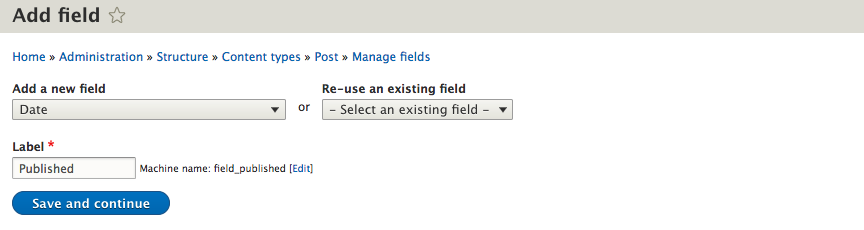
-
- Click on the Save and continue button.
- Choose Date only from the Date type drop-down.
- Leave the default value of 1 for the Allowed number of values field:
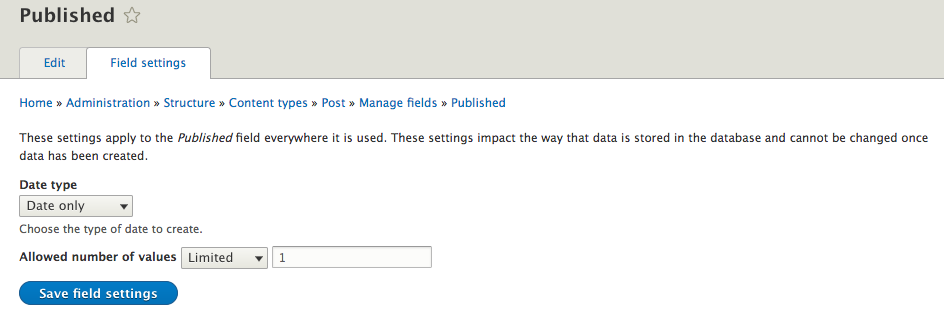
-
- Click on the Save field settings button.
- Choose Current date from the Default date drop-down.
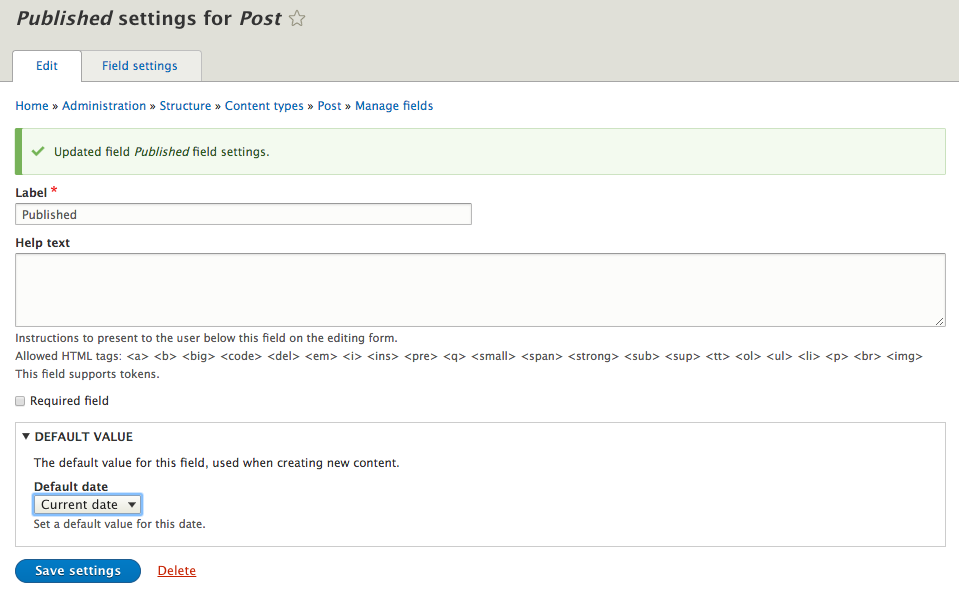
-
- Click on the Save settings button.
We have now created our first field and can repeat the steps to add the remaining fields. Ensure that we pay close attention to the configuration settings when adding the remaining fields, as they will vary based on the field type.