
We can begin adding new fields by clicking on the Add field button. For the purpose of demonstration, we will add a field to capture the Full name of the user.
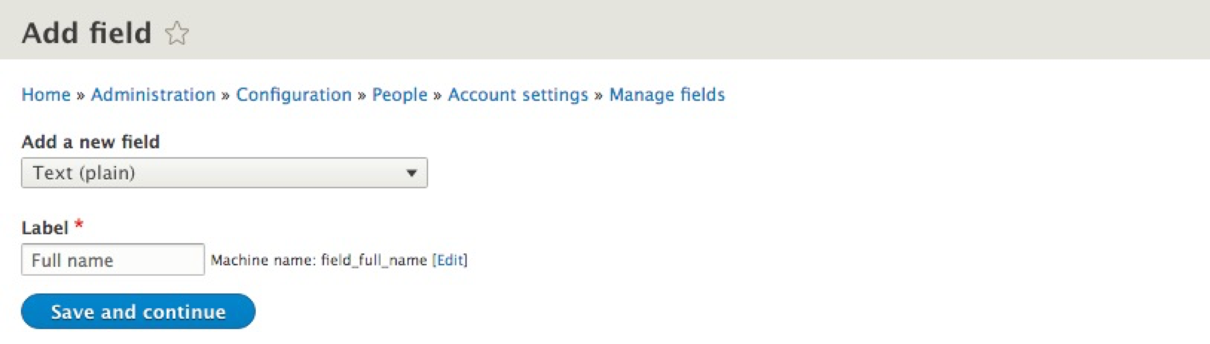
As shown in the preceding screenshot, we have selected the Text (plain) field from the Add a new field drop-down, followed by supplying a Label for our field called Full name.
Once we have chosen our field and provided a label, we can click on the Save and continue button.
From the Field settings page, we can choose a Maximum length of characters that our field will hold as well as the Allowed number of values. The Allowed number of values provides us with the ability to display the field one or multiple times for data entry.
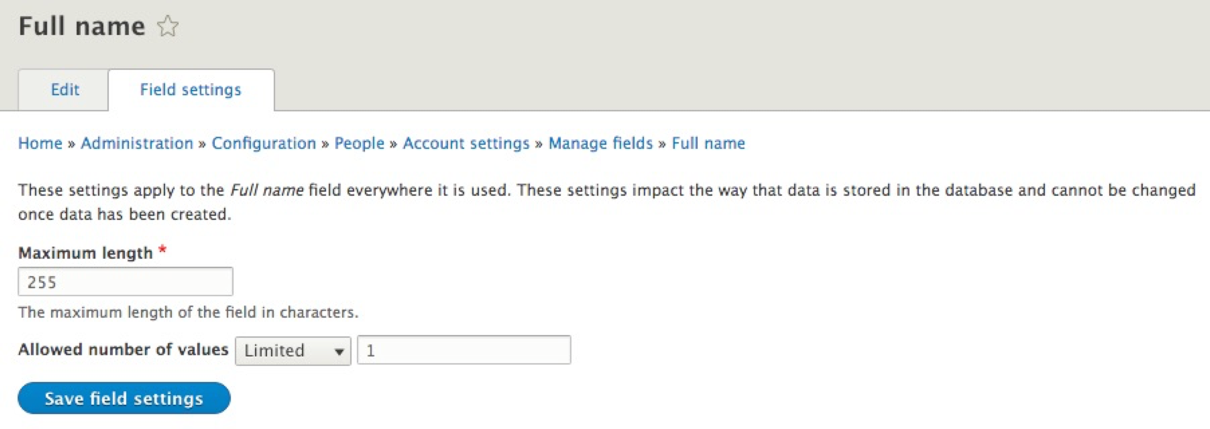
We will leave the default values as shown in the preceding screenshot, and then click on the Save field settings button.
We are now presented with the ability to change our Label if needed, provide some Help text, mark the field as Required field, and provide a DEFAULT VALUE that will be shown to the users when the field is displayed first.
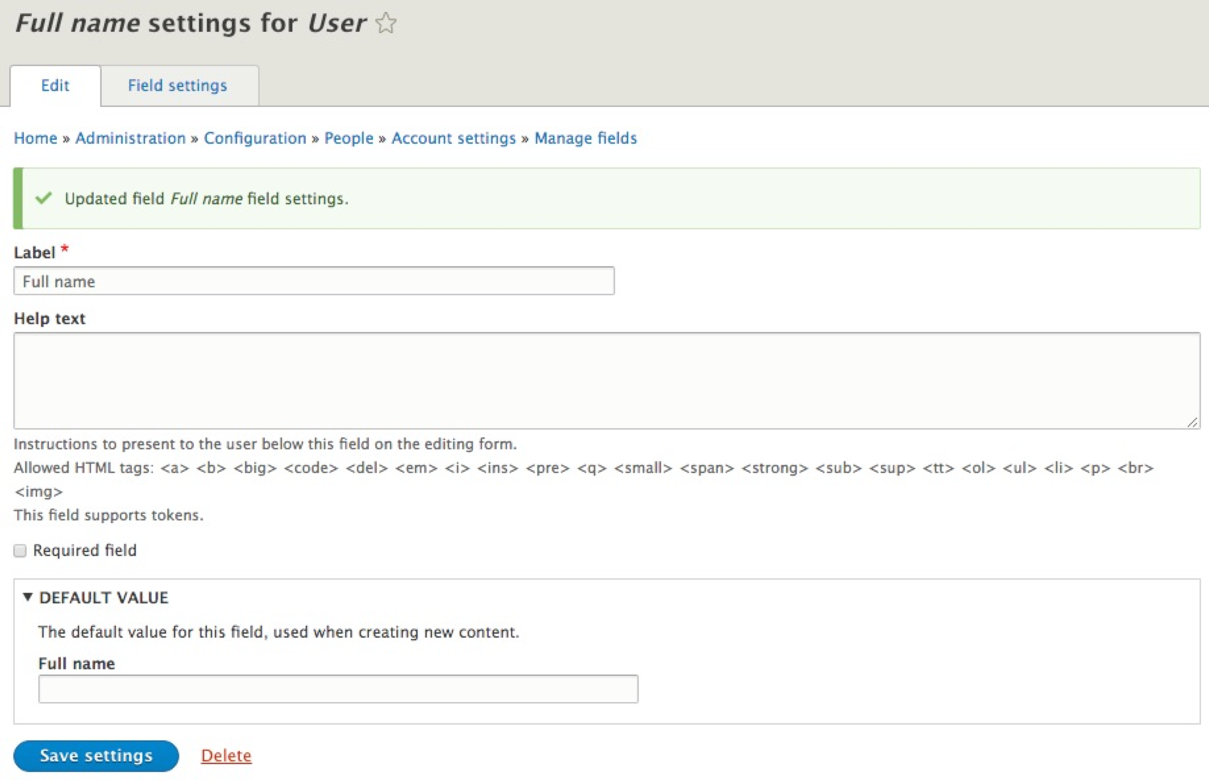
Finally, we can click on the Save settings button to create our new field:

With our new field created, we can now manage how fields will be displayed on the user form by clicking on the Manage form display tab.