One of the most important steps to consider before blindly developing custom content types is to think of how content will be used. In most cases, a content audit is a preliminary step that should be taken. A content audit is quite easy to conduct, beginning with just asking two questions: how will the content be used and how will it be displayed?
If we look around the web, we can easily identify a common content type used on blogs, known as a Post. By understanding how a Post will be displayed, we can identify some of the fields we will need, such as the date the Post was created and the author of a Post. Also, most Posts contain some sort of media, generally consisting of an image or possibly a video. Using the Post as our model, we can easily create a new Post content type by following these steps:
Begin by navigating to /admin/structure/types or use the Admin toolbar and click on Manage | Structure and then Content types.
So far, we have only looked at content types, but by clicking on the Add content type button, we can begin inputting the following information to create our first custom content type:
- Name*: Post
- Description: Post content type used for creating blog posts
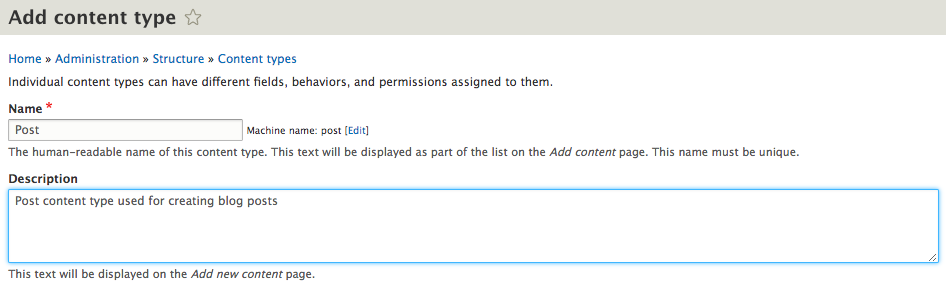
When working with content types, it helps to provide a detailed description about how the content type will be used. Remember that the Description will be shown to users when they first view content types on the Admin screen. For the remaining four subsections, we will enter the following information:
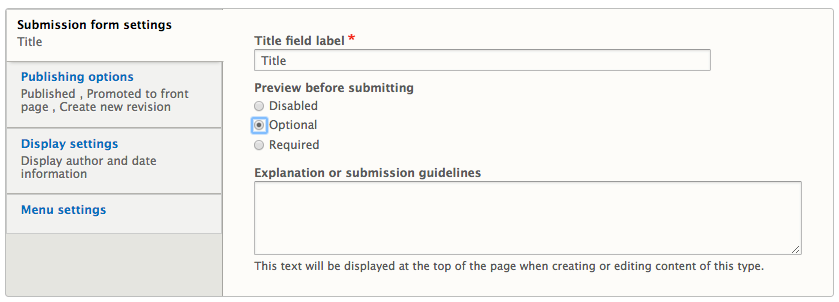
- Submission form settings
Preview before submitting: Optional
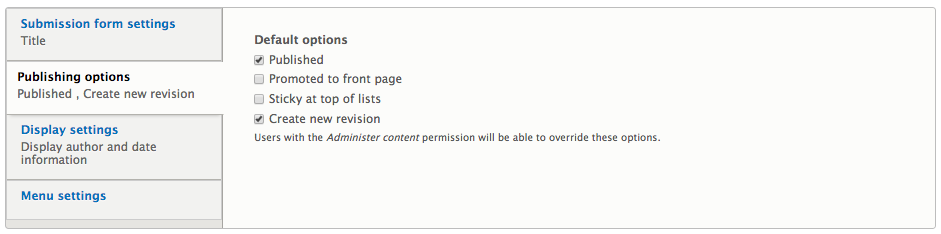
- Publishing options
Default options: Published and Create new revision
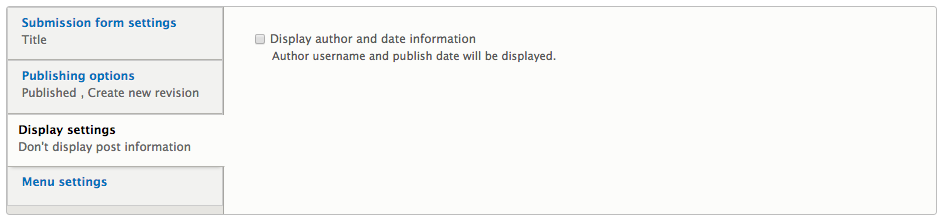
- Display settings
Display author and date information: Unchecked
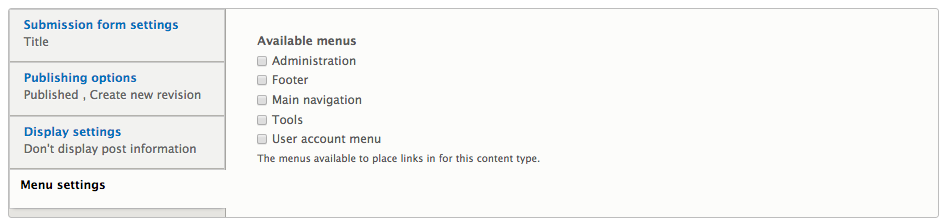
- Menu settings
Available menus: No options selected
With the initial configuration added, we can click on the Save and manage fields button to create our Post content type. Next, we will look at managing fields using the Field UI.