
Now we will start off the Terminal. If you already have it running, you might need to restart it in order for your operating system to recognize the new command. You can test that it got installed properly by running the following command:
heroku --help
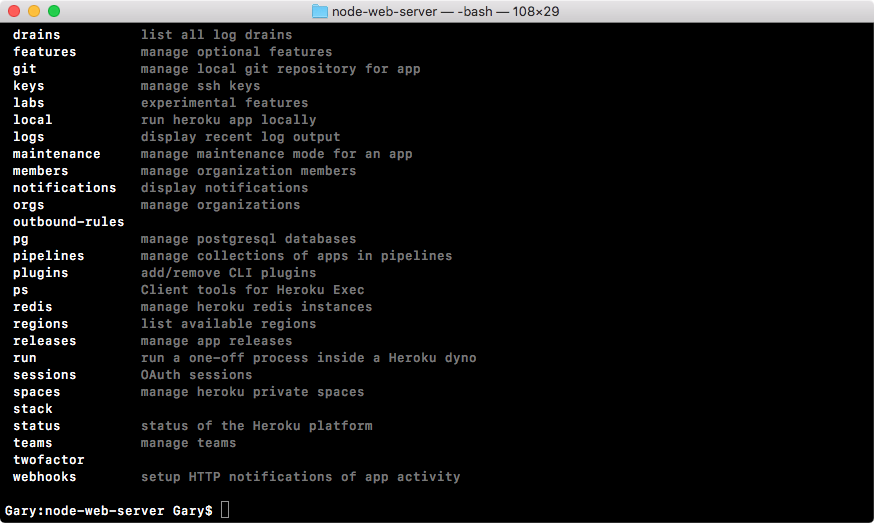
When you run this command, you'll see that it's installing the CLI for the first time and then we'll get all the help information. This will tell us what commands we have access to and exactly how they work:
Now we will need to log in to the Heroku account locally. This process is pretty simple. In the preceding code output, we have all of the commands available and one of them happens to be login. We can run heroku login just like this to start the process:
heroku login
I'll run the login command and now we just use the email and password that we had set up before:

I'll type in my email and password. Typing for Password is hidden because it's secure. And when I do that you see Logged in as garyngreig@gmail.com shows up and this is fantastic:

Now we're logged in and we're able to successfully communicate between our machine's command line and the Heroku servers. This means we can get started creating and deploying applications.