To configure yargs, things will look a little different but still pretty similar. In the Atom, I'll get started by calling .options, which will let us configure some top level options. In our case, we'll pass in an object where we configure all of the options we need. Now I'll format this like I do for all of my chained calls, where I move the call to the next line and I indent it like this:
const argv = yargs
  .options({

})
Now we can set up our options and in this case we just have one, it will be that a option; a will be short for address. I could either type address in the options and I could put a in the alias, or I could put a in the options and type address in the alias. In this case I'll put a as shown here:
const argv = yargs
  .options({
    a: {

    }
  })
Next up, I can go ahead and provide that empty object, and we'll go through these same exact options we used inside of the notes app. We will demand it. If you'll fetch the weather we need an address to fetch the weather for, so I'll set demand equal to true:
const argv = yargs
  .options({
    a: {
       demand: true,
    }
  })
Next up, we can set an alias, I'll set alias equal to address. Then finally we'll set describe, we can set describe to anything we think would be useful, in this case I'll go with Address to fetch weather for, as shown here:
const argv = yargs
  .options({
    a: {
      demand: true,
      alias: 'address',
      describe: 'Address to fetch weather for'
    }
  })
Now these are the three options we provided for the notes app, but I'll add a fourth one to make our yargs configuration for the weather app even more full proof. This will be an option called string. Now string takes a Boolean either true or false. In our case we want true to be the value. This tells yargs to always parse the a or address argument as a string, as opposed to something else like a number or a Boolean:
const argv = yargs
  .options({
    a: {
      demand: true,
      alias: 'address',
      describe: 'Address to fetch weather for',
      string: true
    }
  })
In the Terminal, if I were to delete the actual string address, yargs would still accept this, it would just think I'm trying to add a Boolean flag, which could be useful in some situations. For example, do I want to fetch in Celsius or in Fahrenheit? But in our case, we don't need any sort of true or false flag, we need some data, so we'll set string to true to make sure we get that data.
Now that we have our options configuration in place, we can go ahead and add a couple other calls that we've explored. I'll add .help, calling it as shown in the following code, which adds the help flag. This is really useful especially when someone is first using a command. Then we can access .argv, which takes all of this configuration, runs it through our arguments, and restores the result in the argv variable:
const argv = yargs
  .options({
    a: {
      demand: true,
      alias: 'address',
      describe: 'Address to fetch weather for',
      string: true
    }
  })
  .help()
  .argv;
Now the help method adds that help argument, we can also add an alias for it right afterwards by calling .alias. Now .alias takes two arguments, the actual argument that you want to set an alias for and the alias. In our case, we already have help registered, it gets registered when we call help, and we'll set an alias which will just be the letter h, awesome:
.help()
.alias('help', 'h')
.argv;
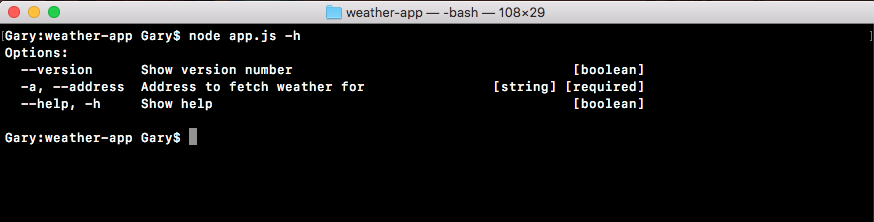
Now we have all sorts of really great configurations set up for the weather app. For example, inside the Terminal I can now run help, and I can see all of the help information for this application:
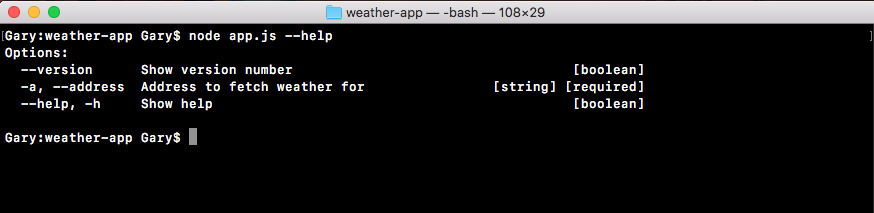
I could also use the shortcut -h, and I get the exact same data back: