
To make a key we'll use the ssh-keygen command. Now the ssh-keygen takes three arguments. We'll pass in t setting it equal to rsa. We'll pass in b which is for bytes, setting that equal to 4096. Make sure to match these arguments exactly, and we'll be setting a capital C flag which will get set equal to your email:
ssh-keygen -t rsa -b 4096 -C 'garyngreig@gmail.com'
Now we can go ahead and hit enter, which will generate two new files in our .ssh folder. When you run this command, you'll get greeted with a few steps. I want you to use the default for all of them:

Here they want to ask you if you want to customize the file name. I do not recommend doing that. You can just hit enter:

Next up they ask you for a passphrase, which we'll not use. I'll hit enter for no passphrase, then I need to confirm the passphrase, so I'll just hit enter again:
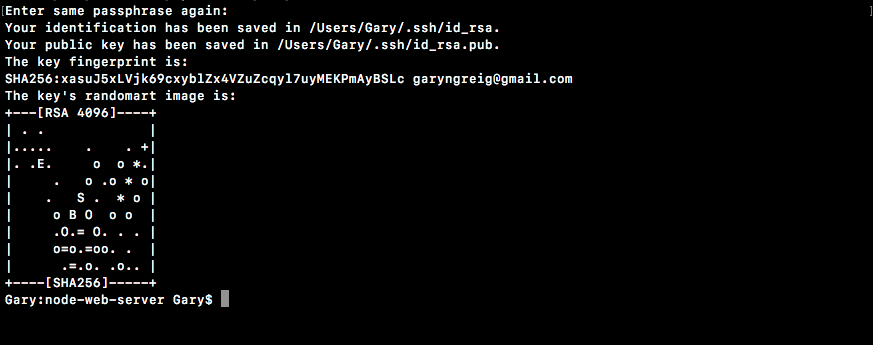
As shown, we get a little message that our SSH key was properly created and that it was indeed saved in our folder.
With this in place, I can now cycle back through my previous commands running the ls command, and what do I get?

We get id_rsa and I get the id_rsa.pub file. The id_rsa file contains the private key. This is the key you should never give to anyone. It lives on your machine and your machine only. The .pub file, which is the public file. This one is the one you'll give to third-party services such as GitHub or Heroku, which we'll be doing in the next several sections.