In the case of title, we would add the title on the left-hand side, and we would put our options object on the right-hand side. Inside the title, we're going to configure three properties describe, demand, and alias:
The describe property will be set equal to a string, and this is going to describe what is supposed to be passed in for the title. In this case, we can just use Title of note:
const argv = yargs
  .command('add', 'Add a new note', {
    title: {
      describe: 'Title of note'
    }
  })
  .help()
  .argv;
Next we configure demand. It is going to tell yarg whether or not this argument is required. demand is false by default, we'll set it to true:
const argv = yargs
  .command('add', 'Add a new note', {
    title: {
      describe: 'Title of note',
      demand: true
    }
  })
  .help()
  .argv;
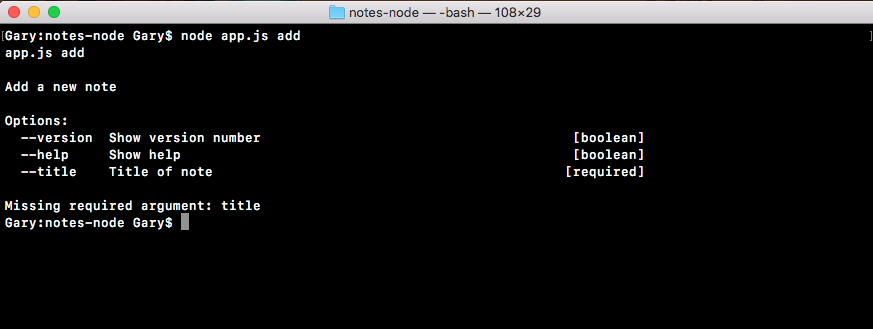
Notice that in the output the title argument, is Title of note, which is the describe string we used, and it's required on the right side, letting you know that you have to provide a title when you're calling that add command.
Along with describe and demand we are going to provide a third option, this is called alias. The alias lets you provide a shortcut so you don't have to type --title; you can set the alias equal to a single character like t:
const argv = yargs
  .command('add', 'Add a new note', {
    title: {
      describe: 'Title of note',
      demand: true,
      alias: 't'
    }
  })
  .help()
  .argv;
When you have done that, you can now run the command in Terminal using the new syntax.
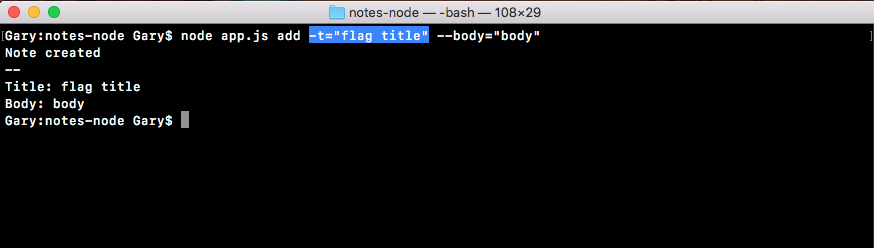
Let's run our add command, node app.js add, instead of --title. We're going to use -t, which is the flag version, and we can set that equal to whatever we like, for example, flag title will be the title, and --body will get set equal to body , as shown in the following code. Note that we haven't set up the body argument yet so there is no alias:
node app.js add -t="flag title" --body="body"
If I run this command, everything works as expected. The flag title shows up right where it should, even though we used the alias version which is the letter t, as shown here: