
The third component of a web page is the custom code we script our page with. We can make our page more dynamic and interactive by executing different tasks on different events, for example, on a press of a button. Web clients use the JavaScript language for these kinds of client-side tasks. They expose their DOM trees, making them accessible and modifiable by us. JavaScript started as a high-level basic scripting language for very simple automation tasks. Nowadays, it can be considered a full-fledged high-level object-oriented programming language. DOM manipulation is just one of the many things it can do, including the interpretation and manipulation of binary input. It can be used in imperative style, object-oriented style, and--to some extent--functional style. For the sake of simplicity, we will stick with a minimal subset of its capabilities and write simple yet effective procedural code.
Let's discuss the syntax of JavaScript briefly. In the code we will use, we will encounter some basic types that behave differently, such as literals:
- Integer: Whole numbers without decimal places. They can be represented with numeric characters (for example, 1).
- Floating point: These are decimal numbers. They can be represented with numeric characters, with the point character as the decimal point (for example, 0.25).
- String: Character strings consisting of a sequence of characters. They must be enclosed in quotation marks. They can be single or double quotation marks; however, both the opening and closing mark must be of the same type (for example, "character" or 'string'). They can contain only numeric characters but are still considered character strings.
- Boolean: A binary value. It can be either true or false.
- Array: A set of other literals separated by commas, enclosed in brackets (for example, [0, 1, 2]). Arrays can contain mixed types, although in most cases, it is not a good practice.
- Object: A set of key-value pairs separated by commas, enclosed in braces. The keys and the values are separated by colons (for example, {x: 5, y: 10}). Keys must be representable by strings, while values can be of any type. Keys do not have to be enclosed in quotation marks if their conversion to strings is simple, although the grammar of the values must adhere to the grammar of the represented types.
A non-literal type we should also be able to use is the function. Functions group individual statements (commands) and execute them sequentially. We can call a function by its name and some parameters. The number of parameters a function can accept always depends on the given function (functions accept zero or more parameters). The correct syntax calls the function's name and places the different parameters after it in parentheses, separated by commas (for example, myFunction(x, y, z)). There must be no whitespaces between the function's name and the opening parenthesis:
    // We have a function named addNums requiring two numbers
       and returning the sum of them.
       addNums(2, 5);
We should also know how to use variables. Variables can be declared in multiple ways, although using the var keyword fits our needs. A variable declaration needs the var keyword, a variable name, and, optionally, an assignment with an initial value:
    var x; //Declaring a variable named x.
    var x = 2; //Declaring a variable named x initialized with a
     value of 2.
Accessing variables can be done by simply providing the name of the variable. Different types act differently, though. Arrays and objects can contain multiple elements, which can be accessed directly. Individual array elements can be accessed by their index numbers with the subscript operator (brackets) starting with the index number 0, while object elements can be accessed by separating the object's name and the key's name with the dot operator (point):
    var x = 2;
    var array = [9, 4, 7];
    var object = {x: 5};

    x; //2
    array[1]; //4
    object.x; //5
Finally, most of the statements must be terminated. There are some exceptions, such as control flow statements (for example, loops and conditionals); however, in the case of declarations, assignments, and function calls, it is mandatory. The symbol we should terminate our statements with is the semicolon. Although statements can be terminated with line breaks instead of semicolons, and the code will run in most cases, it is a very bad practice, as it makes the code vulnerable. For example, if we want to compress our script without using semicolons, the whole code will break.
For now, let's create a script that shows the description of a map when we click on the button representing it. First of all, we just declare a variable containing a single description and show it on our web page:
- Create a new file in the web server's root folder, named map.js.
- Edit the map.html file and include the JavaScript file in a script tag. As our code will require the DOM to be set up, we should include it in a <script> element at the end of our <body> section. A script element referencing an external resource needs an src attribute with a relative path and a type attribute with the text/javascript value:
        <body>
         [...]
         <input id="roadmap_23700" type="button" class="mapchooser"
         value="Road map (EPSG:23700)">
         <script src="map.js" type="text/javascript"></script>
        </body>
- Edit the map.js file with a text or code editor.
- Declare a variable with a string describing our road map:
        var roadmap = 'Road map of Baranya county. Land use types,
         important roads, major settlements, and basic hydrology
         are visualized.';
- The only thing left to do is update our web page with this string. We can access the root of the DOM tree with the document variable. It is an object that contains various methods to access individual DOM elements. A very popular method is getElementById, which simply requires the unique ID of the queried element and returns it. Query the <p> element containing the description and save it to a variable:
var description = document.getElementById('description_text');
- Now we have our <p> element's DOM representation saved into the description variable. It has a lot of methods and attributes with different purposes, such as registering event listeners or changing the element. We need its textContent attribute, which contains the visualized text. By changing that attribute to the content of our roadmap variable, the visualized text changes as well:
description.textContent = roadmap;
By refreshing the page, we will be able to see the description of our road map next to the map container:
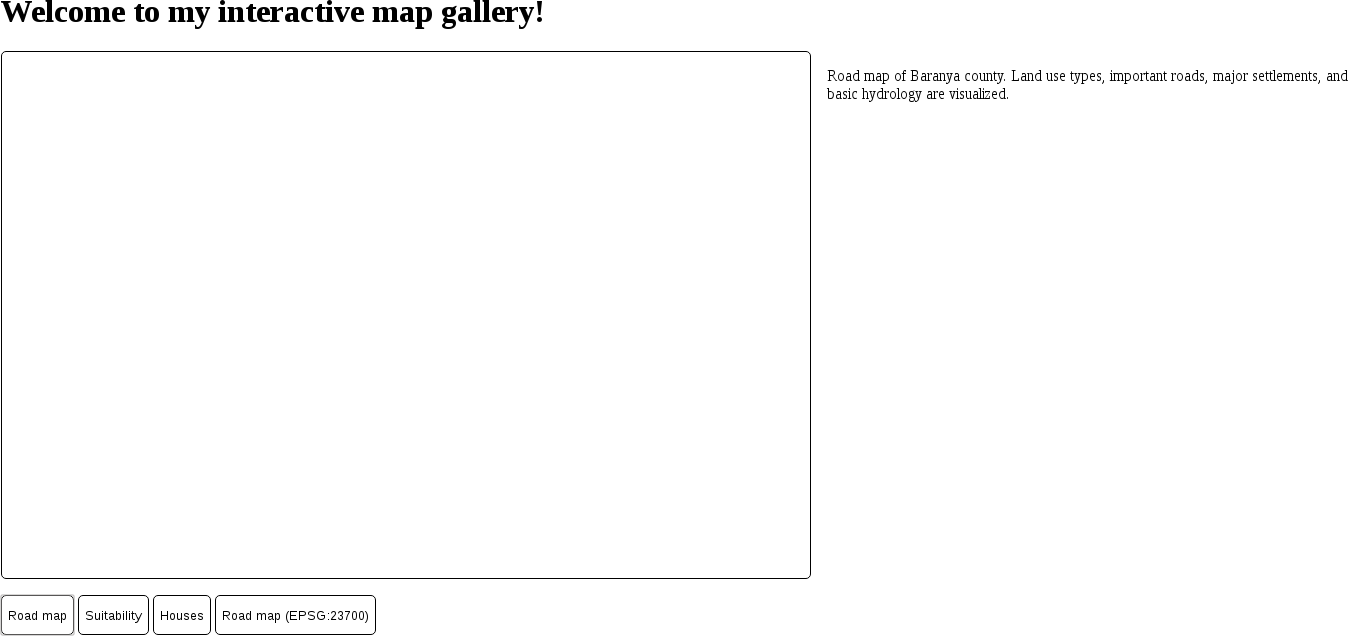
In order to register these lines to the click event of our first button, we have to make a procedure from them. Procedures in JavaScript are functions, which we already know how to call. We only have to learn how to make one. Creating a function involves the function keyword, some parameters our function will use in parentheses, and a code block in braces. The code block contains the statements our function will execute on call:
- Create a working function from the three lines we created. The function is called updateMap, and it does not require any parameters for now. We still have to include an empty parameter list in parentheses:
        var updateMap = function() {
         var roadmap = 'Road map of Baranya county. Land use types,
         important roads, major settlements, and basic hydrology
         are visualized.';
         var description = document.getElementById('description_text');
         description.textContent = roadmap;
        };
- If we refresh our page, the placeholder text is still there, and we can see that it did not get updated to our description automatically. Let's open the developer tools, navigate to its Console tab, and test our function by calling it (updateMap();). The text is now updated.
- Register this new function on our first button's click event. The event model in JavaScript is quite capable, but it offers convenient methods for simple tasks. Registering only one function to a popular event (for example, clicking) is such a task. We have to get the reference to the button's DOM element and assign the function to its onclick attribute. The client will automatically call the function every time we click on the button:
        var roadbutton = document.getElementById('roadmap');
        roadbutton.onclick = updateMap;
Great work! Now we have the placeholder text, and we can change it to our description with a click of a button. The only problem is that we have to repeat this process for every button we have. On the other hand, we can shape our function into a more general form that can find out the assignable text based on the ID of the clicked button. Then, we can register the same function to every button we have. The basis for our new logic is to create an object that stores the descriptions of the maps with keys representing the IDs of the corresponding buttons. In the event listener, we will read the correct description based on the clicked button's ID:
- Create an object that stores the descriptions and save it to a variable. The keys must exactly match the IDs of the buttons. The object must be declared before the function:
        var descriptions = {
          roadmap: 'Road map of Baranya county. Land use types,
           important roads, major settlements, and basic hydrology
           are visualized.',
          suitability: 'Suitability map of Baranya county for
           building a new warehouse for a logistic company having
           stores in major settlements.',
          houses: 'Real estates in Pecs residing in nice,
           quiet areas with shops, restaurants, bars, parks,
           and playgrounds nearby.',
          roadmap_23700: 'Road map of Baranya county in EOV
           projection.
           Land use types, important roads, major settlements,
           and basic hydrology are visualized.'
        };
- Generalize the updateMap function to read out the correct description based on the clicked button's ID. For this, we need a reference to the clicked button. Luckily, the event model in web clients takes off this weight. When the client calls the listener function, it tries to pass an event parameter to it. If it can, we can access the corresponding DOM element from the event parameter's target attribute. The only problem left is that we don't know how to access an object's attribute with a variable. We can also access object members with another accessor. Using bracket notation, we can query an attribute with its key as a string literal or with a variable:
        var updateMap = function(evt) {
         var description =
          document.getElementById('description_text');
         description.textContent = descriptions[evt.target.id];
        };
- Register our new, general function on every button we have:
        document.getElementById('roadmap').onclick = updateMap;
        document.getElementById('suitability').onclick = updateMap;
        document.getElementById('houses').onclick = updateMap;
        document.getElementById('roadmap_23700').onclick = updateMap;
- Edit the map.html file and remove the placeholder text from the <p> element, as we do not need it anymore.