When working with rasters, we have much less options in GeoServer, just like in QGIS. For singleband rasters, like our DEM, we can create a color ramp on which GeoServer interpolates the values of the raster data. We can define breakpoints on the color ramp with colors and raster values. In order to do this, first we need the minimum and maximum values of our SRTM DEM:
- Open QGIS, load the SRTM DEM which is used in GeoServer, and note down its minimum and maximum values. We can use Properties | Style with the accurate min/max values, or we can read out the values from the Metadata tab.
- Create a new style in GeoServer, and name it appropriately.
- Generate a default raster style, and save the template. Open it again, and preview it on the DEM layer.
- The preview shows nothing. This is a bug in the SLD generator, as it generates a <FeatureTypeName> element, which is not applicable on raster layers. Remove that element, and save the template.
- In order to create a grayscale DEM, we need to interpolate the raster values between the black and the white colors. We can do so by creating a <ColorMap> element in the <RasterSymbolizer> element, which contains our breakpoints. The breakpoints are defined with <ColorMapEntry> elements. As these elements do not have a closing tag (they use self-closing tags), we have to apply a slightly different syntax. It needs at least two attributes: a color and a raster value. The fully defined color map entry is, therefore, <ColorMapEntry color="#000000" quantity="0"/>. The final <ColorMap> element should look like the following:
        <ColorMap>
         <ColorMapEntry color="#000000" quantity="80"/>
         <ColorMapEntry color="#FFFFFF" quantity="659"/>
        </ColorMap>
Now we have a perfectly fine grayscale DEM. How can we use it aesthetically though? In QGIS, we applied an on-the-fly hillshading, and blended it in our land use layer. Unfortunately, GeoServer is not capable of using a hillshading effect, although we can try blending it in our land use layer. Blending is not part of the SLD specification, but available in GeoServer through a vendor option. Vendor options are parameters, which are not parts of the standard, but implemented in a spatial server to grant additional capabilities. Vendor options are defined with <VendorOption> elements, and are GeoServer-specific, therefore, not portable between different OWS servers.
- The blending vendor option looks like <VendorOption name="composite">operation</VendorOption>, where operation can be any valid blending mode GeoServer knows. For our use case, the overlay operation would give correct results. Add the following line outside of the <Rule> element, but inside the <FeatureTypeStyle> element:
<VendorOption name="composite">overlay</VendorOption>
- Save the style, if it is valid, and apply it to the SRTM layer as a default style.
If we look at our group layer, we can see that blending modes in GeoServer work differently than in QGIS. The overlay mode keeps every cell from the DEM where there is a white background. Unfortunately, in GeoServer, we have to choose between alpha blending and color blending. With alpha blending, we can show our DEM only where we have land use polygons, but we lose their styling. With color blending, we cannot exclude the DEM where there aren't any land use polygons. To make the composition a little bit more appealing, we can constrain the DEM layer with its blending mode to a maximum scale. As a result, we will only see it on higher zoom levels, where its behavior won't distract us.
- Go back to the style editor. We can define a maximum scale with the <MaxScaleDenominator> element, which should go into the <Rule> element. The value of the maximum scale should depend on the size of the study area. By browsing the preview map, its Scale should give a hint on the correct value:
<MaxScaleDenominator>100000</MaxScaleDenominator>
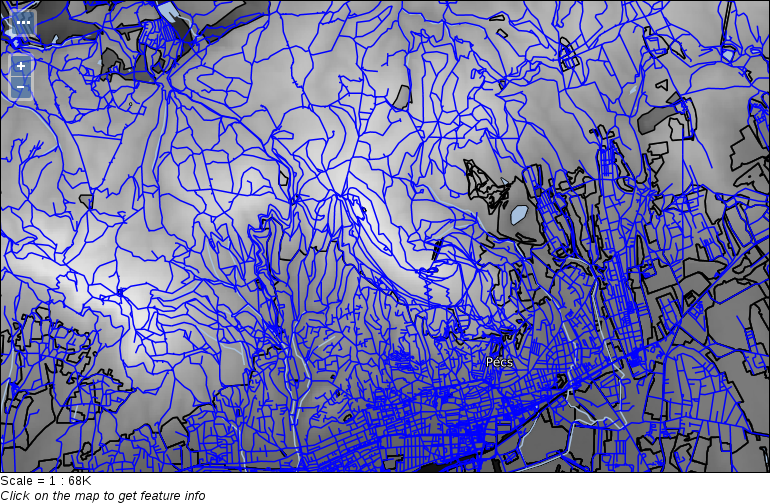
- Save the edits, and preview our layer group. We shouldn't see the DEM in the initial view, while it should appear blended into the land use polygons when we zoom in enough: