The traditional way of backing up a PostgreSQL database is to create static backups. This method uses the command-line tools pg_dump and pg_restore to create and restore the whole database, or parts of it. Of course, we do not have to use those CLI tools for backing up and restoring, as pgAdmin offers us a way to use of them via its GUI. The main advantage of using static backups is that we can save only parts of the database, like only our spatial data, or just one table. Its main disadvantage, of course, is its static nature. We have to refresh the backups manually if we would like to archive a more recent version of our database.
Let's see what happens if we back up one of our tables. We can do it by right-clicking on the table in pgAdmin and selecting Backup. In the dialog, we have numerous options. The most important is the file format. We can choose between four formats:
- Plain: The selected objects will be saved as a series of regular SQL expressions. The saved file can be restored by opening the file in an SQL window, and running the query. Choosing this format allows us to read and modify the result if we would like to port our tables to another RDBMS.
- Custom, Tar, and Directory: These are PostgreSQL-specific formats, which compress the data nicely, and can be used with PostgreSQL's restore tool. The custom format creates a PostgreSQL backup file, the tar format creates an archive, and the directory format creates a directory structure with compressed objects representing PostgreSQL objects.
To try out the plain format, we should back up our geonames_desc table, as it does not have geometries; therefore, pg_dump will create a nicely readable output.
- Right-click on the geonames_desc table, and choose Backup.
- Browse the output folder, and choose a name with the sql extension (for example, geonames_desc.sql).
- Choose Plain in the Format field.
- In the Dump Options #2 tab (Dump options in pgAdmin 4), check the Use Column Inserts box.
- Click on the Backup button. When it is done, click on the Done button to close the dialog.
If we open the resulting file in a text or code editor, we can see a very well-structured set of SQL expressions creating the table, the constraints, the sequence, and inserting the data:
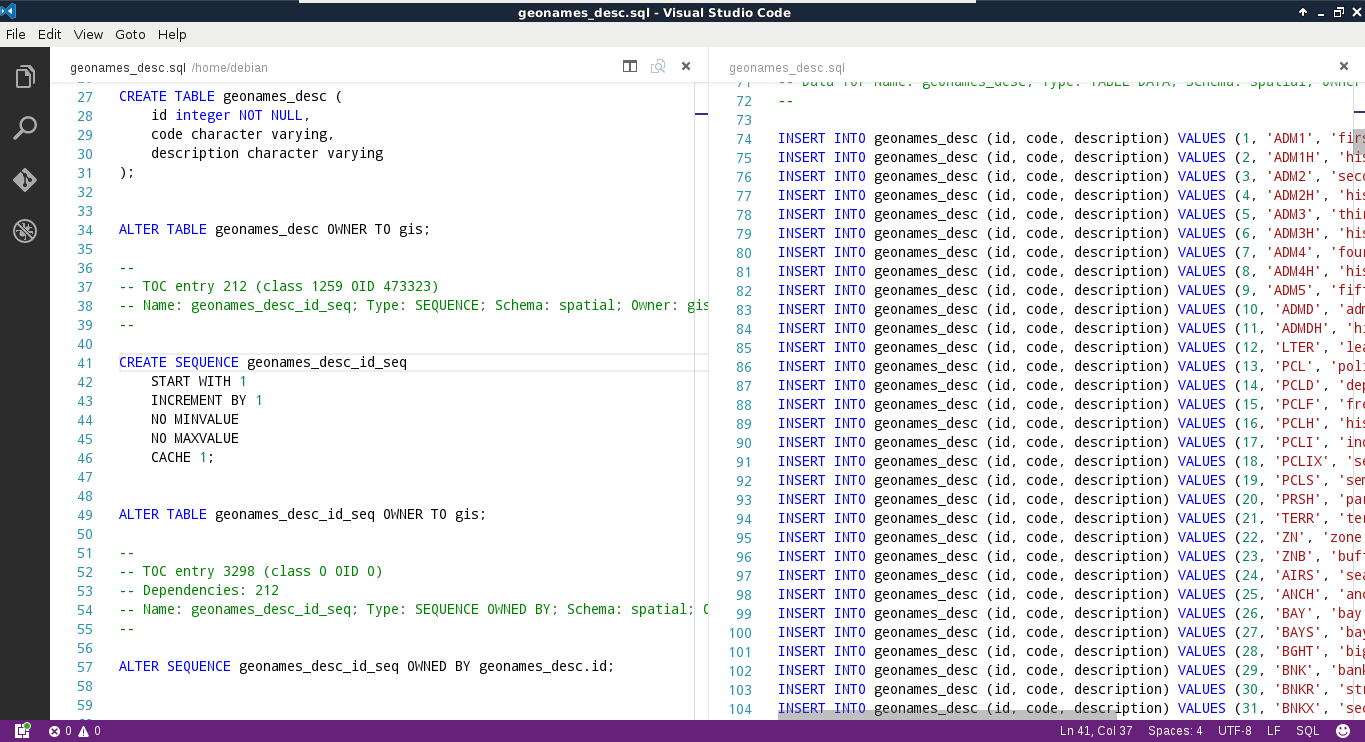
What PostgreSQL did not save is the schema that it should restore the table in. On the other hand, if we drop our geonames_desc table, and run the contents of this file in an SQL window, the table gets recreated in the spatial schema. If we inspect the start of the file, the script sets some PostgreSQL-specific variables. From the numerous variables, the following overwrites the search path for the transaction:
SET search_path = spatial, pg_catalog;
Since, in the search path, the spatial schema is set as first, PostgreSQL will automatically put everything in there.
We can also create compressed archives. Let's create a backup containing our entire spatial schema as follows:
- Right-click on the spatial schema in pgAdmin, and select Backup.
- Browse the output folder, and choose a name with the backup extension (for example, spatial.backup).
- Choose Custom in the Format field.
- Click on the Backup button. When it is done, click on the Done button to close the dialog.
One of the disadvantages of using pg_dump for creating backups is that it saves everything from the dumped objects. If we dump the entire database, it saves every PostGIS object (like functions) along our data. This is another good reason for using a different schema for the actual spatial data, as this way we can back up the relevant data only.
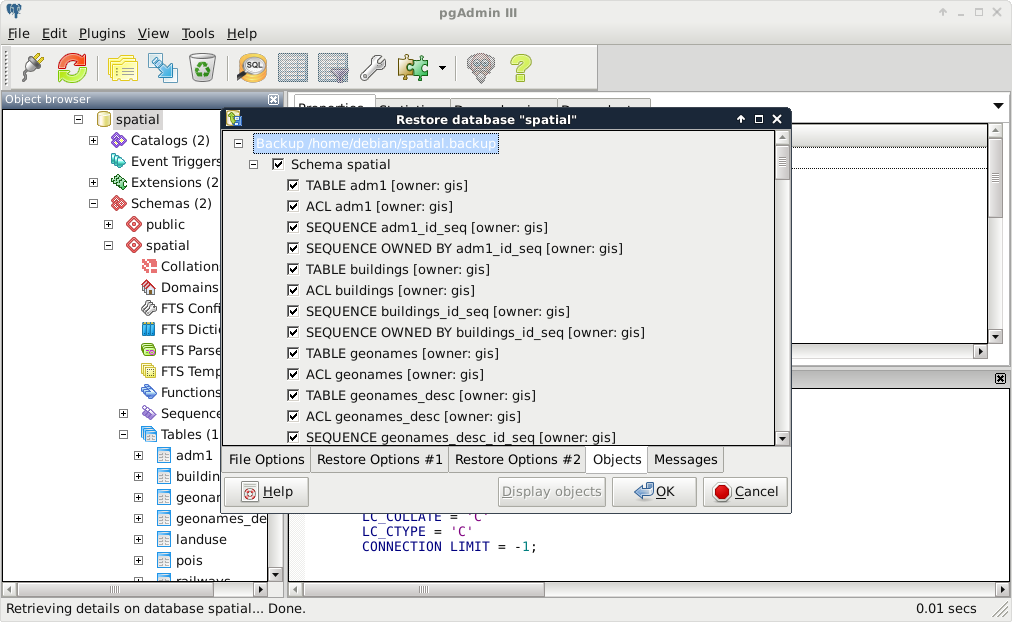
To restore the data dump, we have to specify the place where we would like to extract our archive. If we exported a table, we have to right-click on the schema we would like to insert it into, while, if we dumped a schema, we have to right-click on the database. There we have to select Restore. A great perk of using a compressed archive for a backup is that we can browse through the exported objects, and specify the ones we would like to restore:
- Right-click on the database, and click on Restore.
- Browse the backup archive created previously.
- Click on Display objects, and browse the dumped objects in the Objects tab: