In order to clip our layers we need two things--an input layer, and a clip layer. The clip layer contains the cookie-cutter, while the input layer is clipped to the clip layer's shape. As we have a filter on our administrative boundaries layer, we have the perfect clip layer at hand. Any vector layer can act as an input layer, however we should only consider layers sticking out from our study area. For every input layer, we have to iterate the following steps one by one:
- Select QGIS geoalgorithms | Vector overlay tools | Clip from the Processing Toolbox.
- Select the current input layer as Input layer.
- Select the filtered administrative boundaries layer as Clip layer.
- Type memory: as the output name.
- After running the algorithm, copy the styling of the original layer to the new one with the two simple steps from the previous chapter.
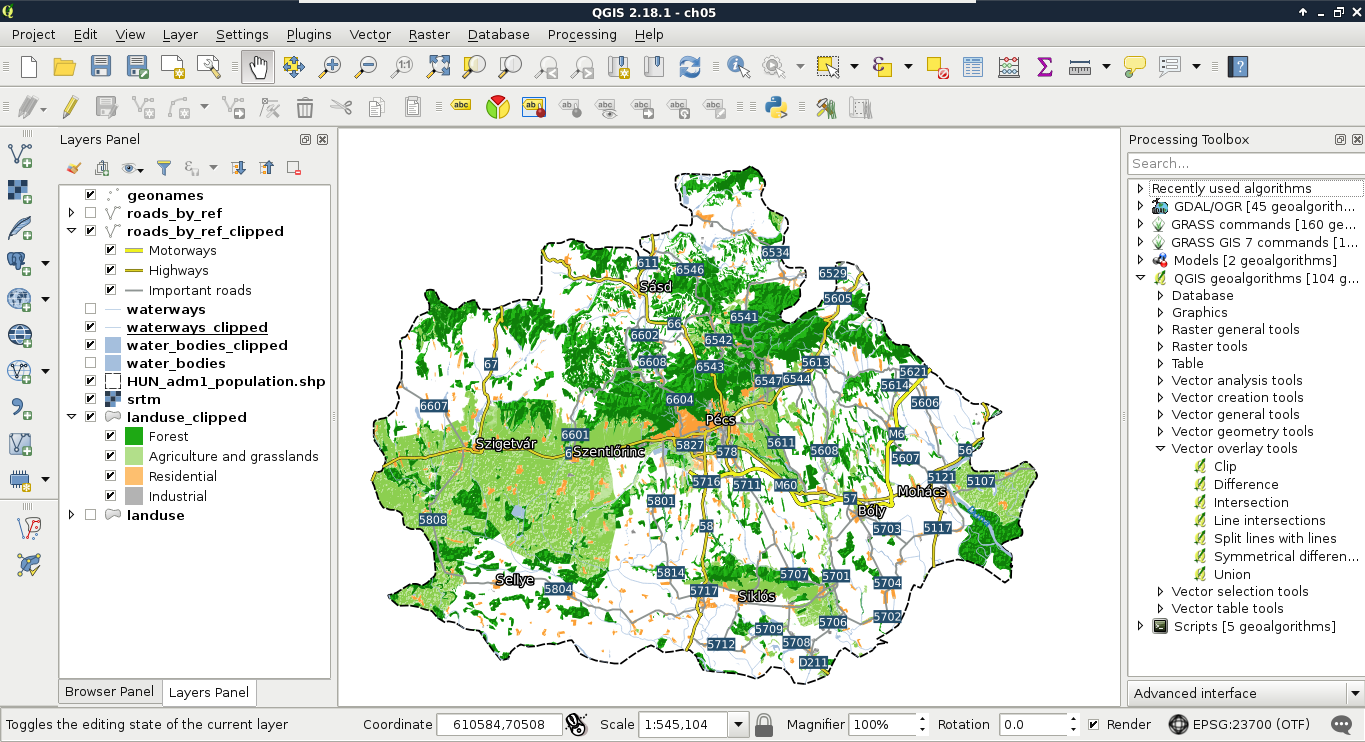
After running the algorithm, we get the clipped version of our input as a memory layer. This is the first format we discuss. It is a very important, very handy format for storing intermediate results. Memory layers differ from temporary layers, hence the latter are saved to a temporary folder as shapefiles and deleted once we restart our computer. Memory layers can be edited in place; we can do any modifications we see fit before saving the final results to the disk. There is only one thing we cannot do with memory layers--save them with our project. Once we close QGIS, the memory layers are gone for good, only their Layers Panel entries remain: