
Until now, we only used vector processing, so let's see how raster processing is different in QGIS. Let's clip the SRTM raster to our study area. We can do it by following these easy steps:
- Select Raster | Extraction | Clipper from the menu bar.
- Specify our srtm layer as the input layer.
- Specify the output directory and the file name, and select GeoTIFF as the format.
- Check the Mask layer checkbox for the Clipping mode.
- Select our filtered administrative boundary layer as the Mask layer.
- Run the algorithm.
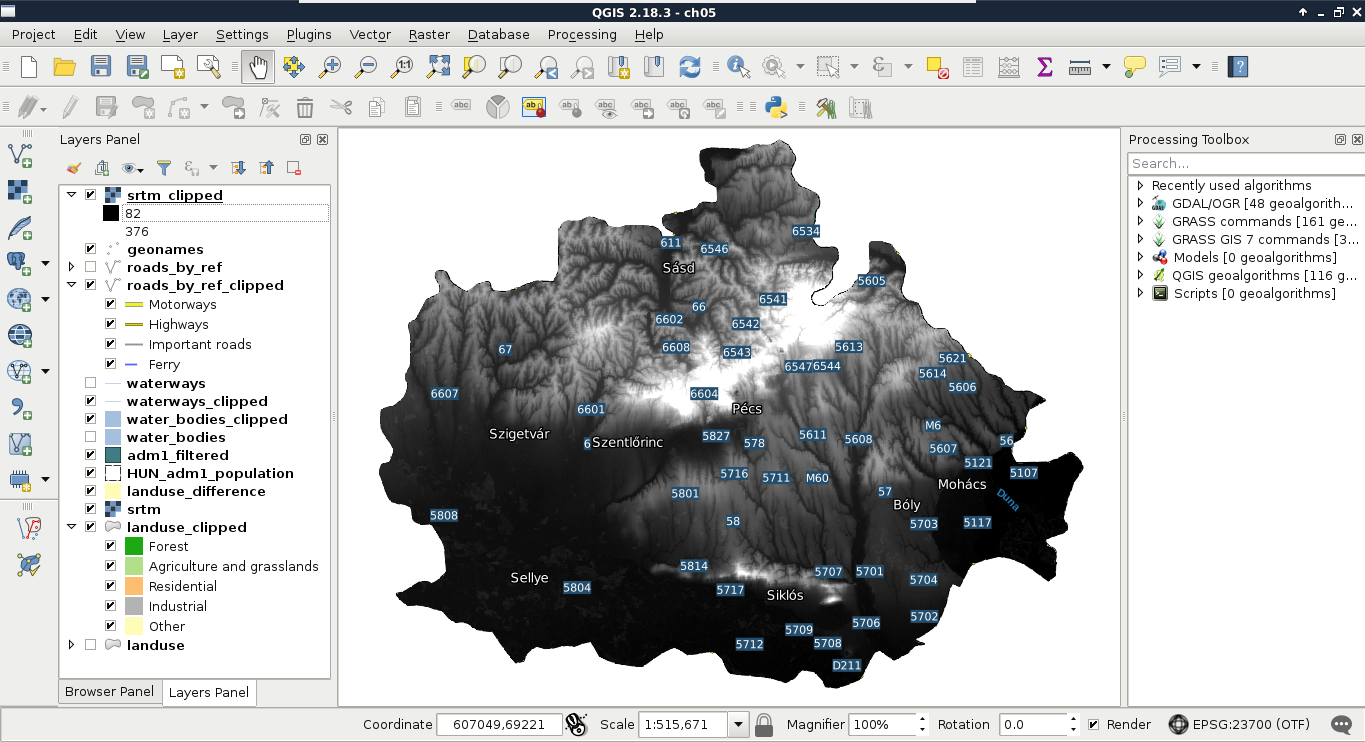
Did the algorithm finish successfully? If it did, you can see the clipped layer on the map canvas. If not, don't worry, it didn't work for me either. Before fixing the issue, let's see how QGIS uses the raster processing tools. Unlike vector processing tools, QGIS has only a few of its own raster tools. It uses external tools to achieve raster processing, usually, via command line or Python. The tool we opened is a clever wrapper around GDAL's warp tool, whose main purpose is warping rasters between CRSs. But it can also clip the input raster in the process. We can even see the command that QGIS uses at the bottom of the window:
gdalwarp -q -cutline "/home/debian/practical_gis/processed
/admin_boundaries/HUN_adm1_population.shp|layerid=0|subset="NAME_1" =
'Baranya'" -tr 0.000277777777778 0.000277777777778 -of GTiff
/home/debian/practical_gis/processed/srtm/srtm.vrt /home/debian
/practical_gis/processed/srtm/srtm_clipped.tif
This architecture implies a very important specificity of raster processing in QGIS. We must have a physical copy of the data we use. In raster processing, memory layers are obsolete--we cannot even select them as mask layers in the Clipper tool.
The problem with our approach was the filter on our administrative boundary layer. QGIS couldn't manage to include the filter properly in the command-line call it created. To solve the issue, the easiest way is to export our administrative boundary layer. As we applied a filter, only one polygon gets exported. After the export, we can specify the new layer as mask and run the algorithm again:
The other, slightly more advanced solution is to consult the documentation of GDAL's warp tool at http://www.gdal.org/gdalwarp.html and modify the call manually with the pencil-shaped Edit button. In the documentation, you will see that a filter on the cutting shape can be applied with the -cwhere parameter and a basic, regular SQL expression. Therefore, the same call should look like the following:
gdalwarp -q -cutline "/home/debian/practical_gis/processed
/admin_boundaries/HUN_adm1_population.shp" -cwhere "NAME_1 =
'Baranya'" -tr 0.000277777777778 0.000277777777778 -of GTiff
/home/debian/practical_gis/processed/srtm/srtm.vrt /home/debian
/practical_gis/processed/srtm/srtm_clipped.tif