- Navigate to the ch2-page-header-output folder in the WordPress plugin directory of your development installation.
- Open the ch2-page-header-output.php file in a text editor.
- Add the following line of code after the existing functions to register a function that will be called when WordPress is preparing data to display a page or post's content:
add_filter( 'the_content', 'ch2lfa_link_filter_analytics' );
- Add the following code section to provide an implementation for the ch2lfa_link_filter_analytics function:
function ch2lfa_link_filter_analytics ( $the_content ) {
    $new_content = str_replace( 'href',
        'onClick="recordOutboundLink( this );return false;" href'
        , $the_content );

    return $new_content;
}
- Add the following line of code to register a function that will be called when WordPress renders the page footer:
add_action( 'wp_footer', 'ch2lfa_footer_analytics_code' );
- Add the following code section to provide an implementation for the ch2lfa_footer_analytics_code function:
function ch2lfa_footer_analytics_code() { ?>

<script type="text/javascript">
    function recordOutboundLink( link ) {
        ga( 'send', 'event', 'Outbound Links', 'Click',
            link.href, {
                'transport': 'beacon',
                'hitCallback': function() {
                    document.location = link.href;
                }
            } );
        }
</script>

<?php }
- Save and close the plugin file.
- Go to the Pages section of the Dashboard and edit the home page (or any other page). Add a link to the content, pointing to a location of your choice.
- In your web browser, refresh your website and navigate to the page modified in the previous step.
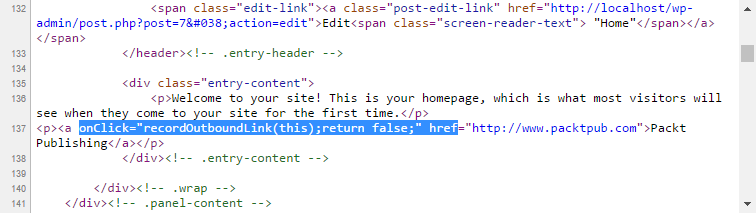
- Open the source view for the page and find the link you added. You will see that the link tag has additional onClick JavaScript code that will be called when visitors follow it:
- Scroll to the bottom of the page to see the implementation of the recordOutboundLink JavaScript function that was added to the page footer.