- Navigate to the WordPress plugin directory of your development installation.
- Create a new directory called ch2-favicon.
- Use a web service, such as http://getfavicon.org, to retrieve a website's favicon (for example, http://www.packtpub.com) and store it in the plugin directory with its default name (favicon.ico).
- Navigate to the plugin directory and create a new text file called ch2-favicon.php.
- Open the new file in a code editor and add an appropriate header at the top of the plugin file, naming the plugin Chapter 2 - Favicon.
- Add the following line of code to register a function that will be called when WordPress renders the page header:
add_action( 'wp_head', 'ch2fi_page_header_output' );
- Add the following code section to provide an implementation for the ch2fi_page_header_output function:
function ch2fi_page_header_output() {
    $site_icon_url = get_site_icon_url();
    if ( !empty( $site_icon_url ) ) {
        wp_site_icon();
    } else {
        $icon_url = plugins_url( 'favicon.ico', __FILE__ );
    ?>

    <link rel="shortcut icon" href="<?php echo $icon_url; ?>" />
    <?php }
}
- Save and close the plugin file.
- Log in to the administration page of your development WordPress installation.
- Click on Plugins in the left-hand navigation menu.
- Activate your new plugin.
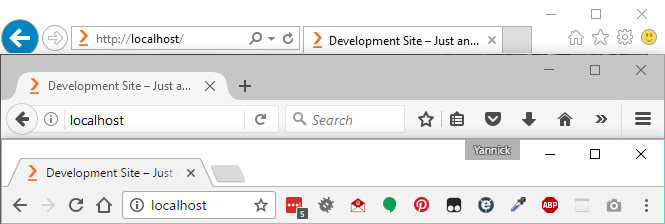
- Navigate to your website's front page and refresh it to see that the icon file that you assigned through your plugin code now appears in your browser's address bar, title bar, or navigation tab, depending on your preferred browser. The following screenshot shows how the favicon file is rendered in Internet Explorer, Mozilla Firefox, and Google Chrome, from top to bottom:
- Navigate to your development site's dashboard and select the Customize submenu under the Appearance menu.
- Under Site Identity, assign a square image that is at least 512 x 512 pixels in dimension as Site Icon; then, press the Save & Publish button at the top of the customizer.
- Refresh your website to see that the newly assigned site icon is now displayed instead of the favicon.ico file.