- Create a new image that is exactly 772 x 250 pixels.
- Save the image as a PNG file with the name banner-772x250.png.
- Right-click on a file explorer and select the TortoiseSVN | Repo-Browser menu.
- Enter the address of your plugin repository. For example, for a plugin named Book Reviews, the address would be http://plugins.svn.wordpress.org/book-reviews.
- Create a new top-level directory named assets, at the same level as trunk, tags, and branches.
- Select the assets directory, then drag and drop the new image file in the folder to upload it to the server.
- Specify a Log Message in the dialog that appears to explain why the file is being uploaded.
- Create smaller images that are exactly 256 x 256 pixels and 128 x 128 pixels in size and name the files icon-256x256.png and icon-128x128.png, respectively. The larger icon should be a higher resolution version of the exact content of the smaller one, since it will be used to replace the smaller one on high DPI displays.
- Repeat steps 6 and 7 to upload the two icons to the assets directory.
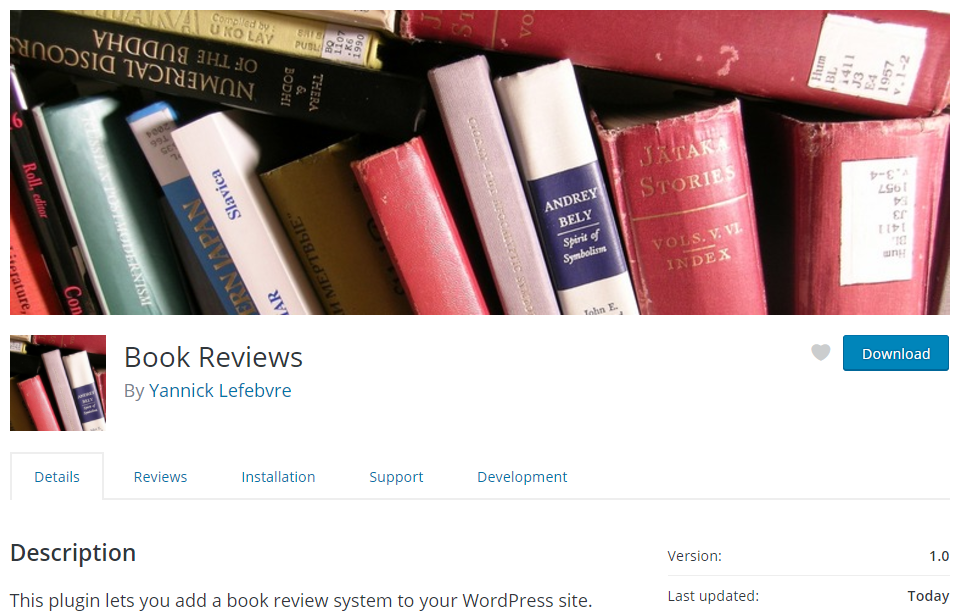
- Visit your plugin's page on https://wordpress.org to see the images in place:
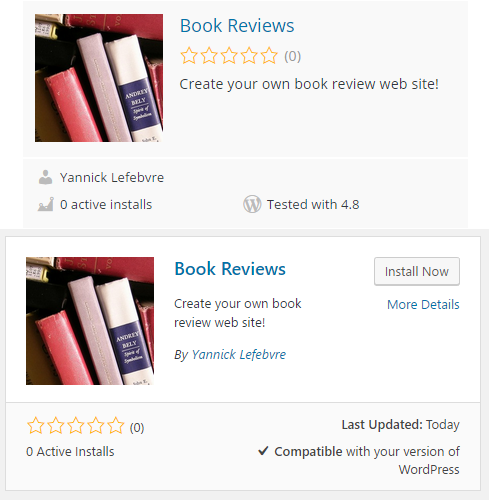
- Search for your plugin through the https://wordpress.org/plugins page or the Add New section of the Plugins management interface of WordPress to see how the icon and short plugin description are used: