- Navigate to the WordPress plugin directory of your local installation in the file explorer if you are not already there.
- Right-click in the white space of the directory window and select the SVN Checkout... menu item.
- Enter the file location of your local Subversion repository in the URL of repository field (for example, file:///c:/WPSVN), if it is not already specified.
- Set Checkout directory to the plugin folder of your local WordPress installation (for example, C:\WPDev\wp-content\plugins).
By default, the TortoiseSVN client adds the word WPSVN at the end of the path used when performing checkouts. Be sure to remove that last part of the path so that all files that are checked out go to the correct location.
- Click Yes on the dialog asking if files should be checked in a folder that is not empty. At this time, TortoiseSVN will retrieve all the files that were added to the repository and copy them locally.
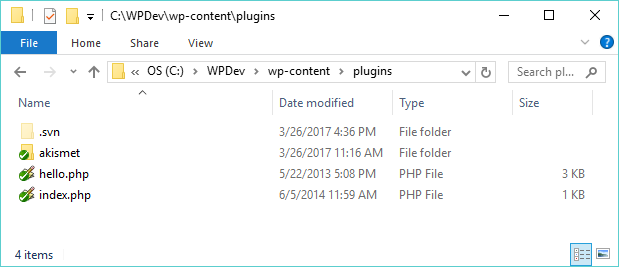
- Once the operation is complete, look back at the file listing in the plugins directory to see that it has changed from its previous state: