The GeoDB layer can be added by following the ensuing steps:
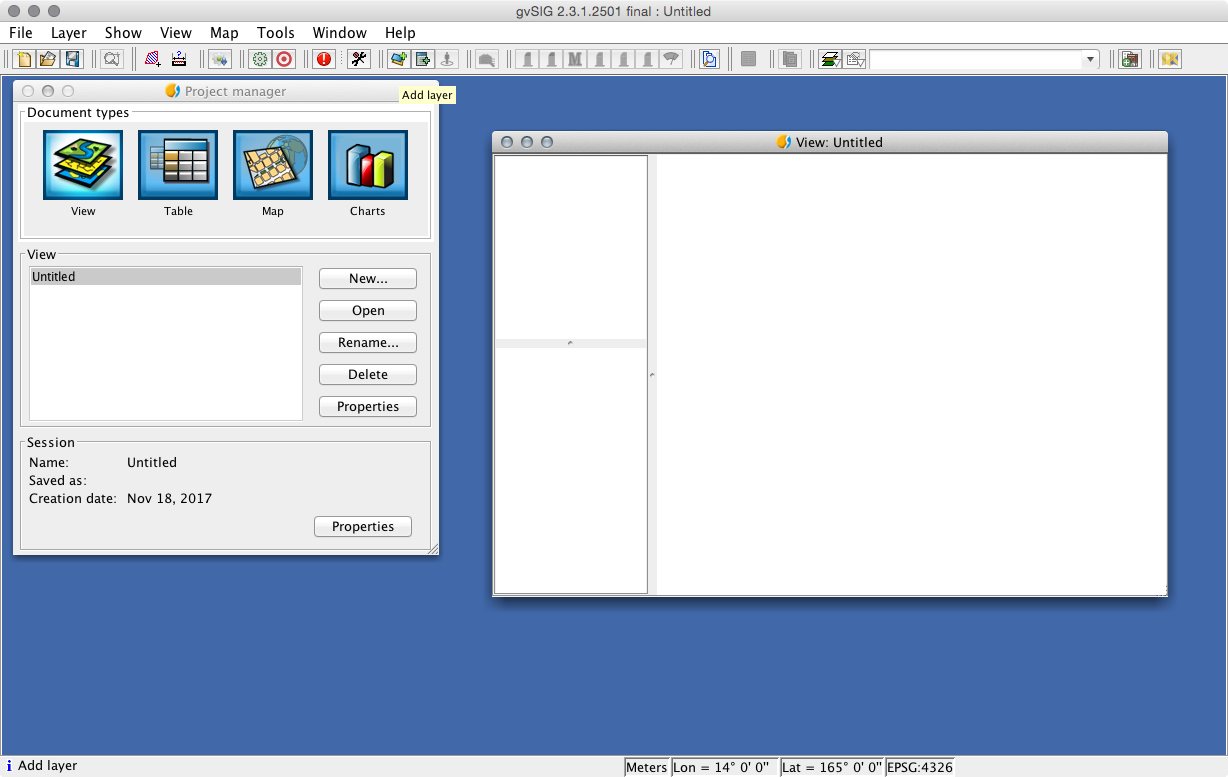
- Select View as the document type in the Project manager section and then click on the New button. A blank view (canvas) will open.
- Click on the Add Layer button on the menu bar, as shown in the following screenshot:
- Next, select the GeoDB tab and click on the button to the right of the Choose connection drop-down menu.
- Enter the values in Connection parameters and make sure to select PostgreSQLExplorer as the value for Driver, as shown in the following screenshot:
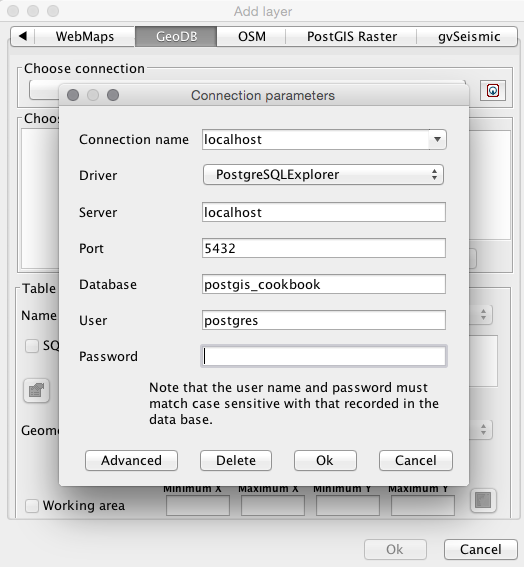
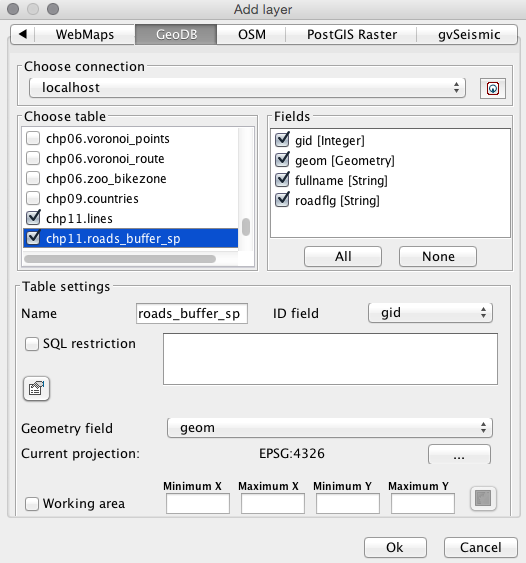
- Click on OK. All of your tables should appear in Choose table. One or many tables can be added at a time. You can also do the following:
- Choose the columns you want to add in each layer
- Select the geometry column to be used in the event of multiple geometries being present
- Give each layer a unique name
- Perform SQL WHERE clause queries to load a subset of a dataset
You can see these steps performed in the following screenshot:
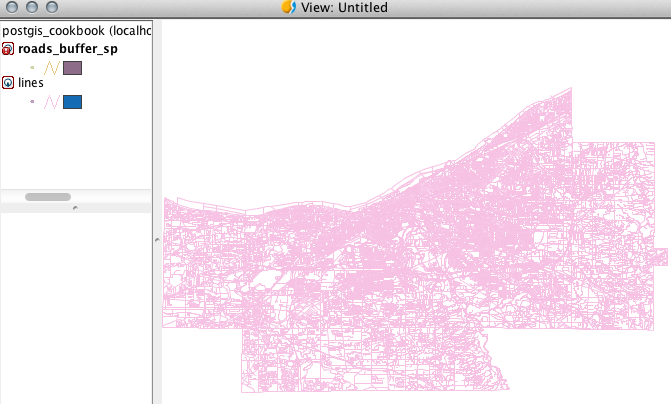
- Click on OK when you're ready. The data will load in the new view that was created, as shown in the following screenshot: