- To prepare the data for Mapbox's GeoJSON format, export the table tracks from Chapter 3, Working with Vector Data – The Basics using ogr2ogr with the following code:
      ogr2ogr -f GeoJSON tracks.json \
      "PG:host=localhost dbname=postgis_cookbook user=me" \
      -sql "select * from chp03.tracks
- Remove the crs definition line on the new .json with your favorite editor:
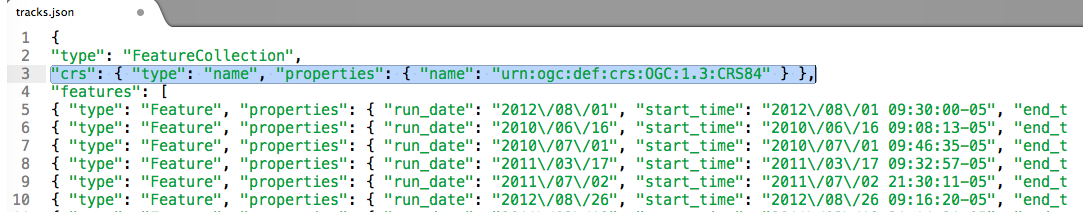
- Go to your Mapbox account and upload in the Datasets menu the tracks.json file. After a successful upload, you will see the following message:
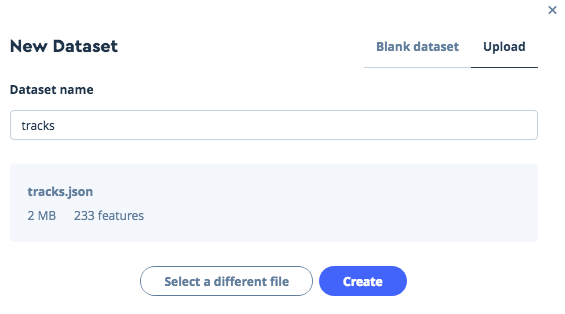
- Create the dataset and export it to a tileset:
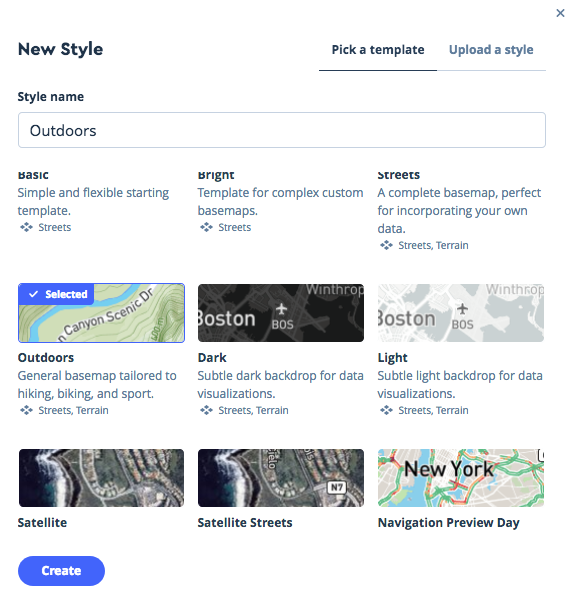
- Now, create a new style with the outdoors template:
- Add the tracks layer and publish it. Note the style URL that you can use to share or further develop your map; copy it to use it in your code.
- Now we are ready to create a mapbox.html file; add the following in the head section to use Mapbox JS and CSS libraries:
      <script src='https://api.mapbox.com/mapbox-gl-js
             /v0.42.0/mapbox-gl.js'></script>
      <link href='https://api.mapbox.com/mapbox-gl-js
            /v0.42.0/mapbox-gl.css' rel='stylesheet' />
- Insert a map with your token and the style we've just created in the body:
        <div id='map' style='width: 800px; height: 600px;'></div>
        <script>
          mapboxgl.accessToken = YOUR_TOKEN';
          var map = new mapboxgl.Map({
            container: 'map',
            style: 'YOUR_STYLE_URL'
          });
          // Add zoom and rotation controls to the map.
          map.addControl(new mapboxgl.NavigationControl());
        </script>
- That's it, you can double-click and open the HTML with your favorite browser and the Mapbox API will serve your map:
