Use the following steps to back up a database:
- Start backing up the chapter10 database by executing the following command:
> pg_dump -f chapter10.backup -F custom chapter10
We use the -f flag to specify that the backup should be placed in the chapter10.backup file. We also use the -F flag to set the format of the backup output as custom - the most flexible and compressed of pg_dump's output formats by default.
- Inspect the backup file by outputting the contents onto a SQL file by executing the following command:
> pg_restore -f chapter10.sql chapter10.backup
After creating a backup, it is good practice to make sure that the backup is valid. We do so with the pg_restore PostgreSQL tool. The -f flag instructs pg_restore to emit the restored output to a file instead of a database. The emitted output comprises standard SQL statements.
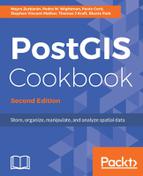
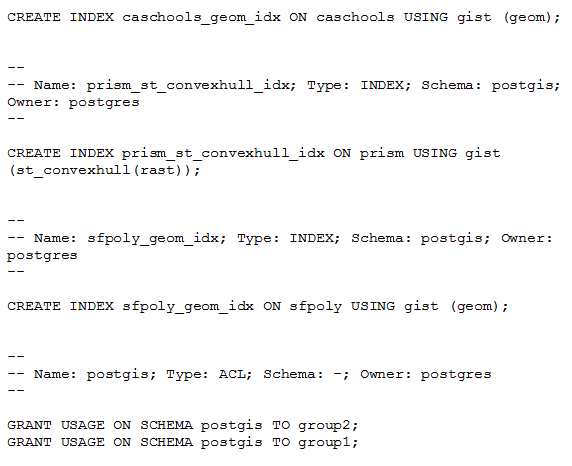
- Use a text editor to view chapter10.sql. You should see blocks of SQL statements for creating tables, filling created tables, and setting privileges, as shown here:
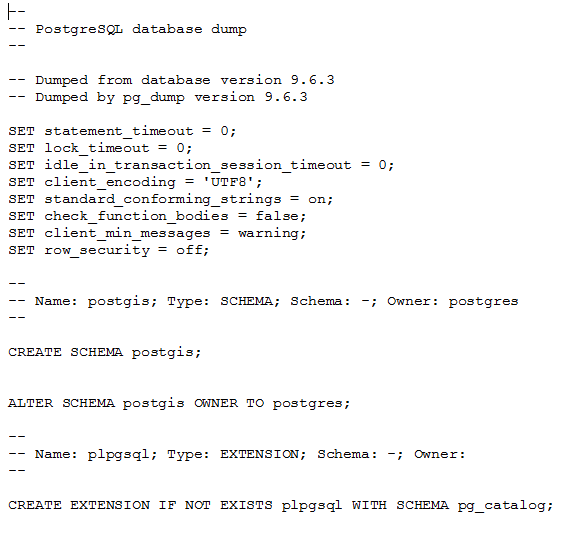
And the files continue to show information about tables, sequences, and so on:
- Because we backed up the chapter10 database using the custom format, we have fine-grained control over how pg_restore behaves and what it restores. Let's extract only the public schema using the -n flag, as follows:
> pg_restore -f chapter10_public.sql -n public chapter10.backup
If you compare chapter10_public.sql to the chapter10.sql file exported in the preceding step, you will see that the postgis schema is not restored.