The data source layer can be added by performing the following steps:
- Click on the Open (folder) icon or go to File | Open.
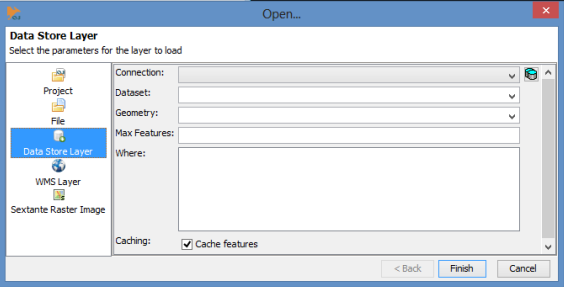
- Select Data Store Layer from the left-hand-side menu, as shown in the following screenshot:
- Click on the icon to the right of the Connection dropdown to open the connection manager.
- Click on the Add button. This will prompt a new window to appear in which you must enter your database parameters:
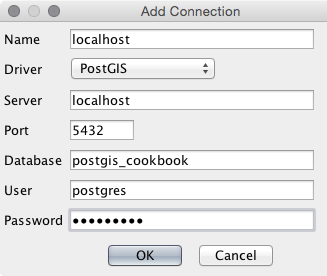
- Enter a name for the connection and then enter values for the following database parameters:
-
- Server/Host
- Port
- Database
- Username
- Password
- Then click on OK. You are now connected to the database.
- Check for typos and errors if a connection error message appears. If the connection is successful, select the connection and click on OK.
- Now you can select the lines table to add, as shown in the following screenshot:
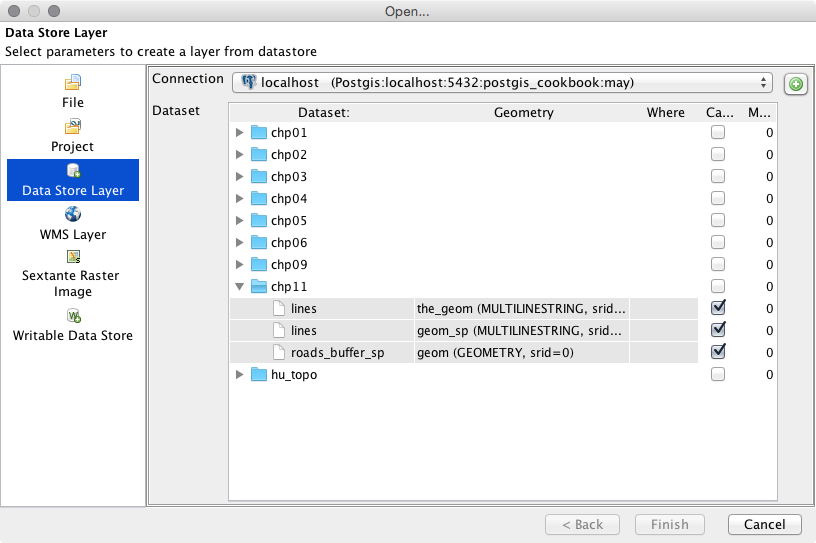
If multiple geometry columns exist, you may choose the one you want to use. Add the data's state plane coordinator geometry (geom_sp), as shown in the Using the Database Manager plugin – QGIS recipe.
Simple SQL WHERE clause statements can be used if only a subset of a table is needed.
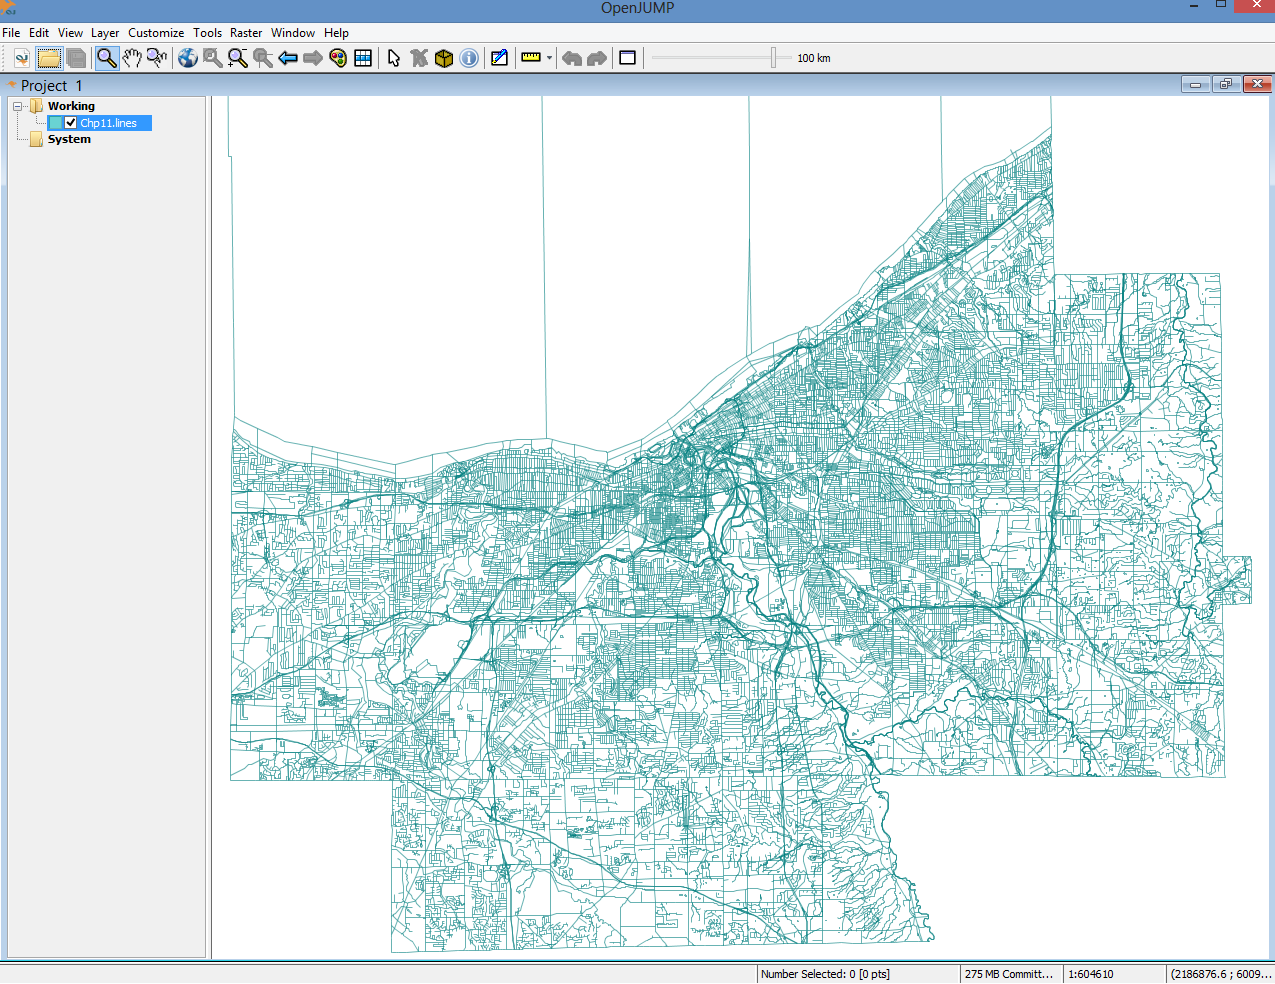
- Click on Finish to load the dataset into the main window, as shown in the following screenshot:
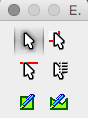
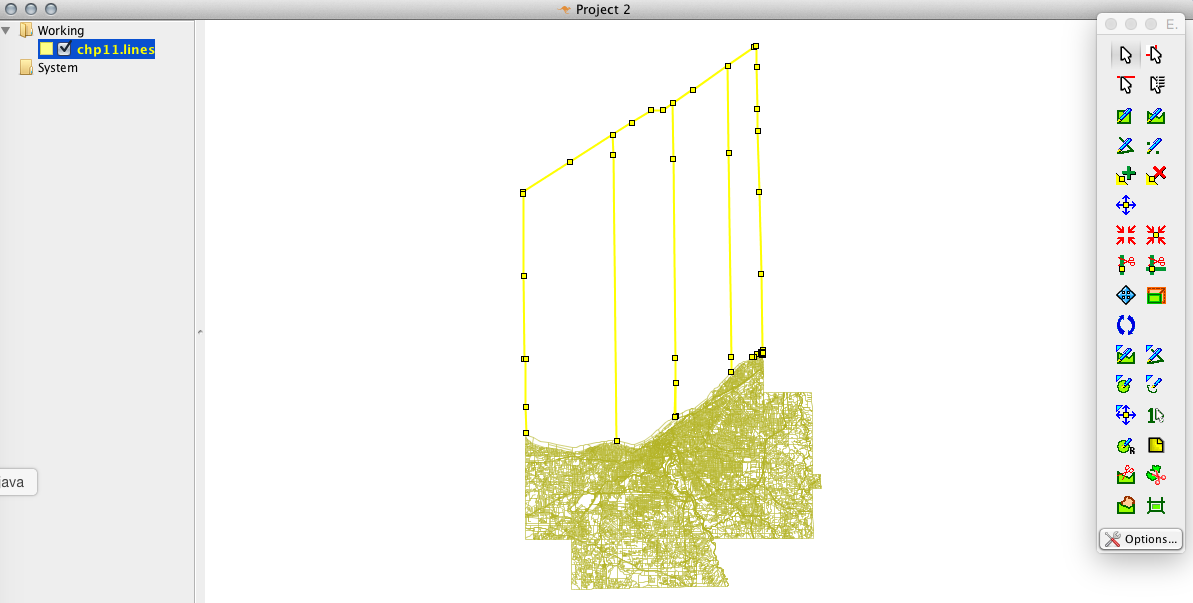
- Now make a quick edit to the temporary layer and save it back to the database. Select the Editing Toolbox button. When the toolbox is loaded, click on the Select Features Tool button (to the top-left corner of the screen), as shown in the following screenshot:
- Select some of the lines, as shown in the following screenshot, that look out of place on the map. In particular, the lines to the North of the county; these actually jet out into Lake Erie. You can select multiple lines by clicking and dragging a rectangle with the cursor or by holding Shift while clicking on line segments. Hit the Delete key (or Fn + Delete on macOS) once you have selected some lines to remove them from the data:
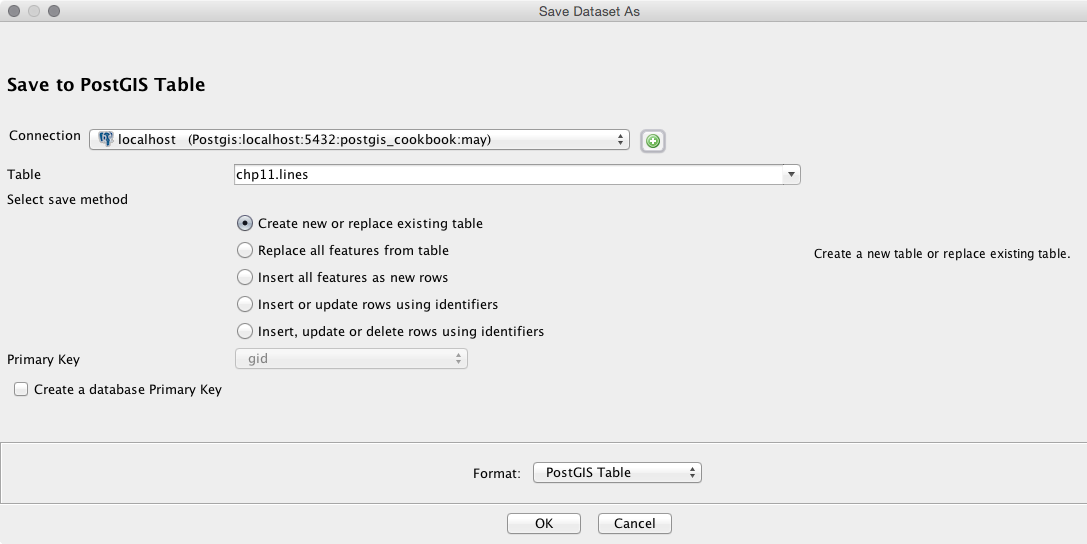
- Save the changes made to the layer and replace the existing table in the database with the edited copy. Right-click on the layer name on the left panel and then select Save Dataset As.
- Select your PostGIS connection with the Connection drop-down menu, choose the appropriate table name, and then make sure that the Create new or replace existing table option is selected, as shown in the following screenshot:
- Click on OK; you have now successfully edited a PostGIS table in OpenJUMP.