Let's make sure the plugin is enabled and connected to the database.
- Click on the Plugins menu located on the QGIS menu bar and select Manage and Install Plugins from the drop-down menu, as shown in the following screenshot:
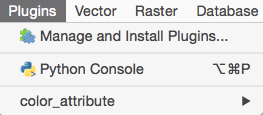
- The QGIS Plugin Manager window will open. Search for DB Manager in the list of plugins and make sure it is checked (enabled), as shown in the following screenshot:
- Now that DB Manager is enabled, let us open the plugin and check the status of the database connection. Open DB Manager by navigating to Database | DB Manager from the QGIS menu bar, as shown in the following screenshot:

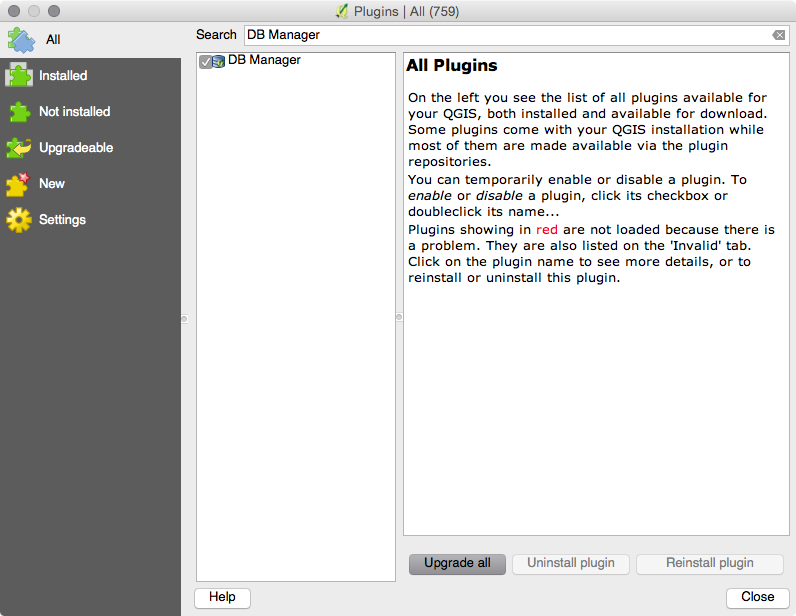
- Expand the PostGIS directory within the Tree window of DB Manager. The PostGIS connection created in the last recipe will appear. Expand the connection to view your schema(s) and table(s). You will be asked for a username and password if you opted not to save your credentials.
On the Info tab above the main window, you can view information about the data, such as spatial reference, geometry type, field names, field types, and much more, as in the following screenshot:
A PostGIS connection is not in place if you are unable to expand the PostGIS menu. If you need to establish a connection, refer to steps 1 to 4 in the Adding PostGIS layers – QGIS recipe. The connection must be established before using DB Manager.