
Now, to test this out I'm going to save the server file and start up the server over in the Terminal. I'll use clear to clear the Terminal output and we can run npm start to start up the app. The app is up and running on port 3000, so over inside of Postman we can make some requests to see exactly how this works. I'm going to switch to the Todo App Local environment and make a GET /todos request so we can get a real ID for one of our Todo items, and you can see we have some old data from our tests right here:
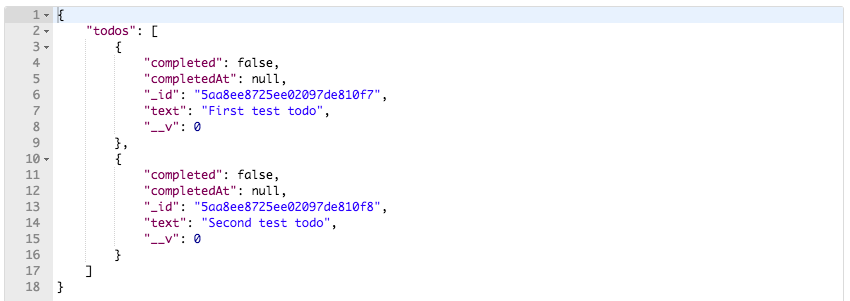
I'm going to grab this second one with a text property equal to Second test todo, then I'm going to go ahead and create a new request, changing the method from GET to PATCH. We're going to provide our URL, it'll be {{url}}, then we'll have /todos/ the ID we copied:

Now remember, the PATCH request is all about updating the data so we have to provide that data as the request body. I'm going to go to Body | raw | JSON in order to do just that. Let's go ahead and make some updates to the Todo. I'm going to set "completed": true and if you look in the GET /todos tab you can see that second Todo has a completed value of false so it should change and the completedAt property should get added. With the request set up I'm going go ahead and send it off:

We get our todo, completed is set to true, and completedAt is set to the timestamp. Now I can also go ahead and tweak this, changing "completed": true to "completed": false to send off the request; this now sets "completed": false and clears completedAt. Lastly, we could go ahead and do something like setting the text property. I'm going to set it back to true and add a second property, text, setting that equal to Updates from postman. I can fire off this request and down below we get our Todo, looking just as we had expected it to look:

We have our text update; we also have our completed update and the timestamp showing up in the completedAt field. With this in place, we now have the ability to get, delete, update, and create Todo items—those are the four main CRUD actions.
The next thing we're going to do is write some tests that verify patch works as expected, so we can automatically run them and catch any regressions in our code. For now, that is it, we are going to go ahead and, in the Terminal, make a commit and push our changes. We'll push them up to Heroku and test that out as well. git status reveals that we have just those two changed files which means we can use git commit with the -am flag to make the commit. A good message for this one is, Add PATCH /todos/:id:
git commit -am 'Add PATCH /todos/:id'
I'm going to make the commit and push it up to GitHub, and once it's on GitHub we can push it up to Heroku using the following command:
git push heroku master
Remember, the master branch is the only branch Heroku has access to; we're not going to be using branching in this book, but in case you already know branching and you're running into any issues, you do need to push to the Heroku master branch to have your app redeploy. Like I said, that is not an issue if you're using all the commands as I use them.
Now that the app is deployed, we can go ahead and open it up; we're going to open it up by making requests inside of Postman. I'm going to switch to the Todo App Heroku environment, then I'm going to go ahead and inside of GET /todos, fire off the request:

These are all the Todos available on Heroku. I'm going to grab this first one. I'm going to go over to the PATCH request, swap out the ID, and keep the same body. I'm going to set "completed": true and "text": "Updates from postman":

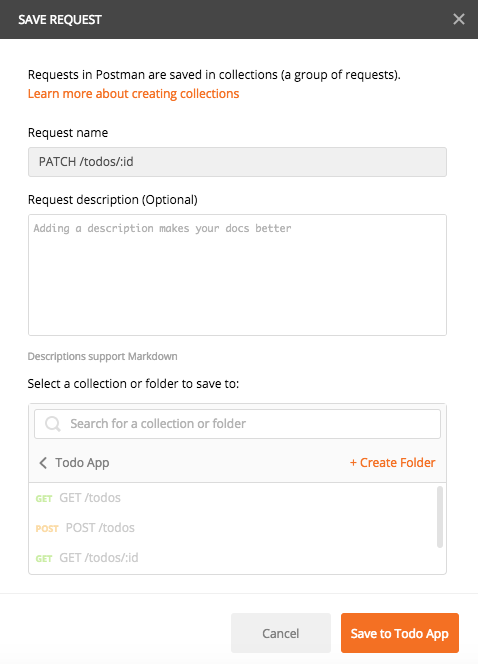
When we send that off, we get back the updated Todo. completed looks great, completedAt looks great, and text looks great as well. Now I'm going to go ahead and add this to my collections; the patch call is going to come in handy down the line, so I will click Save As, giving it the name we've used for all of ours, the HTTP method followed by the URL. I am going to save it to our existing collection, Todo App:
With this in place, we are done; we have our patch route working and it's time to move onto the next section where we will test this code.