
The last thing we're going to talk about in this section is the disconnect event, which lets you do something on both the server and the client when the connection drops. We'll add an event listener on the client, and do the same thing on the server.
On the client, next to our connect event, we can call socket.on again to listen to a new event. Once again, the name of the event here is the name of a built-in event, so it's only going to work if you type it correctly. This one is called disconnect:
socket.on('disconnect');
The disconnect event is going to fire whenever the connection drops. If the server goes down, the client is going to be able to do something. For now, that something is just going to be log a message, console.log('Disconnected from server'):
socket.on('disconnect', () => {
  console.log('Disconnected from server');
});
Now that we have this message in place, we can actually save our index.html file. Go over to the browser and give it a refresh to load in our new JavaScript file. Go ahead and make your browser screen just a little bit smaller so we can see it in the background of the Terminal.
I'll go to the Terminal, shut down the connection by shutting down the server, and over inside the browser, we get Disconnected from server printing to the screen:

If I restart my server inside the Terminal, you can see we've automatically connected, as Connected to server prints to the screen:

Now, the exact same event exists on the server. We can listen for a disconnecting client and we can do something when they leave. In order to register this event, you are going to go into server.js, and inside our callback, you're going to call socket.on in server.js, just like we did in the index.html file. It's the exact same signature. The first argument is the event name, disconnect. The callback function should do something simple, like print client disconnected.
Once you have that in place, what I want you to do is open up the browser and open up the Terminal, then close the browser tab. You should see the message print in the server—whatever message you happened to type here. Open up another browser tab, close it, and make sure you get the same message. This message should print every time one of your browser tabs closes, assuming that browser tab had an open connection.
Now, to do this, all you need to do is copy the exact same signature as we used in the io.on method. socket.on takes two arguments: the first one is the name of the event we're trying to listen to, disconnect; and the second argument is the function to run when the event fires:
socket.on('disconnect', () => {

});
In this case, all we're going to do is use console.log to print User was disconnected, just like this:
socket.on('disconnect', () => {
  console.log('User was disconnected');
});
Then, we'll save the file, which is automatically going to restart our application. Switch to the Terminal and then to the browser, so you can see the Terminal in the background. I'm going to open up a new tab, so when I close this currently open tab, the Chrome browser doesn't close completely. Close the tab with the open connection and, as shown in the following screenshot, inside the Terminal, we get User was disconnected:

If I open up a new tab and go to localhost:3000, then New user connected prints. As soon as I close it, User was disconnected prints to the screen on the server. Hopefully, you're starting to see why WebSockets are so awesome—that instant two-way communication makes any sort of real-time application effortless to build.
Now, let's wrap this one up with a commit. I'll shut down our server and run git status. We can see that we only have modified files:
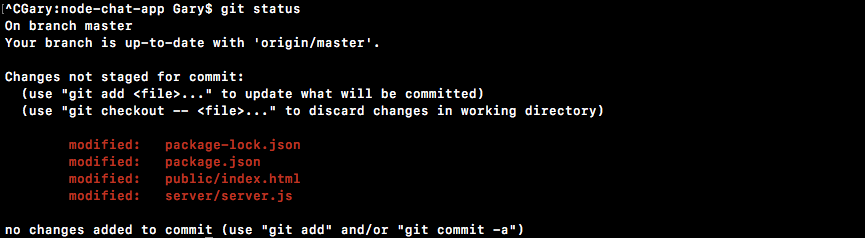
So, git commit with the -am flag is going to get the job done. We can add our message, Add connect and disconnect event handlers:
git commit -am 'Add connect and disconnect event handlers'
I'll make the commit and push it up to GitHub by using the git push command.
With that in place, we are done. In the next section, we're going to get into the very interesting stuff—you're going to learn how to emit and listen to custom events. This means you can send any data you like from the server to the client, and vice versa.