
The next thing that we'll do is configure the server to use Socket.io—that's the entire reason we made this change. Next to the server variable, we'll make a variable called io.
We'll set it equal to a call to socket.io and pass in server, which we want to use with our WebSockets:
var server = http.createServer(app);
var io = socketIO(server);
Now we have access to that server via the server variable, so we'll pass it in as the first and only argument. Now, what we get back is our WebSockets server. On here, we can do anything we want in terms of emitting or listening to events. This is how we're going to communicate between the server and the client, and we'll talk more about that later in this section.
With this in place, our server is ready to go; we are ready to accept new connections. The problem is that we don't have any connections to accept. When we load our web page, we're not doing anything. We're not actually connecting to the server. We are going to need to manually run some JavaScript code to initiate that connection process.
Now, when we integrated Socket.io with our server, we actually got access to a few cool things. First up, we got access to a route that accepts incoming connections, which means that we can now accept WebSocket connections. Plus, we got access to a JavaScript library, which makes it really easy to work with Socket.io on the client. This library is available at the following path: localhost:3000/socket.io/socket.io.js. If you load this JavaScript file in the browser, you can see it's just a really long JavaScript library:

This contains all of the code we'll need on the client to make the connection and to transfer data, whether it's from server to client or client to server.
What we'll do in order to make the connection from our HTML file is load this in. I'll go back to localhost:3000. Now, we can go ahead and move into Atom, opening up index.html, and near the bottom of the body tag, we'll add a script tag to load in the file we just pulled up in the browser.
First up, we'll make the script tag itself, opening and closing it, and in order to load in an external file, we'll use the src attribute to provide the path:
<body>
  <p>Welcome to the chat app</p>

  <script src=""></script>
</body>
Now, this path is relative to our server. It's going to be /socket.io/socket.io.js, which is exactly as we typed it in the browser earlier:
<script src="/socket.io/socket.io.js"></script>
By adding the script tag, we're now loading in the library. On the browser, we have access to all sorts of methods available, thanks to the socket library. One of those methods is going to let us initiate a connection request, and that's exactly what we're going to do in the next line. Let's add a second script tag. This time, instead of loading an external script, we'll write some JavaScript right in the line:
<script src="/socket.io/socket.io.js"></script>
<script>

</script>
We can add any JavaScript we like, and this JavaScript is going to run right after the Socket.io library loads. A little bit later on, we'll be breaking this out into its own file—but for the moment, we can simply have our JavaScript code right inside our HTML file. We're going to call io:
<script src="/socket.io/socket.io.js"></script>
<script>
  io();
</script>
io is a method available to us because we loaded in this library. It's not native to the browser, and when we call it, we're actually initiating the request. We're making a request from the client to the server to open up a WebSocket and keep that connection open. Now, what we get back from io is really important; we'll save that in a variable called socket, just like this:
<script src="/socket.io/socket.io.js"></script>
<script>
  var socket = io();
</script>
This creates our connection and stores the socket in a variable. This variable is critical to communicating; it's exactly what we need in order to listen for data from the server and send data to the server. Now that we have this in place, let's go ahead and save our HTML file. We'll move into the browser and open up Chrome Developer Tools.
To open up Developer tools, we go to Settings | More tools | Developer tools. You can also use the keyboard shortcut particular to your operating system. When you open Developer tools, you're going to be greeted with an overwhelming set of options, as shown here:
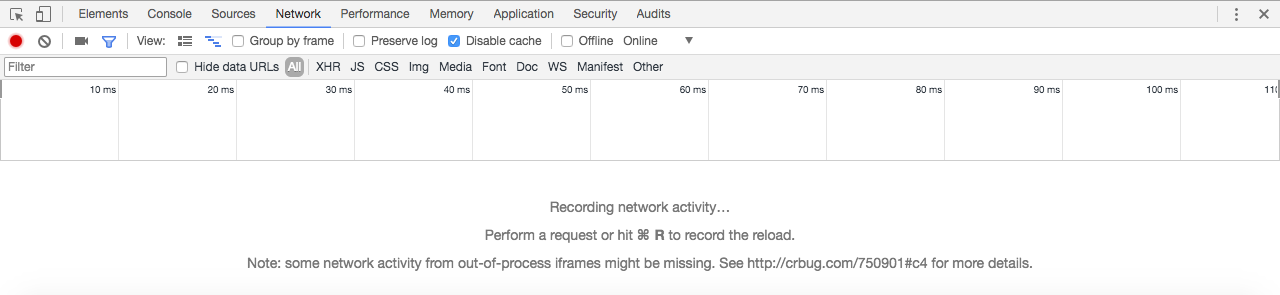
You're most likely brought to the Elements panel if you've never used Chrome Developer Tools before. The panel we're going to be using right now is the Network panel.
The Network panel keeps track of all of the requests made by your web page. So, if I make a request for a JavaScript file, I'm going to see that in a nice list, as shown in the preceding screenshot.
We're going to have to refresh the page in order to see the list of network requests; right here, we have five:
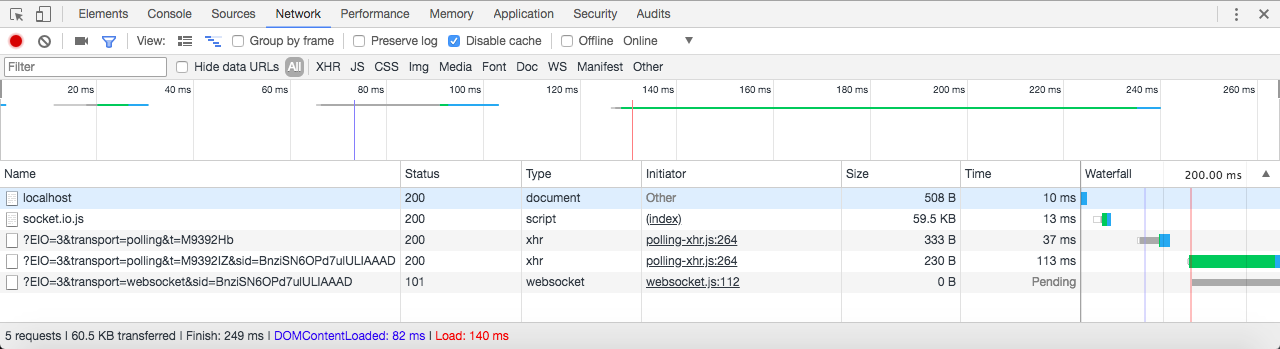
The network request at the very top is the first one that was made, and the one at the very bottom is the last one that was made. The first one was for the localhost:3000 page, which was for the HTML file that loads Welcome to the chat app. The second one is for that JavaScript file that we saw on the browser, which gives us the library and gives us access to calling that io method that starts the connection process. The next four are all related to starting up and maintaining that connection. With this in place, we now have that live connection between the client and the server, and we can start communicating whatever we want to communicate.