
We can create a second one; this one will be called Todo App Heroku and we're going to set the url key once again. This time though we're setting it equal to the value I copied to the clipboard, the Heroku application URL:
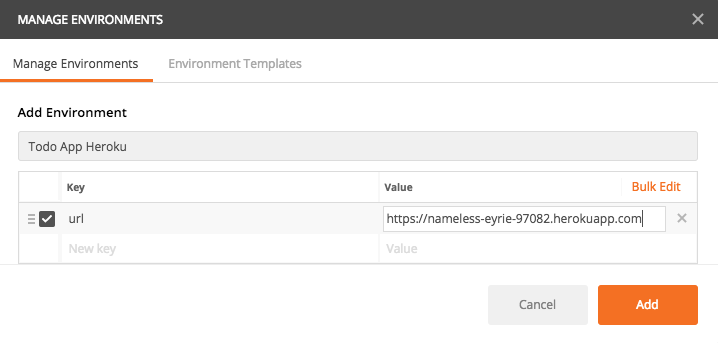
I'm going to add that, now we have our two environments and I can close that window manager.
I'm going to close all of my tabs and I'm not going to make any changes by saving, then I'm going to go to GET /todos. Now, currently, GET /todos automatically fetches from localhost. What we're going to do is replace the URL, everything before the slash, with the following syntax, which will look similar if you're familiar with any templating engines: two curly braces followed by the variable name, url, followed by two closing braces, {{url}}. This is going to inject the URL meaning that the GET /todos request is now dynamic. We can change which endpoint it requests from, localhost or Heroku, based on the environment. I'm going to save this request and fire it off, and you'll notice when you try to fire this request that we get an error:
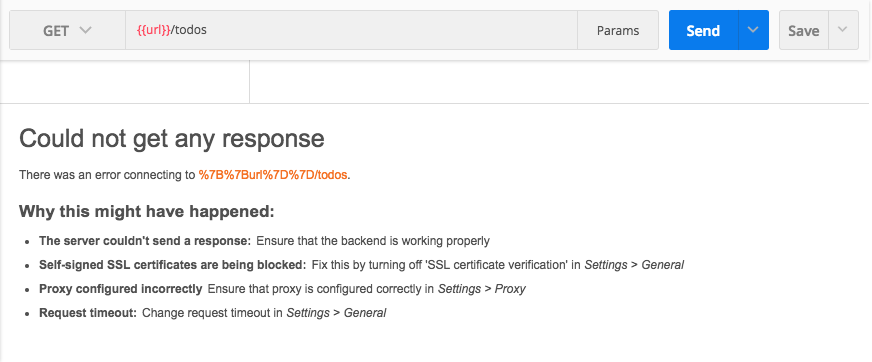
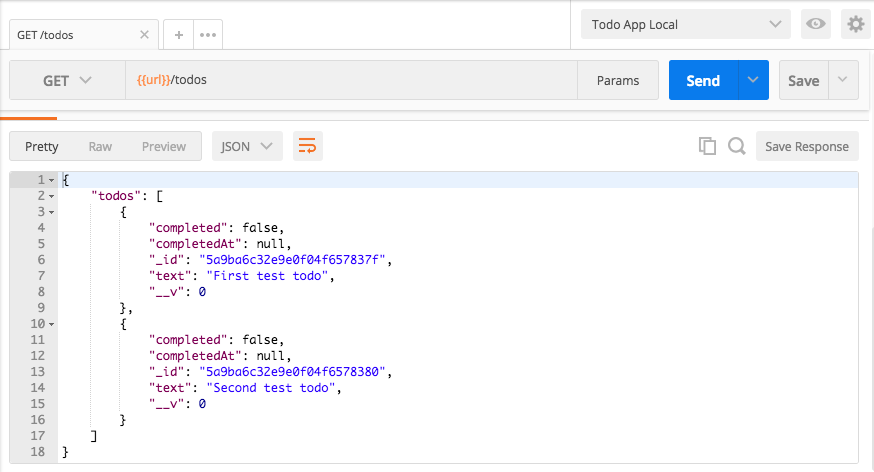
It's trying to make a request to a URL that starts with the curly braces; it is the encoded character, url, the closing curly braces, and todos. That's because the url variable is currently not defined. We need to switch to an environment. Over in the environments list we now have Todo App Heroku and Todo App Local. If I click Todo App Local and send that request off, I get my two items in the local database:
If I switch over to Todo App Heroku, this is going to make a request to the Heroku application. It's going to be updating the URL and when we fire it off we get a different set of data:
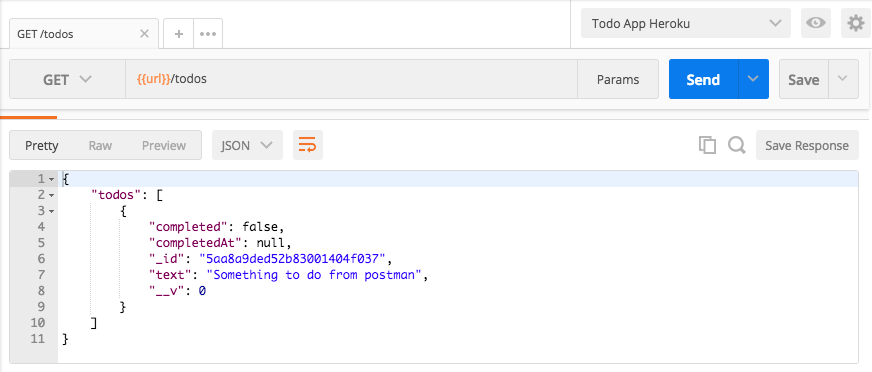
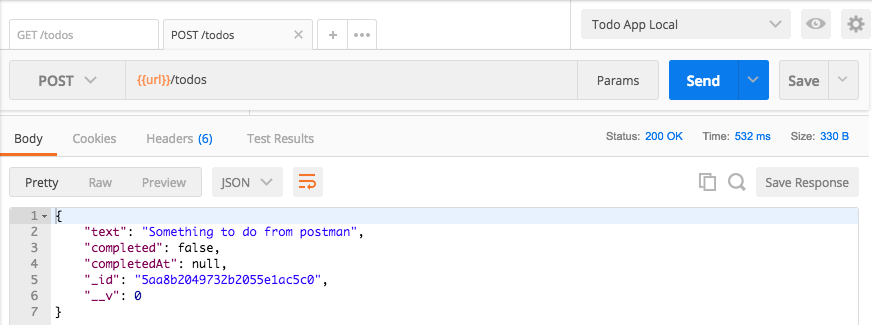
This time around all we have is our one Todo item, the one that's available on the Heroku application. With this in place, GET /todos can now easily be used to fetch localhost or Heroku items, and we can do the same thing with our POST /todos request. I'm going to replace the URL with curly braces, and inside of those curly braces we'll have the url variable. Now I can go ahead and save this request, fire it off, and it's going to make a new Todo on the Heroku application:

If I switch to the Todo App Local, we can fire that off and now we have a new Todo on the Local environment:
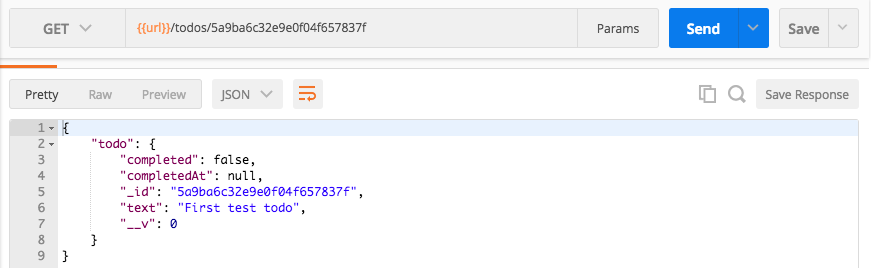
The last request to change is going to be the GET /todos/:id request. We're going to take that localhost:3000 once again, then we're going to go ahead and replace it with url just like this, {{url}}, and now we are done. We can save the request and we can go ahead and fire it off. Now, this one has a second variable:

This is the actual Todo ID; you could add this as a variable as well. For now though, since it's going to change as we add and delete Todos, I'm going to simply grab one from the local database, move into the GET /todos request, swap it out, and send it off, and we get our todo back:
If I make it a Todo ObjectID that doesn't exist, by changing one of the numbers to 6, I get a 404 status code. Everything is still working as expected, and it's also going to work in the Heroku environment. I'm going to fetch all the todos from the Heroku environment, grab one of the _ids, move to the GET /todos/:id request, swap out the ID, send it off, and we get the todo item.
Hopefully you're starting to see why these Postman Environments are so convenient. You can easily switch between two environments, changing exactly what happens to the request. Now, in this case, we happen to only have one variable url; you could add others, and we will a little bit later. For now though, that is it, we have a way to swap between the two environments inside of Postman. Now that we have this in place, we're going to move back into the Atom editor and we're going to start adding new routes. There's two more to go. In the next section, you're going to learn how to delete Todos by ID.