
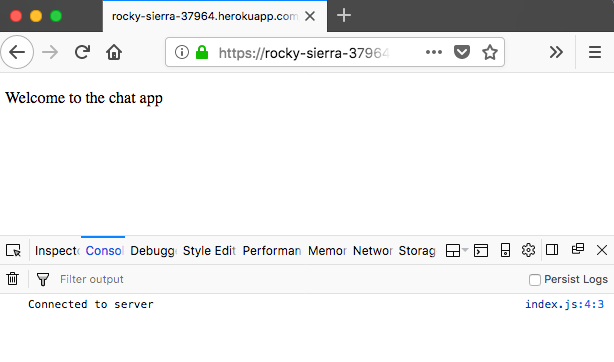
Now, to demonstrate this, what I'll open up a separate browser. I'll open up Firefox and type in the exact same URL. Then, I'll copy this URL and grab the Firefox browser, making it smaller so we can quickly switch between the two, opening up the Heroku app here:

Now, Firefox also has Developer Tools available via the menu in the top-right corner. There, we have a Web Developer section; we're looking for Web Console:
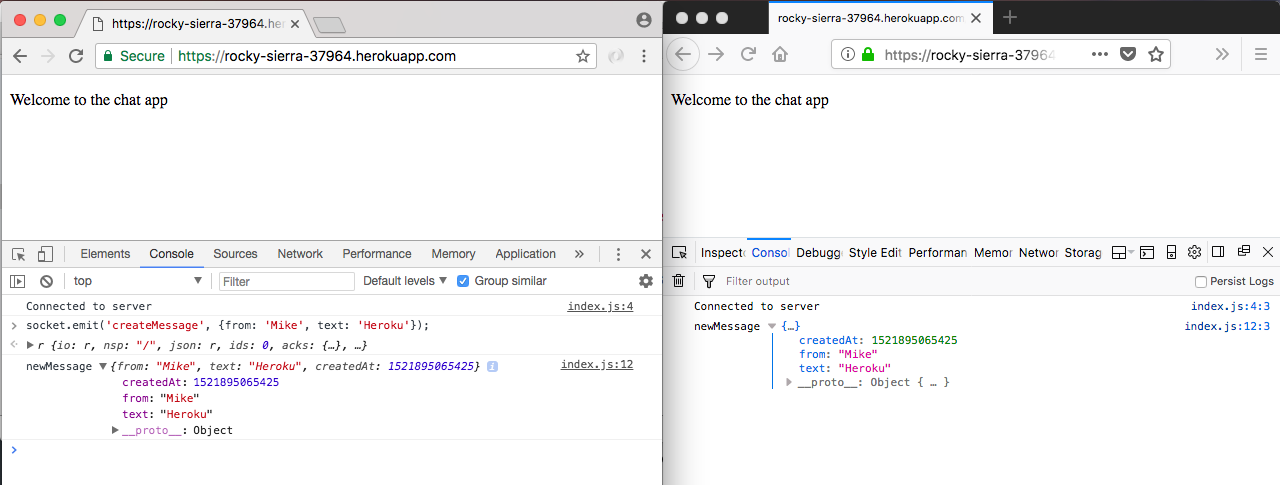
Now that we have this open, we can go into Developer tools for our Chrome tab connected to the Heroku application, and what we'll do is emit an event using socket.emit. We'll emit a createMessage event. We'll specify our custom properties inside of the object, then we can go ahead and have from set to Mike, and we can set the text property equal to Heroku:
socket.emit('createMessage', {from: 'Mike', text: 'Heroku'});
Now, when I go ahead and emit this event, everything should work as expected. We're calling socket.emit and emitting createMessage. We have our data, which means it will go to the Heroku server, which will send it over to Firefox. We'll send this off, which should mean we get newMessage in Chrome Developer tools. Then, inside Firefox, we also have the message. It's from Mike, the text is Heroku, and we have the createdAt timestamp added by our server:
With this in place, we have a messaging system—not only working locally, but also on Heroku—which means anybody in the world can visit this URL; they can emit the event, and everyone else connected is going to see that event in the console.
Now that we've tested it out across browsers, I will close Firefox, and we'll move on to the second part of this section.