
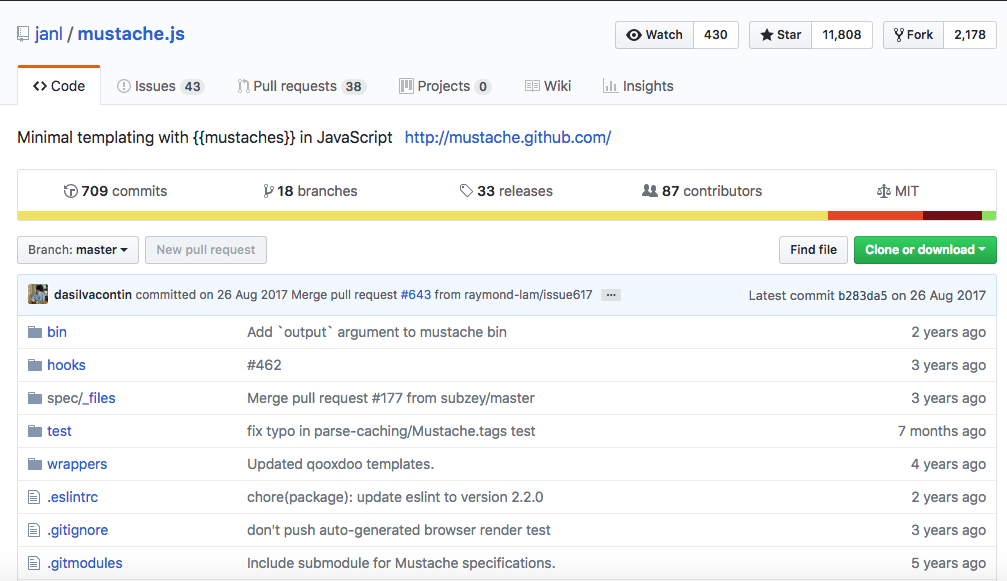
Now in order to get started before we actually create any templates or render them, we do need to download the library. We can get this by going to Google Chrome and Googling mustache.js, and we're looking for the GitHub repository, which in this case happens to be the first link. You can also go to mustache.github.io and click on the JavaScript link to get to the same location:
Now once you're here, we do want to grab a specific version of the library. We can go to the Branch drop-down and switch from Branches to Tags. This is going to show us all the versions that were released; the version I'm going to be using here is the most recent one 2.3.0. I'm going to grab that, it's going to refresh the repository next, and we're looking for a file called mustache.js. This is the library file we're going to need to download and add in to index.html:
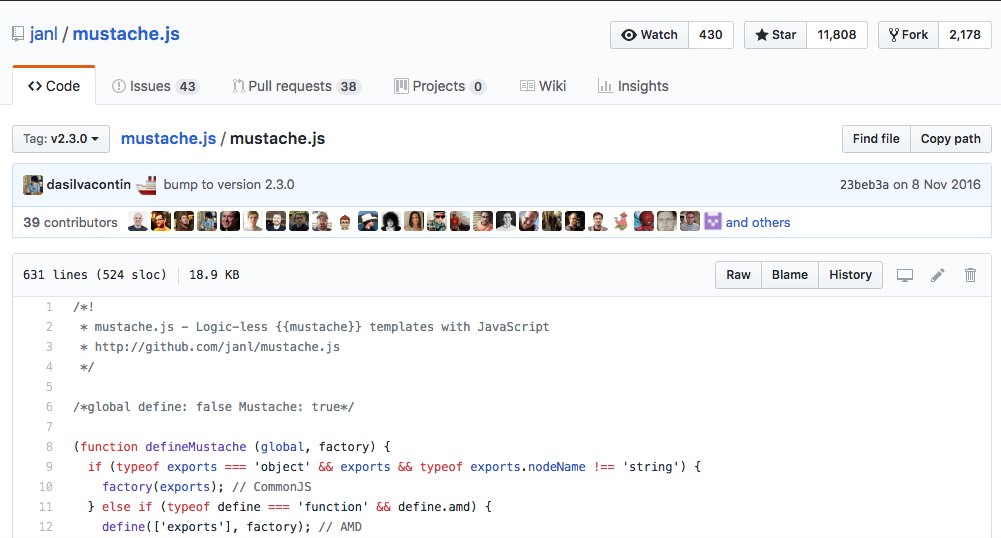
I can click on Raw to grab the raw JavaScript file, and I can go ahead and save it into the project by right-clicking and clicking on Save As.... I'm going to go into the project on the desktop, the public | js | libs directory, and right there we're going to add the file.
Now once you have the file in place, we can kick things off by importing it inside index.html. Near the bottom, we currently have script tags for jquery and moment. This one is going to look pretty similar. It's going to be a script tag, then we'll add that src attribute so we can load in the new file, /js/libs, and finally it's /mustache.js:
<script src="/js/libs/moment.js"></script>
<script src="/js/libs/mustache.js"></script>
Now with this in place, we can go ahead and create a template and render it.