
In this section, you're going to deploy the Todo API to Heroku so anybody with the URL can access these routes, adding and fetching Todo items. Now, before we can push it to Heroku, there are quite a few things we need to change, small tweaks to get it ready for the Heroku servers. One of the bigger tweaks is going to be to set up a real MongoDB database because currently we use a localhost database and this is not going to be available once we get our app on Heroku.
To kick things off we're going to move into the server file and set up the app variable to use the environment port variable that Heroku is going to set, which we did in the previous section when we deployed to Heroku. If you remember, what we did was we created a variable called port and we set that equal to process.env.PORT. This is the variable that may or may not be set; it's going to be set if the app is running on Heroku, but it won't be set if it's running locally. We can use our || (OR) syntax to set up a value if a port is not defined. This is going to be used on the localhost and we're going to stick with port 3000:
var app = express();
const port = process.env.PORT || 3000;
If the process.env.PORT variable is there, we're going to use it; if it's not we'll use 3000. Now, we need to swap out 3000 in app.listen with the port, which means our call to app.listen is going to have port passed in and our string below is going to get switched to a template string, so we can inject the actual port. Inside app.listen I'll use Started up at port, then I'm going to inject the actual port variable into the template string:
app.listen(port, () => {
   console.log(`Started on port ${port}`);
});
Alright, the port is set up and now we can move into the package.json file. There's two things we need to tweak. First up, we need to tell Heroku how to start the project. This is done via the start script. The start script is the command that Heroku is going to run to start the application. In our case it's going to be node, then we're going to go into the server directory and we're going to run the server.js file. I have a comma at the end and we are good to go with the start script:
"scripts": {
  "start": "node server/server.js",
  "test":"mocha server/**/*.test.js",
  "test-watch":"nodemon --exec 'npm test'"
}
The next thing we need to do is tell Heroku which version of Node we want to use. The default version currently is a v5 version of Node and that's going to cause some problems because we take advantage of a lot of ES6 features in this project, and those are available in v6 of Node. In order to figure out exactly what version of Node you're using, you can run node -v from the Terminal:

Here I'm using 9.3.0; if you're using a different v6 version that is perfectly fine. Over inside of package.json we're going to tell Heroku to use the same version we're using here. This gets done by setting up an engines property, and engines lets us specify various versions for things that Heroku lets us configure. One of these is node. The property name will be node and the value is going to be the version of Node to use, 6.2.2:
"engines": {
  "node": "9.3.0"
},
Now our package.json file is ready for Heroku. Heroku knows how to start the app and it knows exactly which version of Node we want to use, so we won't get any weird errors when we deploy.
With package.json out of the way, the last thing we need to do is set up a database, and we're going to do this with a Heroku add-on. If you go to Heroku's website and click on any of your apps, we haven't created one for this one, so click on an app from the previous section. I'm going to go ahead and click on one of mine. You're going to see a little dashboard where you can do quite a few things:
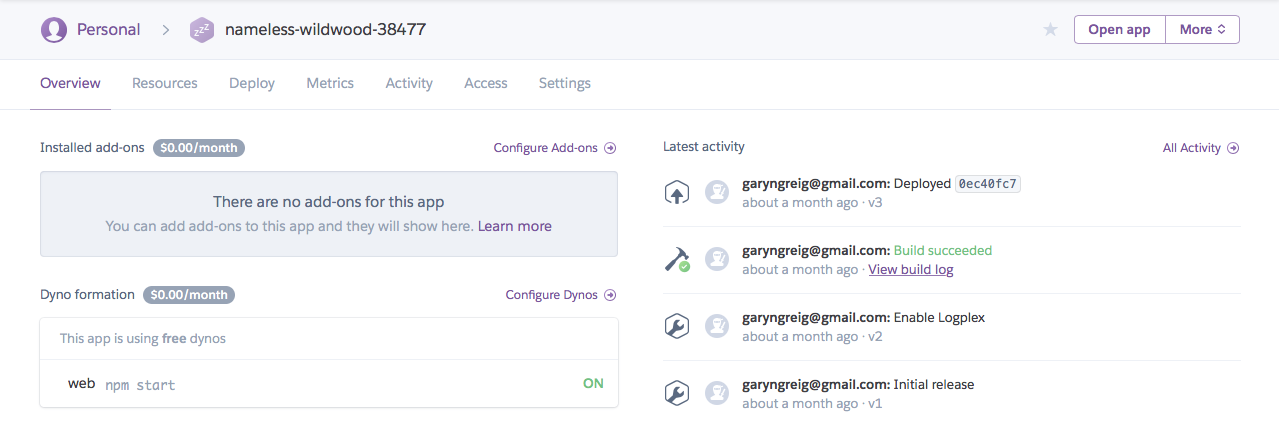
As shown in the preceding screenshot, you can see there's an Installed add-ons section, but what we really want is to configure our add-ons. When you configure your add-ons you're able to add all sorts of really cool tools that come built in to Heroku. Now, not all of these are free but most of them have a good free plan:
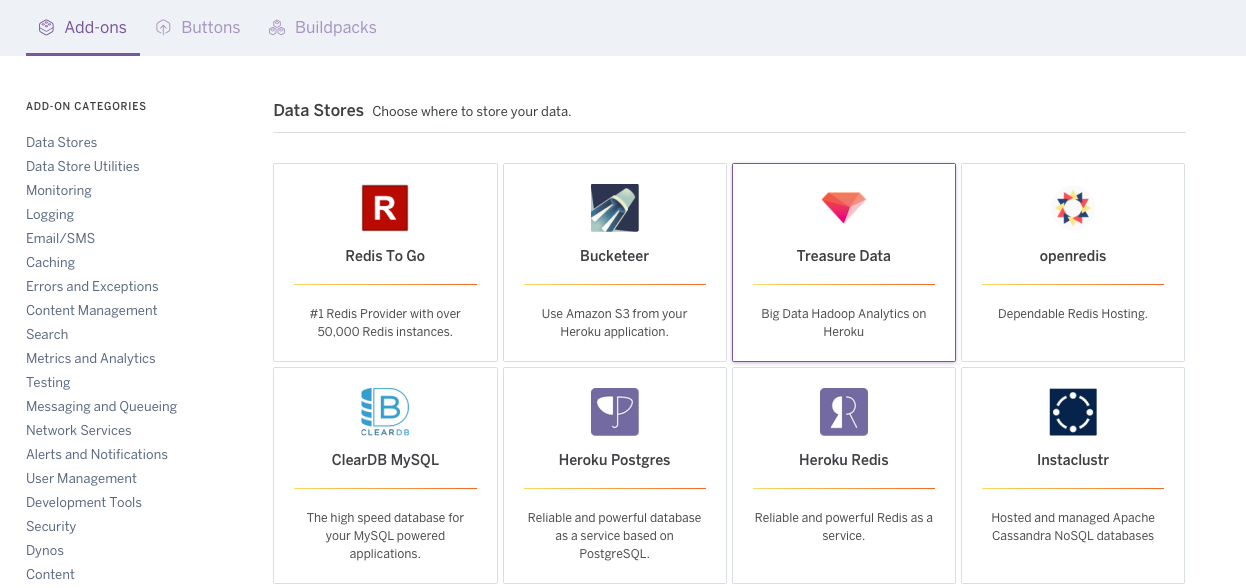
You can see we have various database-related items; down below we have Data Store Utilities, we have Monitoring tools, and a lot of really cool stuff. What we're going to be using is an add-on called mLab:
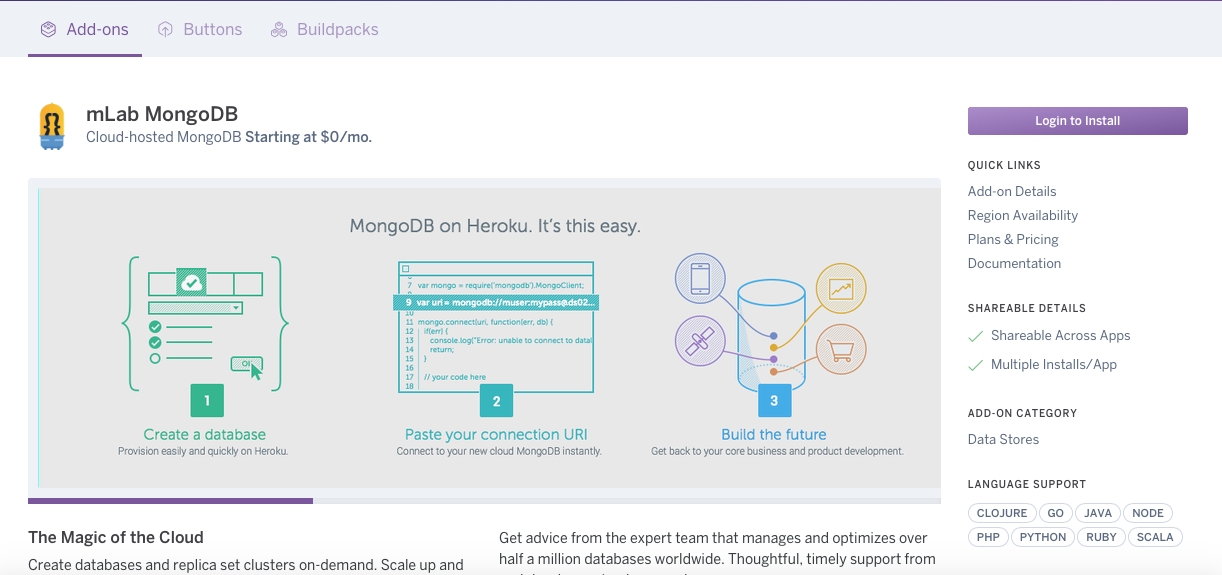
This is a MongoDB database service; it has a great free plan, and it's going to let us integrate MongoDB with our Heroku application. Now, you don't actually need to do anything from the website, as we're going to do everything from the Terminal. I just want to make you aware of exactly where this lives. Down below, you can see they do have a free Sandbox plan and they have plans that go all the way up to $5,000 a month. We're going to be sticking with a zero-dollar plan.