We're going to need to tweak the structure, adding a few container elements to help with alignment. Over inside of Atom we can get this done in just a few moments. This template was built around a few key classes. The first one needs to get applied to the body tag by setting the class attribute equal to, inside of quotes, chat:
<body class="chat">
This tells the style sheet load these styles for this chat page, and we're going to go ahead and remove Welcome to the chat app, this is no longer necessary. Now the next thing we're going to do is create a div tag and this div is going to house that People list we saw on the left-hand side. It's going to be empty for the moment but that's fine we can still go ahead and create it.
We're going to make div and we're going to give this div class, and that class is going to get set equal to the following, chat__sidebar:
<body class ="chat">

  <div class="chat">

  </div>
This is a naming convention used in some style sheet templates, it's really a matter of preference, you could call this whatever you want when you create the style sheet, I happen to call it chat__sidebar. It's a sub-element inside of the greater chat app.
Now inside the div tag, we're going to add a little title using the h3 tag, we're going to give this a title of People, or whatever you want to call that sidebar list, and we're also going to provide a div which will eventually house the individual users, although as I mentioned we're not going to be wiring that up yet. Now we can go ahead and give this an id setting it equal to users so we can target it a bit later. And that's all we need for the chat sidebar at the moment:
<div class ="chat__sidebar">
  <h3>People</h3>
  <div id="user"></div>
</div>
Now the next thing that we're going to do is create a div tag, and this div is going to house that main area which means it's going to contain not only our chat messages, but also the little form at the bottom, everything on the right-hand side of the sidebar.
This also is going to require a custom class for some styles, this one is called chat__ main, and inside of here we're going to add not only our unordered list, but also our form and button. Let's go ahead and take all of our current markup, the unordered list, down to the Send Location button, cut it out and paste it inside of chat__main:
<div class="chat__main">
  <ol id="messages"></ol>

  <form id="message-form">
    <input name="message" type="text" placeholder="Message"/>
    <button>Send</button>
  </form>
  <button id="send-location">Send Location</button>
</div>
Now we're not quite done yet there are a few more things to tweak. First up we have to add a class to our ordered list, we'll set class equal to chat__messages, this is going to provide the necessary styles, and the last div we need to create is going to be for that footer. This is going to be the gray bar at the bottom that contains both your form as well as the Send Location button. We're going to make div which is going to help with alignment, and we're going to add the form and the button tag inside of it by cutting it out and pasting it inside div of ordered list:
<div class="chat__main">
  <ol id="messages" class="chat__messages"></ol>

  <form id="message-form">
    <input name="message" type="text" placeholder="Message"/>
    <button>Send</button>
  </form>
  <button id="send-location">Send Location</button>
</div>
Now we are going to need a class here too as you might have guessed, setting the class attribute equal to the string chat__footer:
<div class="chat__footer">
  <form id="message-form">
    <input name="message" type="text" placeholder="Message"/>
    <button>Send</button>
  </form>
  <button id="send-location">Send Location</button>
</div>
Now we have all of our classes in place and we can head over to the browser and see what we get when we give the page a refresh:
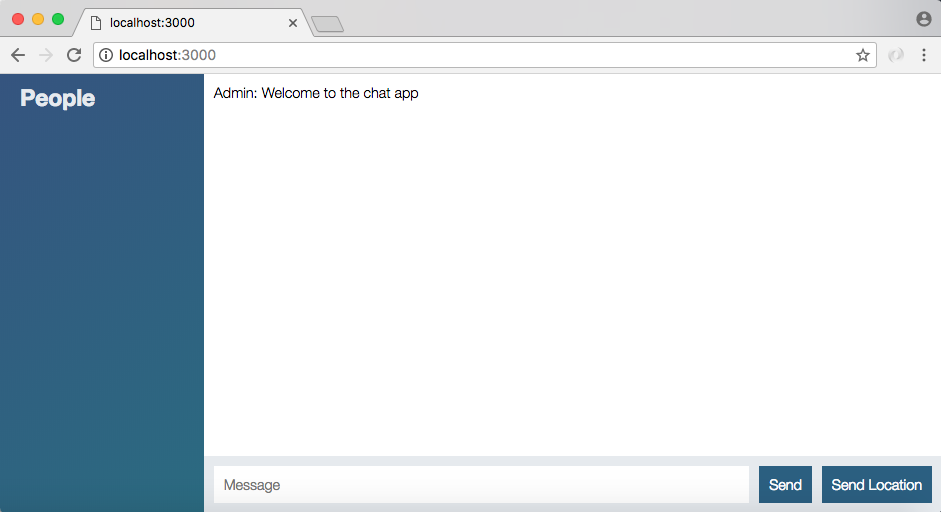
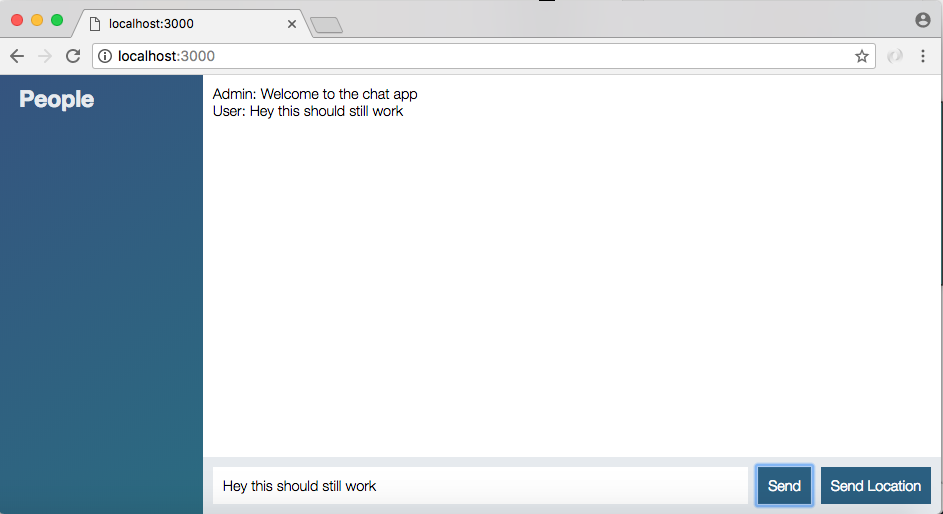
We have our styled chat application and we can still do whatever we were able to do before. I can send off a message, Hey this should still work, hit enter and Hey this should still work shows up to the screen:
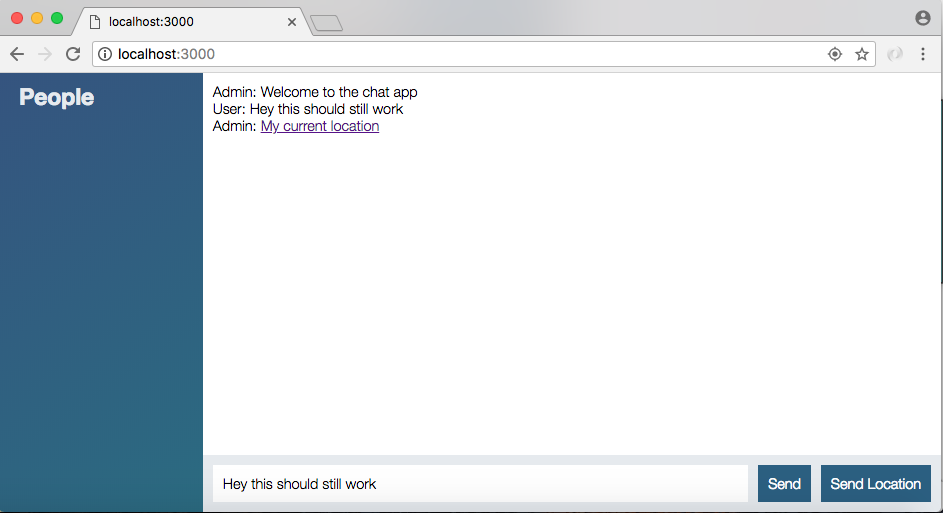
The same thing is true for Send Location, I can send off my location, this is going to send it to the server, it's going to send it to all the clients, and I can click the My current location link and the location is going to show up inside of Google Maps. We've maintained all of the old functionality while adding a nice set of styles: