
To get started with this one, we'll add our event listener inside index.js. We have the old event listener for newEmail. I'm going to go ahead and remove that, and we'll call socket.on to listen to the new event, newMessage. The newMessage event is going to require a callback:
socket.on('newMessage', function () {

});
For the moment, we'll use console.log to print the message to the console, but later, we'll be taking this message and adding it to the browser so a user can actually see it on the screen. Now, we are going to get the message data. I'll create an argument called message for the moment, and we can go ahead and simply log it to the screen using console.log, printing the name of the event so it's easy to track in the Terminal, and the actual data that was passed from server to client:
socket.on('newMessage', function (message) {
  console.log('newMessage', message);
});
Now, the last thing we need to do is simply emit newMessage from the server, making sure it shows up in the client. Inside server.js, instead of emitting newEmail, we will call socket.emit, emitting our custom event, newMessage:
io.on('connection', (socket) => {
  console.log('New user connected');

  socket.emit('newMessage');
});
Now, we will need some data—that message data. We'll also provide that as the second argument. It'll be an object with a from property. It could be from whoever you like; I'll go with John:
socket.emit('newMessage', {
  from: 'John',
});
Next up, we'll provide the text property. This can be anything as well, such as See you then, and finally we'll provide the createdAt property. This will be generated by the server later so a user can't spoof the time a message was created at, but for now, we'll just use some sort of random number, such as 123123:
socket.emit('newMessage', {
  from: 'John',
  text: 'See you then',
  createdAt: 123123
});
Now, as soon as a user connects to the server, we'll be emitting that event. Inside the browser, I can go ahead and refresh things. We have our newMessage event showing up and the data is exactly as we specified it in our server.js file:
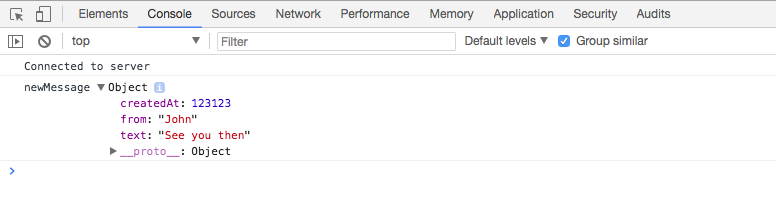
We have our createdAt timestamp, our from property, and our text property. In future, we'll be literally taking this data and rendering it into the browser so it shows up and someone can read it and respond to it, but for now we are done. We have our event listener on the server for createMessage, and our event listener on the client for newMessage.
That is it for this section! Since we are done, we will be making a quick commit. I'll shut down the server and run the git status command:
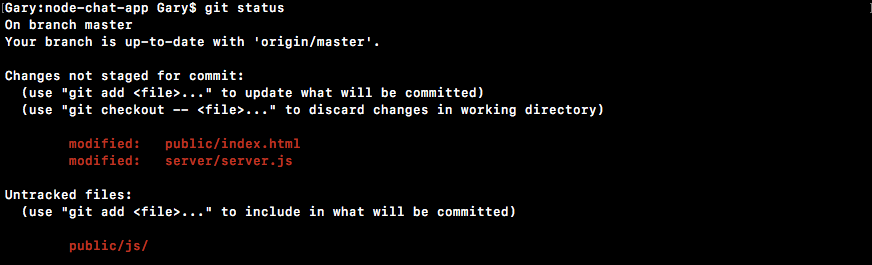
As shown in the preceding screenshot, we have quite a few changes here. We have our new js file in the public.js folder, and we've also changed server.js and index.html. I'll run the git add . command to add all of that to the next commit, and then I'll create a commit using git commit with the -m flag. A good message for this one is Add newMessage and createMessage events:
git commit -m 'Add newMessage and createMessage events'
With this in place, we can now push our code up to GitHub. There's no need to do anything with Heroku since we don't have anything visual just yet; we'll hold off on that until later.
In the next section, we're going to wire up messages, so when tab 1 emits a message, it's visible by tab 2. This is going to bring us one step closer to actually communicating in real time between different browser tabs.