
Not only do we have our rectangles, but we've also joined them to a dataset composed of two objects. Both objects share the same properties, namely x, y, width, and height, so it's easy to loop through them and read/bind the values to our visualization. The output of this is a set of static SVG elements. This section will cover how to update the SVG elements and properties as the joined data changes. Let's enhance the previous example to explain exactly how this works (http://localhost:8080/chapter-3/example-4.html):
function makeData(n){
  var arr = [];

  for (var i=0; i<n; i++){
    arr.push({
      x:Math.floor((Math.random() * 100) + 1),
      y:Math.floor((Math.random() * 100) + 1),
      width:Math.floor((Math.random() * 100) + 1),
      height:Math.floor((Math.random() * 100) + 1)
    })
  };

  return arr;
}
This function creates a new array of objects with random properties for x, y, width, and height. We can use this to simulate a change in data, allowing us to create n number of items, all with different properties:
var rectangles = function(svg) {
Here, we create a function that inserts rectangles into the DOM on every invocation of D3. The description is as follows:
var data = makeData(2);
Let's generate our fake data:
var rect = svg.selectAll('rect').data(data);
Let's select our rectangle and assign our data to it. This gives us a variable to which we can easily apply enter() and update later. The following sections are written in a verbose way to illustrate exactly what is going on with enter(), update, and exit(). While it's possible to take shortcuts in D3, it's best to stick to the following style to prevent confusion:
  // Enter
  rect.enter().append('rect')
    .attr('test', function(d,i) {
      // Enter called 2 times only
      console.log('enter placing initial rectangle: ', i)
    });
As in the previous section, for each element in the array we append a rectangle tag to the DOM. If you're running this code in your Chrome browser, you will notice that the console only displays enter placing initial rectangle twice. This is because the enter() section is called only when there are more elements in the array than in the DOM:
  // Update
  rect.transition().duration(500).attr('x', function(d){
     return d.x; })
      .attr('y', function(d){ return d.y; })
      .attr('width', function(d){ return d.width; })
      .attr('height', function(d){ return d.height; })
      .attr('test', function(d, i) {
        // update every data change
        console.log('updating x position to: ', d.x)
      });
The update section is applied to every element in the original selection, excluding entered elements. In the previous example, we set the x, y, width, and height attributes of the rectangle for every data object. The update section is not defined with an explicit update method. D3 implies an update call if no other section is provided. If you are running the code in your Chrome browser, you will see the console display updating x position to: every time the data changes:
var svg = d3.select("body")
    .append("svg")
    .attr("width", 200)
    .attr("height", 200);
The following command inserts our working SVG container:
rectangles(svg);
The following command draws the first version of our visualization:
setInterval(function(){
  rectangles(svg);
},1000);
The setInterval() function is the JavaScript function used to execute an operation every x milliseconds. In this case, we are calling the rectangles function every 1000 milliseconds.
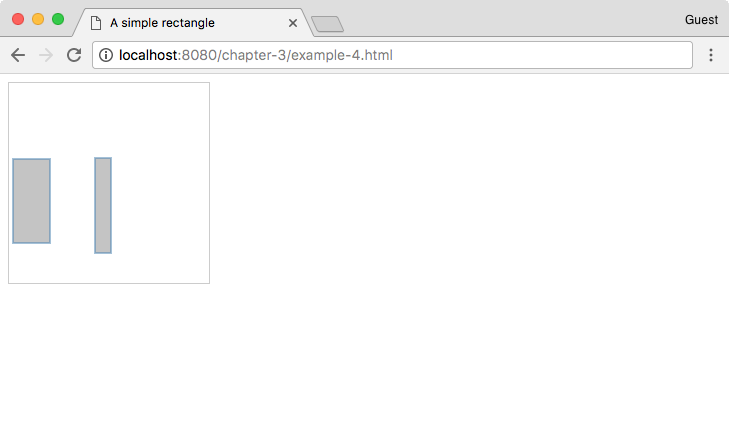
The rectangles function generates a new dataset every time it is called. It has the same property structure that we had before, but the values tied to those properties are random numbers between 1 and 100. On the first call, the enter() section is invoked and we create our initial two rectangles. Every 1000 milliseconds, we reinvoke the rectangles function with the same data structure but different random property attributes. Because the structure is the same, the enter() section is now skipped and only update is reapplied to the existing rectangles. This is why we get the same rectangles with different dimensions every time we plot.
The update method is very useful. For instance, your dataset could be tied to the stock market and you could update your visualization every n milliseconds to reflect the changes in the stock market. You could also bind the update to an event triggered by a user and have the user control the visualization. The options are endless.