
We can deconstruct a Canvas drawing into three simple steps:
- Create the canvas and its context.
- Configure the context.
- Render the resulting bitmap.
To mount the canvas within your DOM you create a <canvas> element in HTML:
<canvas id=”main-canvas” width = “600” height=”400”></canvas>
It will look empty, as expected:
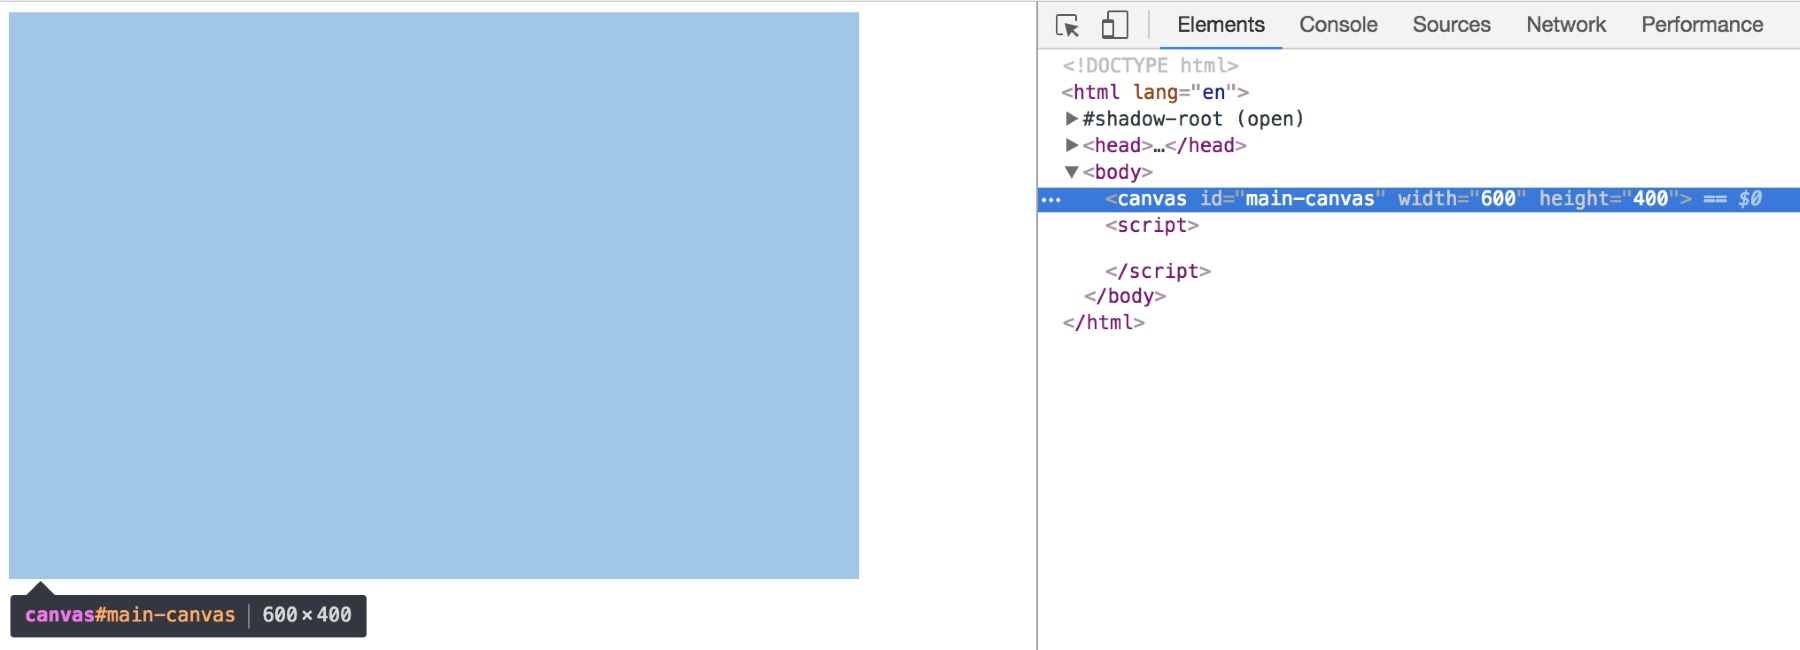
This will be all the DOM you will see of your canvas. All other operations will happen via the Canvas context in JavaScript.
If you wanted to draw a rectangle in, say, royalblue, you would move onto JavaScript without looking back to the HTML and write:
var canvas = d3.select('#main-canvas').node();
var context = canvas.getContext('2d');

context.fillStyle = 'royalblue';
context.fillRect(50, 50, 200, 100);
Let's go through our first steps one by one:
- First, you reference the canvas in a variable. We'll use d3.select() to do so. As you will need a reference to the canvas element itself, not a selection, you should use D3's selection.node() method to grab the element itself. The next line references the drawing context to this specific canvas element. The context includes all the tools you can use to draw. You can console.log(‘context') to have a look at the context object:
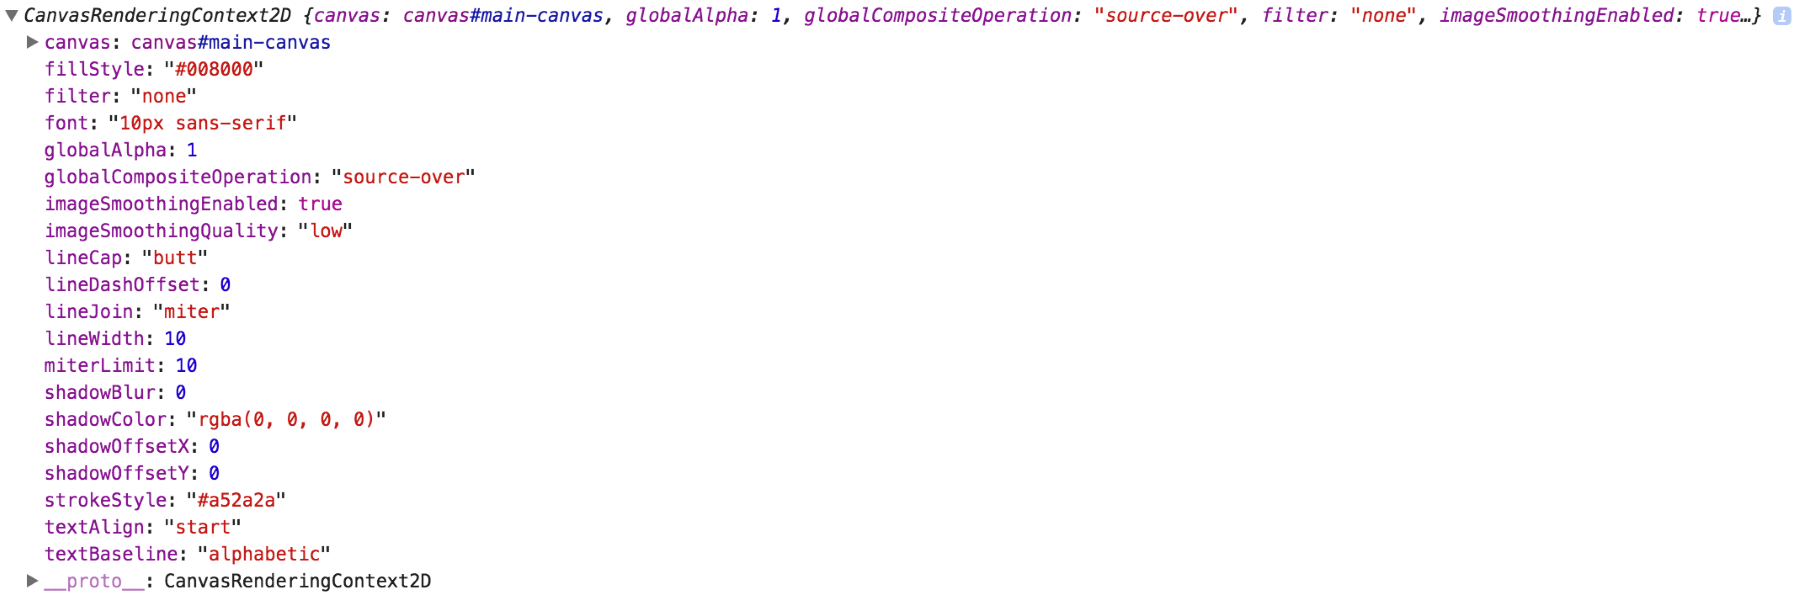
The context is called CanvasRenderingContext2D internally, but we will refer to it just as context. It holds all the properties you can manipulate to draw your visual. If you feel inclined you can also expand the __proto__ object, which will show all methods available to you. We'll explain the key properties and methods as we go without diving into each individually. The important point of the context object is to understand that there's an object helping you to build your drawing. It stays at your side all along allowing you to use its methods and change its properties.
A great place to learn more about the context API, its properties, and methods is the documentation on the Mozilla Developer Network at https://developer.mozilla.org/en-US/docs/Web/API/CanvasRenderingContext2D.
At this point, you have the canvas to draw on and the drawing tools, but you still haven't drawn anything.
- In the second step you prepare the drawing. You configure the context to produce the desired drawing. The example is purposefully simple in that the only configuration is to set the fill of our yet non-existent object to royalblue. Note that context.fillStyle is a property, not a method, of the Canvas context. It's like you are a painter telling your brush box what color you want to use for the object you paint next.
- This third step produces the following image. context.fillRect() takes four arguments: the x and the y position of the rectangle's starting point as well as the width and the height. Canvas – like SVG – uses a Cartesian co-ordinate system with the origin 0, 0 at the top-left corner increasing to the right and to the bottom. All values are given in pixels:
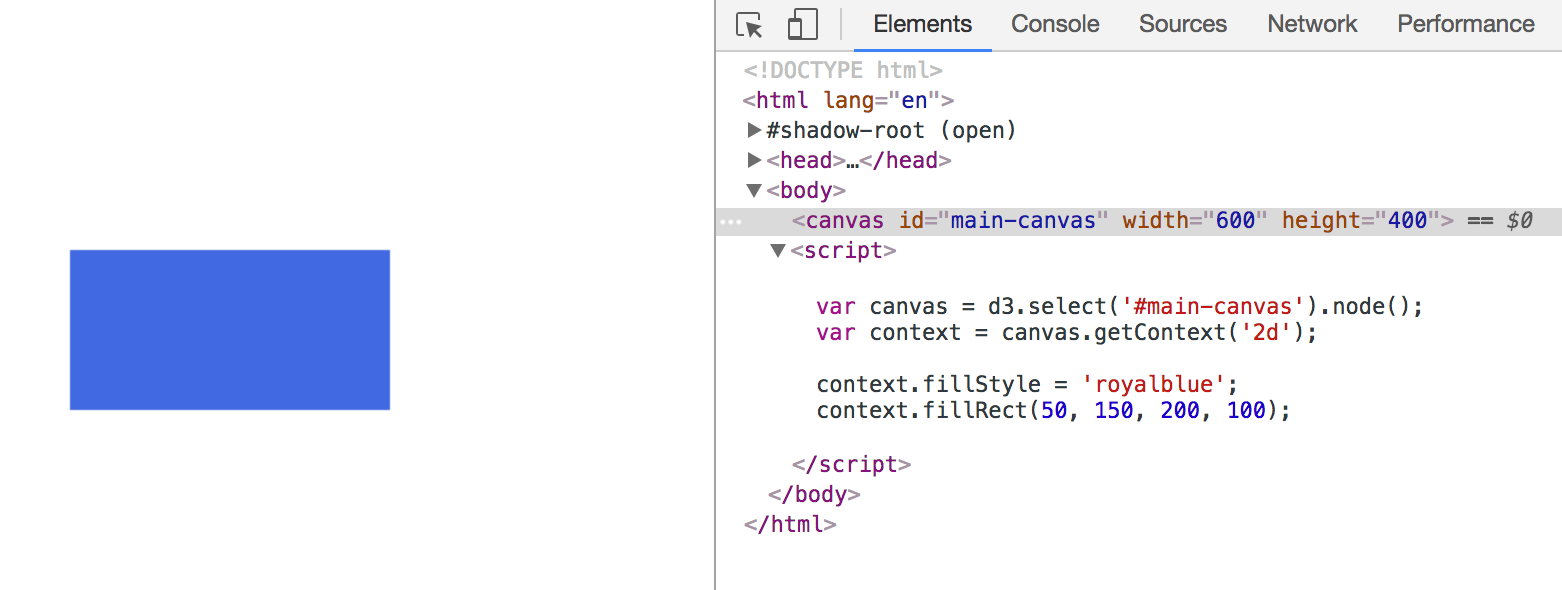
This rectangle is not present in the DOM. You can see its configuration in JavaSript and the canvas its drawn to in the DOM, but there's no <rect> element or the like we could refer to. Again, don't grow worry lines; we will get clever about how to re-address it in the next two chapters.
At the conclusion of each step you will find two links in an info box close to the the relevant image. The first link brings you to a working implementation of this step that you can view in the browser. The second code example link brings you to the full code. If you're reading the print version, you can find all code examples at https://github.com/larsvers/Learning-D3.js-4-Mapping in their relevant chapter.
You have seen the basic steps to follow when producing pretty much any drawing with Canvas. These key conceptual steps will help you to approach any Canvas drawing. Now let's draw more.