Building on our previous example, we can easily swap our click method with a hover method. Instead of having var click, we will now have var hover with the corresponding function. Feel free to open example-1.html of the chapter-5 code base to go over the complete example (http://localhost:8080/chapter-5/example-1.html). Let's review the necessary code to change our click event to a hover event. In this particular case, we will need a little more CSS and HTML. In our <style> tag, add the following lines:
#tooltip{
position: absolute;
z-index: 2;
background: rgba(0,153,76,0.8);
width:130px;
height:20px;
color:white;
font-size: 14px;
padding:5px;
top:-150px;
left:-150px;
font-family: "HelveticaNeue-Light", "Helvetica Neue Light",
 "Helvetica Neue", Helvetica, Arial, "Lucida Grande", sans-serif;
}
This style is for a basic tooltip. It is positioned absolutely so that it can take whatever x and y coordinates we give it (left and top). It also has some filler styles for the fonts and colors. The tooltip is styled to the element in the DOM that has the ID of #tooltip:
<div id="tooltip"></div>
Next, we add the logic to handle a hover event when it is fired:
var hover = function(d) {
  var div = document.getElementById('tooltip');
  div.style.left = event.pageX +'px';
  div.style.top = event.pageY + 'px';
  div.innerHTML = d.properties.NAME_1;
};
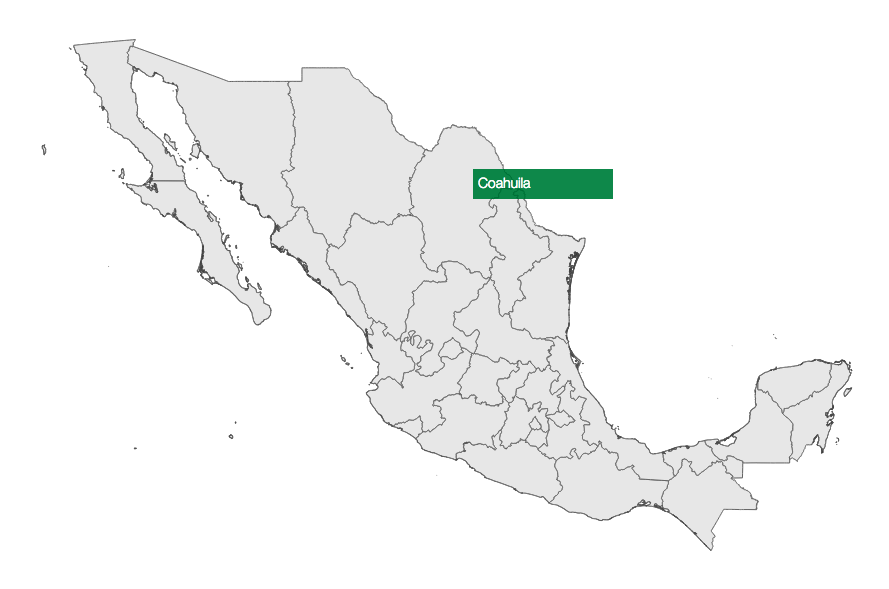
This function, aside from logging the event, will find the DOM element with an ID of tooltip and position it at the x and y coordinates of the event. These coordinates are a part of the properties of the event and are named pageX and pageY, respectively. Next, we will insert text with the state name (d.properties.NAME_1) into the tooltip:
//Enter
mexico.enter()
  .append('path')
  .attr('d', path)
  .on("mouseover", hover);
Finally, we will change our binding from a click to a mouseover event in the on section of the code. We will also change the event handler to the hover function we created earlier.
Once the changes have been saved and viewed, you should notice basic tooltips on your map: