We have our hexagons and now just need to draw them. We do this with a new function we call drawHexmap(hexPoints) in our ready() function. It does what it says on the tin:
function drawHexmap(points) {
  var hexes = svg.append('g').attr('id', 'hexes')
    .selectAll('.hex').data(points)
    .enter().append('path')
      .attr('class', 'hex')
      .attr('transform', function(d) {
        return 'translate(' + d.x + ', ' + d.y + ')'; })
      .attr('d', hexbin.hexagon())
      .style('fill', '#fff')
      .style('stroke', '#ccc')
      .style('stroke-width', 1);
}
We join the data (passed in as points) with our as yet virtual selection of .hex hexagons and use d.x and d.y to move to each hexagon’s center. At each center, we unwrap the second use of our hexbin instance: the hexagon path generator. hexbin.hexagon() will return the string the path’s d attribute requires to draw the shape. The dimensions of the hexagon will be based on the radius we have passed to it during configuration. The rest is basic styling.
hexbin.hexagon() can also take a radius as an argument. Using an accessor function, we can even pass through a hexagon point-specific argument, meaning that we can change the size of each hexagon based on a data value. Yay! However, we haven’t got the time or the data for this now, so let’s get back to this later.
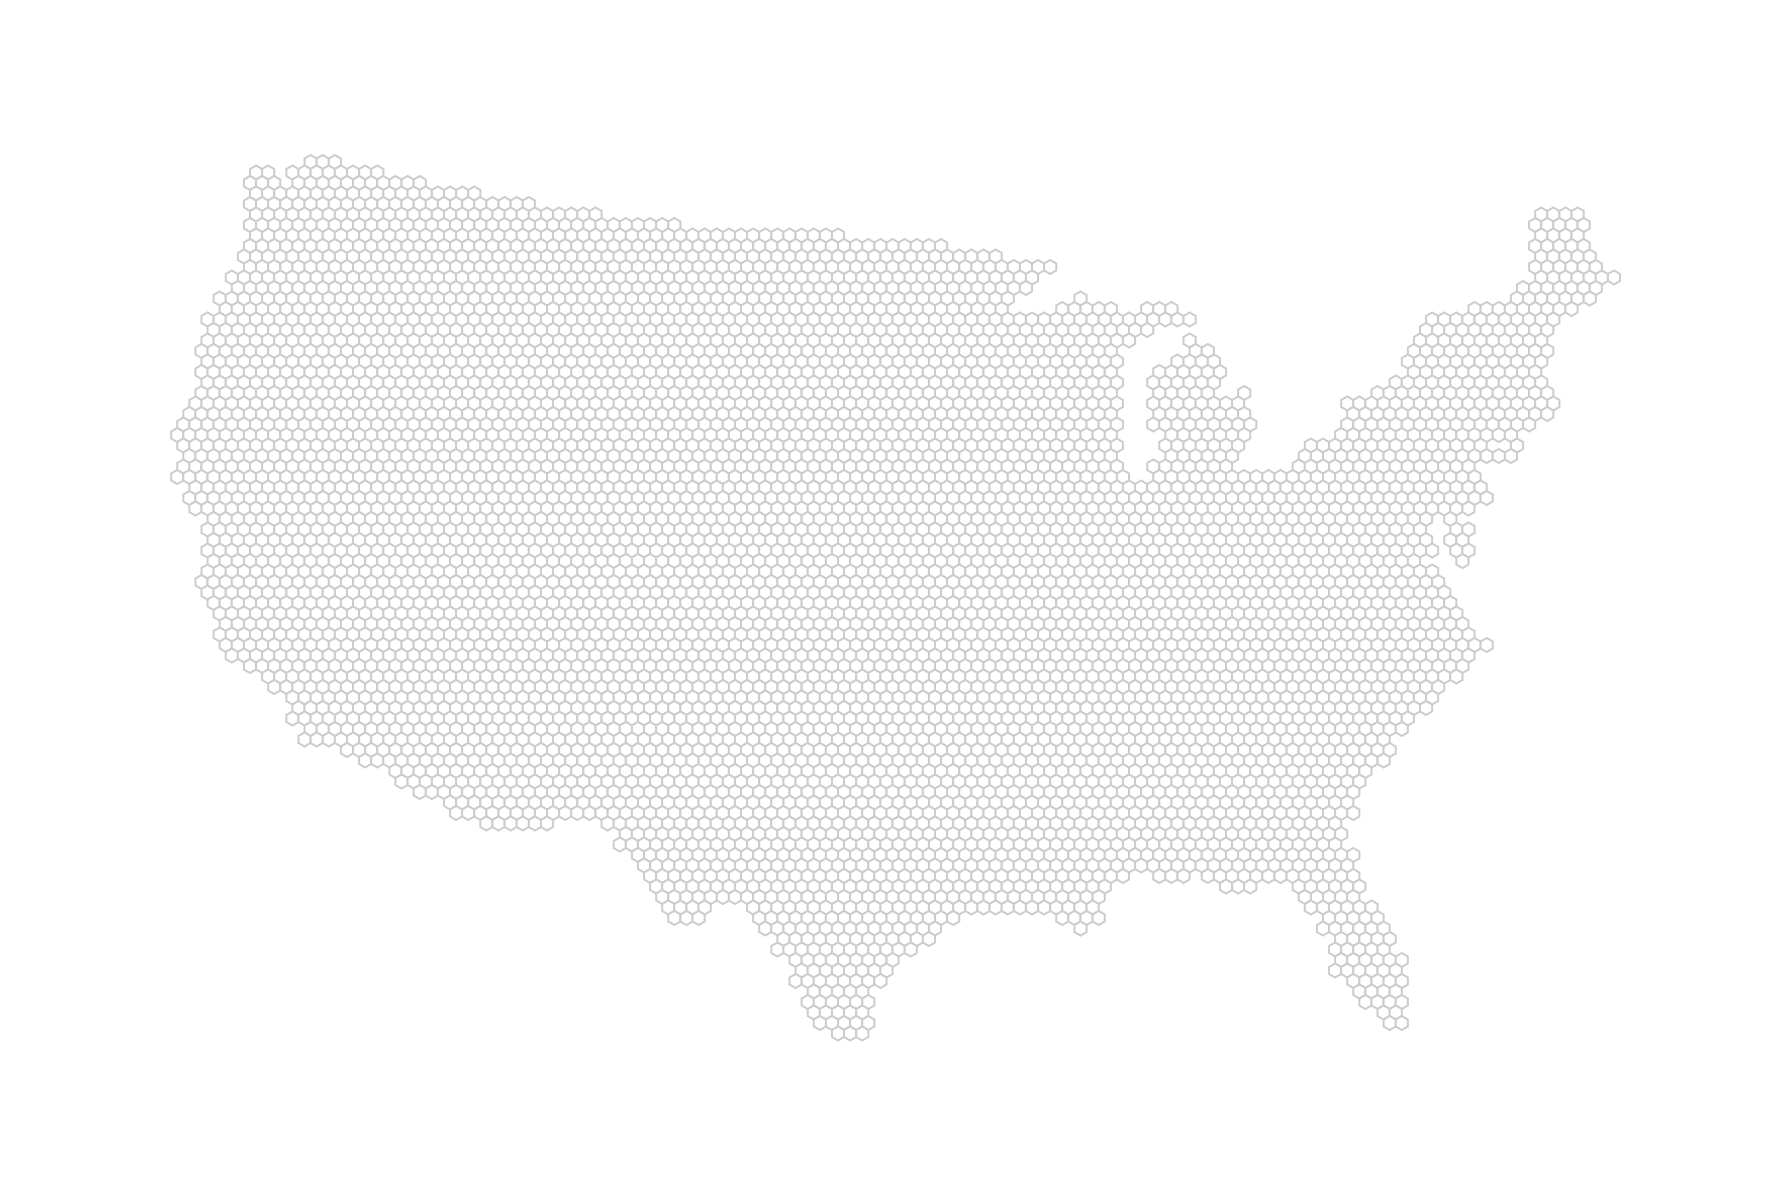
Okay, then. Here’s your hex tiling; you deserve it: