Table of Contents for
Mastering PostCSS for Web Design
 Mastering PostCSS for Web Design
Published by
Packt Publishing, 2016
Mastering PostCSS for Web Design
Published by
Packt Publishing, 2016
- Cover
- Table of Contents
- Mastering PostCSS for Web Design
- Mastering PostCSS for Web Design
- Credits
- About the Author
- About the Reviewer
- www.PacktPub.com
- Preface
- What you need for this book
- Who this book is for
- Conventions
- Reader feedback
- Customer support
- 1. Introducing PostCSS
- Introducing PostCSS
- Setting up a development environment
- Creating a simple example using PostCSS
- Linting code using plugins
- Exploring how PostCSS works
- Summary
- 2. Creating Variables and Mixins
- Creating a hover effect example
- Transitioning to using PostCSS
- Adding variable support to PostCSS
- Updating our hover effect demo
- Setting the order of plugins
- Creating mixins with PostCSS
- Looping content with PostCSS
- Summary
- 3. Nesting Rules
- Navigating through pages
- Transitioning to using PostCSS plugins
- Exploring the pitfalls of nesting
- Making the switch to BEM
- Exploring our changes in more detail
- Summary
- 4. Building Media Queries
- Exploring custom media queries in PostCSS
- Making images responsive
- Adding responsive text support
- Optimizing media queries
- Retrofitting support for older browsers
- Moving away from responsive design
- Taking things further with CSS4
- Summary
- 5. Managing Colors, Images, and Fonts
- Managing fonts with PostCSS
- Creating image sprites
- Working with SVG in PostCSS
- Adding support for WebP images
- Manipulating colors and color palettes
- Creating color functions with PostCSS
- Summary
- 6. Creating Grids
- Creating an example with Bourbon Neat
- Exploring the grid plugins in PostCSS
- Transitioning to using PostCSS-Neat
- Creating a site using Neat and PostCSS
- Adding responsive capabilities
- Summary
- 7. Animating Elements
- Moving away from jQuery
- Making use of pre-built libraries
- Switching to using SASS
- Making the switch to PostCSS
- Exploring plugin options within PostCSS
- Updating code to use PostCSS
- Creating a demo in PostCSS
- Optimizing our animations
- Using our own animation plugin
- Summary
- 8. Creating PostCSS Plugins
- Dissecting the architecture of a standard plugin
- Creating an transition plugin
- Building a custom font plugin
- Simplifying the development process
- Guidelines for plugin building
- Making the plugin available for use
- Summary
- 9. Working with Shortcuts, Fallbacks, and Packs
- Exploring plugin packs for PostCSS
- Adding shortcuts with Rucksack
- Linting and optimizing your code
- Providing fallback support
- Summary
- 10. Building a Custom Processor
- Exploring our processor
- Dissecting issues with our processor
- Optimizing the output
- Adding reload capabilities
- Extending our processor further
- Testing the final pre-processor
- Getting started with some hints and tips
- Introducing the CSStyle library
- Summary
- 11. Manipulating Custom Syntaxes
- Preparing our environment
- Implementing custom syntax plugins
- Parsing CSS
- Formatting the output with the API
- Highlighting our syntax code
- Summary
- 12. Mixing Preprocessors
- Exploring the conversion process
- Introducing the Pleeease library
- Compiling with other preprocessors
- Using the PreCSS library
- Converting a WordPress installation
- Setting up our environment
- Considering the conversion process
- Making changes to our code
- Compiling and testing the changes
- Summary
- 13. Troubleshooting PostCSS Issues
- Exploring some common issues
- Getting help from others
- Summary
- 14. Preparing for the Future
- Converting CSS4 styles for use
- Supporting future syntax with cssnext
- Creating plugins to provide extra CSS4 support
- Summary
- Index
Over the last few pages, we've covered a number of key tasks that would be perfect for compiling WordPress themes.
In an ideal world, we would automate as much as possible, or at least tasks where it would make sense—to remove tasks that give little value when done manually, for example. The key, though, is to give plenty of thought as to which order these tasks should be carried out; getting the order right can be the difference between receiving a valid style sheet file ready for use, and getting…well, what can only be classed as rubbish! Yes, that might seem a little extreme, but if the task order isn't right, then you can get compiled files that break your theme.
Leaving this aside, let's take a look at compiling our code—for the purposes of this exercise, we will use a copy of the pre-edited files that are available in the code download that accompanies this book.
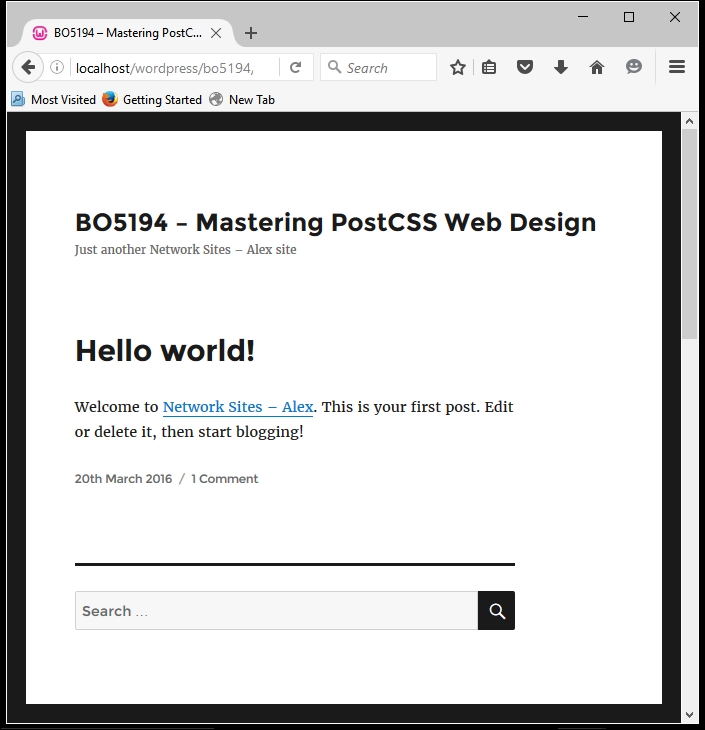
To get a feel for what we will be discussing, this is a screenshot excerpt of the Twenty Sixteen theme in action:
Let's make a start:
- We'll start by downloading and extracting a copy of the
srcfolder that is underT68 - converting a WordPress themein the code download; save this to the root of our project area. Make sure there are no other files present in this folder first! - Next, make sure that the
gulpfile.jsandpackage.jsonfiles that we downloaded earlier are still present—we will need both during compilation. - Go ahead and fire up a Node.js command prompt session, then change the working folder to the root of our project area.
- At the prompt, enter
gulpthen press Enter; Gulp will run through each task and spit out a compiled theme file in thedestfolder at the root of our project area. - Copy this to the root of the
Twenty Sixteenfolder, which can be found atC:\wamp\www\wordpress\wp-content\themes\twentysixteen—if you use Linux or OSX, then please alter the path accordingly.
We now have a fully compiled style sheet! There are some points of note though—for example, the order of tasks that we covered earlier in this section doesn't match the order shown in the gulpfile.js file. Let's cover these points now:
- The type of tasks you include can be split into two groups—those that I would describe as core, such as minifying files or providing source maps; these can be done for any sites. The second ones are custom tasks—these will be specific for each site, and might include requests to compile variables or nested code. It's up to you to plan how these are created, so that you can reuse them for future projects.
- There is no right or wrong answer as to what should be included in a Gulp task file; the tasks you want to include, and the order they are called, will ultimately be determined by your own requirements. In our example, we used this order, from top to bottom:
Name of task
Purpose
stylesThis compiled the raw code—merging the rules into one file, running PreCSS through the code, and updating vendor prefixes where needed.
pxremWith the base code in place, we can now run through it and add pixel fallback for rem units, where appropriate.
lintIn this task, we're checking the compiled code for consistency.
renameWe then rename our base compiled file to have a
.min.cssextension; this is in preparation for minifying our code.sourcemapAt this stage, we want to produce a source map, so this task kicks in to create a suitable map file for us.
minifyCSSThe final task is to minify the CSS style sheet file—it already has the right extension in place.
We've done the hard work—it's time to see the fruits of our labor in action. The style sheet is now in the theme folder within our WordPress installation—all that remains is to test it! We could get into using automated testing facilities such as Quixote (available from http://www.quixote-css.com/), but this would fall outside of the scope of this book. Instead, we can simply launch our local WordPress installation and check to see what it looks like—this is a useful way to gauge if there is anything amiss with our theme.
For our demo, we used the Twenty Sixteen theme. Out of the box, this is a very bare theme. Although this may not seem much, we've done most of the hard work needed to implement a PostCSS workflow when working with WordPress. A key measure of success is that the base theme should be identical to the original version that came with WordPress. If this is the case, it then means we can now concentrate on manipulating our style sheet over a period of time to further develop the styles within this (or any other) theme.