Table of Contents for
Mastering OpenLayers 3
 Mastering OpenLayers 3
Published by
Packt Publishing, 2016
Mastering OpenLayers 3
Published by
Packt Publishing, 2016
- Cover
- Table of Contents
- Mastering OpenLayers 3
- Mastering OpenLayers 3
- Credits
- About the Author
- About the Reviewer
- www.PacktPub.com
- Preface
- What you need for this book
- Who this book is for
- Conventions
- Reader feedback
- Customer support
- 1. Creating Simple Maps with OpenLayers 3
- Structure of OpenLayers 3
- Building the layout
- Using the API documentation
- Debugging the code
- Summary
- 2. Applying Custom Styles
- Customizing the default appearance
- Styling vector layers
- Customizing the appearance with JavaScript
- Creating a WebGIS client layout
- Summary
- 3. Working with Layers
- Building a layer tree
- Adding layers dynamically
- Adding vector layers with the File API
- Adding vector layers with a library
- Removing layers dynamically
- Changing layer attributes
- Changing the layer order with the Drag and Drop API
- Clearing the message bar
- Summary
- 4. Using Vector Data
- Accessing attributes
- Setting attributes
- Validating attributes
- Creating thematic layers
- Saving vector data
- Saving with WFS-T
- Modifying the geometry
- Summary
- 5. Creating Responsive Applications with Interactions and Controls
- Building the toolbar
- Mapping interactions to controls
- Building a set of feature selection controls
- Adding new vector layers
- Building a set of drawing tools
- Modifying and snapping to features
- Creating new interactions
- Building a measuring control
- Summary
- 6. Controlling the Map – View and Projection
- Customizing a view
- Constraining a view
- Creating a navigation history
- Working with extents
- Rotating a view
- Changing the map's projection
- Creating custom animations
- Summary
- 7. Mastering Renderers
- Using different renderers
- Creating a WebGL map
- Drawing lines and polygons with WebGL
- Blending layers
- Clipping layers
- Exporting a map
- Creating a raster calculator
- Creating a convolution matrix
- Clipping a layer with WebGL
- Summary
- 8. OpenLayers 3 for Mobile
- Responsive styling with CSS
- Generating geocaches
- Adding device-dependent controls
- Vectorizing the mobile version
- Making the mobile application interactive
- Summary
- 9. Tools of the Trade – Integrating Third-Party Applications
- Exporting a QGIS project
- Importing shapefiles
- Spatial analysis with Turf
- Spatial analysis with JSTS
- 3D rendering with Cesium
- Summary
- 10. Compiling Custom Builds with Closure
- Configuring Node JS
- Compiling OpenLayers 3
- Bundling an application with OpenLayers 3
- Extending OpenLayers 3
- Creating rich documentation with JSDoc
- Summary
- Index
In the next example, called ch06_navhist, we will create a fully functional navigation history. First, as usual, we have to make some considerations. We will store an array in the control containing the view properties for every change. We will also store the current index as we must remember to step our control between view states. A not-so-important property that we will store is a Boolean value, representing whether we should record the new view or not. This is particularly handy when we step between the history elements and do not want to double store these states. First, we create the first button for the control:
ol.control.NavigationHistory = function (opt_options) {
    var options = opt_options || {};
    var _this = this;
    var controlDiv = document.createElement('div');
    controlDiv.className = options.class || 'ol-unselectable ol-control';
    var backButton = document.createElement('button');
    backButton.className = 'ol-navhist-back';
    backButton.textContent = options.backButtonText || '◀';
    backButton.title = options.backButtonTipLabel || 'Previous view';
    backButton.addEventListener('click', function (evt) {
        var historyArray = _this.get('history');
        var currIndex = _this.get('index');
        if (currIndex > 0) {
            currIndex -= 1;
            _this.setProperties({
                shouldSave: false,
                index: currIndex
            });
            _this.getMap().getView().setProperties(historyArray[currIndex]);
        }
    });
    backButton.disabled = true;
    controlDiv.appendChild(backButton);
This is a usual custom control with a little twist. As we have unicode triangle symbols, we do not have to render a background image to this control. When clicking a button, if we are not in the first state, we will decrease our index and update the view accordingly. We also set our shouldSave Boolean to false as we do not want to save again an already recorded state. Next, we will create the other button:
    var nextButton = document.createElement('button');
    nextButton.className = 'ol-navhist-next';
    nextButton.textContent = options.nextButtonText || '►';
    nextButton.title = options.nextButtonTipLabel || 'Next view';
    nextButton.addEventListener('click', function (evt) {
        var historyArray = _this.get('history');
        var currIndex = _this.get('index');
        if (currIndex < historyArray.length - 1) {
            currIndex += 1;
            _this.setProperties({
                shouldSave: false,
                index: currIndex
            });
            _this.getMap().getView().setProperties(historyArray[currIndex]);
        }
    });
    nextButton.disabled = true;
    controlDiv.appendChild(nextButton);
This button acts like the previous one; however, it checks whether we are at the end of our history array, and if not, it increases the index. In the next step, we'll finish our control by setting its initial values, adding a listener, and building the inheritance:
    ol.control.Control.call(this, {
        element: controlDiv,
        target: options.target
    });
    this.setProperties({
        history: [],
        index: -1,
        maxSize: options.maxSize || 50,
        eventId: null,
        shouldSave: true
    });
    this.on('change:index', function () {
        if (this.get('index') === 0) {
            backButton.disabled = true;
        } else {
            backButton.disabled = false;
        }
        if (this.get('history').length - 1 === this.get('index')) {
            nextButton.disabled = true;
        } else {
            nextButton.disabled = false;
        }
    });
};
ol.inherits(ol.control.NavigationHistory, ol.control.Control);
We set our initial index to -1, as our control will automatically increment it by one if it saves the first state of the view. Our users can define the maximum size of the history; however, we also set a default value of 50. The listener attached to the changes in the index property makes sure that our control buttons get disabled and enabled appropriately. If we are in the first index, we cannot go back, and if we are in the last one, we cannot step further. Next, we override the control's setMap method, and attach a detachable (stored) event listener to the map:
ol.control.NavigationHistory.prototype.setMap = function (map) {
    ol.control.Control.prototype.setMap.call(this, map);
    if (map === null) {
        ol.Observable.unByKey(this.get('eventId'));
    } else {
        this.set('eventId', map.on('moveend', function (evt) {
            if (this.get('shouldSave')) {
                var view = map.getView();
                var viewStatus = {
                    center: view.getCenter(),
                    resolution: view.getResolution(),
                    rotation: view.getRotation()
                };
                var historyArray = this.get('history');
                var currIndex = this.get('index');
                historyArray.splice(currIndex + 1, historyArray.length - currIndex - 1);
                if (historyArray.length === this.get('maxSize')) {
                    historyArray.splice(0, 1);
                } else {
                    currIndex += 1;
                }
                historyArray.push(viewStatus);
                this.set('index', currIndex);
            } else {
                this.set('shouldSave', true);
            }
        }, this));
    }
};
As you are clearly familiar with our event attaching and detaching mechanisms by now, we won't discuss it here any further. The listener attached to the map's moveend event, however, needs to be discussed.
We only act if our shouldSave Boolean is set to true. We gather the view's center, rotation, and resolution, and store them in an object. This ensures that we can restore them with the view's setProperties method, and at the same time, we don't store unnecessary properties.
When we update our history array, we clear out everything from the current index to the end of the array. This operation makes sure that we save the view states correctly from a given index. We also clear the first member of the array if we exceed the maximum size of the history. Finally, we add the new control to our toolbar:
var tools = new toolBar({
    map: map,
    target: 'toolbar',
    layertree: tree,
}).addControl(new ol.control.Zoom()).addControl(new ol.control.NavigationHistory());
If you save the code and load it in a browser, you will be able to try out our new navigation history:
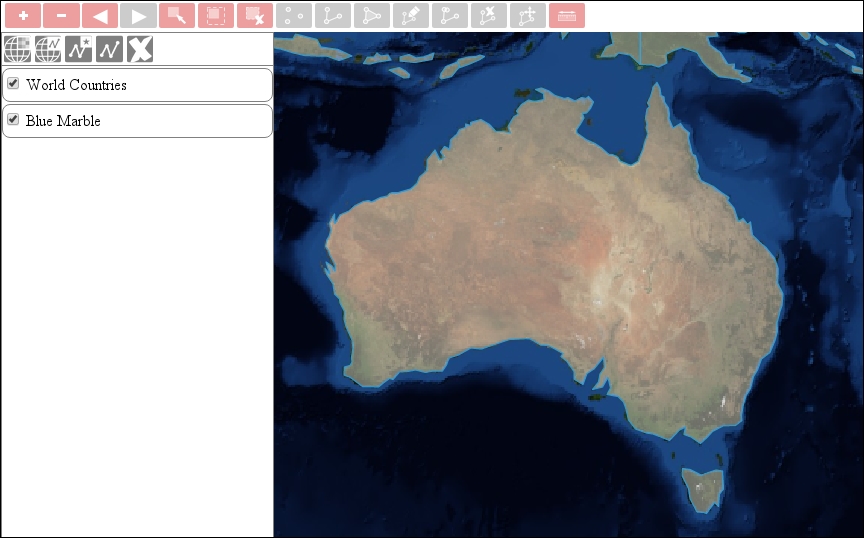
With this method, you can also create geographical bookmarks. You just have to create a control, which creates an object for every named extent and an interface to provide those names.