Table of Contents for
Mastering OpenLayers 3
 Mastering OpenLayers 3
Published by
Packt Publishing, 2016
Mastering OpenLayers 3
Published by
Packt Publishing, 2016
- Cover
- Table of Contents
- Mastering OpenLayers 3
- Mastering OpenLayers 3
- Credits
- About the Author
- About the Reviewer
- www.PacktPub.com
- Preface
- What you need for this book
- Who this book is for
- Conventions
- Reader feedback
- Customer support
- 1. Creating Simple Maps with OpenLayers 3
- Structure of OpenLayers 3
- Building the layout
- Using the API documentation
- Debugging the code
- Summary
- 2. Applying Custom Styles
- Customizing the default appearance
- Styling vector layers
- Customizing the appearance with JavaScript
- Creating a WebGIS client layout
- Summary
- 3. Working with Layers
- Building a layer tree
- Adding layers dynamically
- Adding vector layers with the File API
- Adding vector layers with a library
- Removing layers dynamically
- Changing layer attributes
- Changing the layer order with the Drag and Drop API
- Clearing the message bar
- Summary
- 4. Using Vector Data
- Accessing attributes
- Setting attributes
- Validating attributes
- Creating thematic layers
- Saving vector data
- Saving with WFS-T
- Modifying the geometry
- Summary
- 5. Creating Responsive Applications with Interactions and Controls
- Building the toolbar
- Mapping interactions to controls
- Building a set of feature selection controls
- Adding new vector layers
- Building a set of drawing tools
- Modifying and snapping to features
- Creating new interactions
- Building a measuring control
- Summary
- 6. Controlling the Map – View and Projection
- Customizing a view
- Constraining a view
- Creating a navigation history
- Working with extents
- Rotating a view
- Changing the map's projection
- Creating custom animations
- Summary
- 7. Mastering Renderers
- Using different renderers
- Creating a WebGL map
- Drawing lines and polygons with WebGL
- Blending layers
- Clipping layers
- Exporting a map
- Creating a raster calculator
- Creating a convolution matrix
- Clipping a layer with WebGL
- Summary
- 8. OpenLayers 3 for Mobile
- Responsive styling with CSS
- Generating geocaches
- Adding device-dependent controls
- Vectorizing the mobile version
- Making the mobile application interactive
- Summary
- 9. Tools of the Trade – Integrating Third-Party Applications
- Exporting a QGIS project
- Importing shapefiles
- Spatial analysis with Turf
- Spatial analysis with JSTS
- 3D rendering with Cesium
- Summary
- 10. Compiling Custom Builds with Closure
- Configuring Node JS
- Compiling OpenLayers 3
- Bundling an application with OpenLayers 3
- Extending OpenLayers 3
- Creating rich documentation with JSDoc
- Summary
- Index
In this example, called ch05_modify, we will customize the remaining feature editing interactions before we go on and create our own. Firstly, we create some further CSS rules for our new controls:
.toolbar .ol-modifyfeat button {
    background-image: url(../../res/button_modifyfeat.png);
}
.toolbar .ol-snap button {
    background-image: url(../../res/button_snap.png);
}Now that we have the required rules, we can extend our addEditingToolBar method with two additional interactions. As both the modify and the snap interactions accept a collection of features to work with, we go that way and store the selected layer's features in a new collection object:
toolBar.prototype.addEditingToolBar = function () {
    […]
    this.activeFeatures = new ol.Collection();
    var modifyFeature = new ol.control.Interaction({
        label: ' ',
        tipLabel: 'Modify features',
        className: 'ol-modifyfeat ol-unselectable ol-control',
        interaction: new ol.interaction.Modify({
            features: this.activeFeatures
        })
    }).setDisabled(true);
    this.editingControls.push(modifyFeature);
    var snapFeature = new ol.control.Interaction({
        label: ' ',
        tipLabel: 'Snap to paths, and vertices',
        className: 'ol-snap ol-unselectable ol-control',
        interaction: new ol.interaction.Snap({
            features: this.activeFeatures
        })
    }).setDisabled(true);
    snapFeature.unset('type');
    this.editingControls.push(snapFeature);
We created two new custom controls with two interactions. As the snapping control can be and must be active along another editing control, we manually remove its type attribute before adding it to the toolbar. We also linked our new collection to the interactions, making it possible to dynamically modify the features they will work with. Next, we make sure to correctly update our activeFeatures object on the layer change and add our new controls to the toolbar:
    layertree.selectEventEmitter.on('change', function () {
        […]
            var _this = this;
            setTimeout(function () {
                _this.activeFeatures.clear();
                _this.activeFeatures.extend(layer.getSource().getFeatures());
            }, 0);
        […]
    }, this);     this.addControl(drawPoint).addControl(drawLine).addControl(drawPolygon)
        .addControl(modifyFeature).addControl(snapFeature);
    return this;
};
As creating a copy from our selected layer's features takes some time, rendering our layer tree unresponsive for a few seconds even with a smaller dataset, we make it asynchronous by calling it in a setTimeout function set to zero milliseconds. Note that this method will not speed up our code, but makes our application more responsive.
A responsive application is technically a matter of chunking time-consuming code blocks into smaller and faster ones, and timing their executions when the user doesn't notice. The physical reaction of the human body is significantly slower than visual reaction; thus, by placing the few seconds loading time after the visual feedback with an asynchronous call, the users won't even notice that there was any loading time. Of course, this theorem only applies to small datasets.
Tip
If you have to work with large datasets, this will definitely be a bottleneck of your application. In this case, you can construct vector layers with a new collection object and call the source's getFeaturesCollection method on the layer change, avoiding the need for duplicating features. However, as the inner collection of the interactions cannot be changed, you have to construct a new interaction and remove the old one from the map every time.
Finally, we only have to add every newly created feature to our collection, so the interactions can be applied on them without changing the active layer:
toolBar.prototype.handleEvents = function (interaction, type) {
[…]
interaction.on('drawend', function (evt) {
[…]
this.activeFeatures.push(evt.feature);
[…]
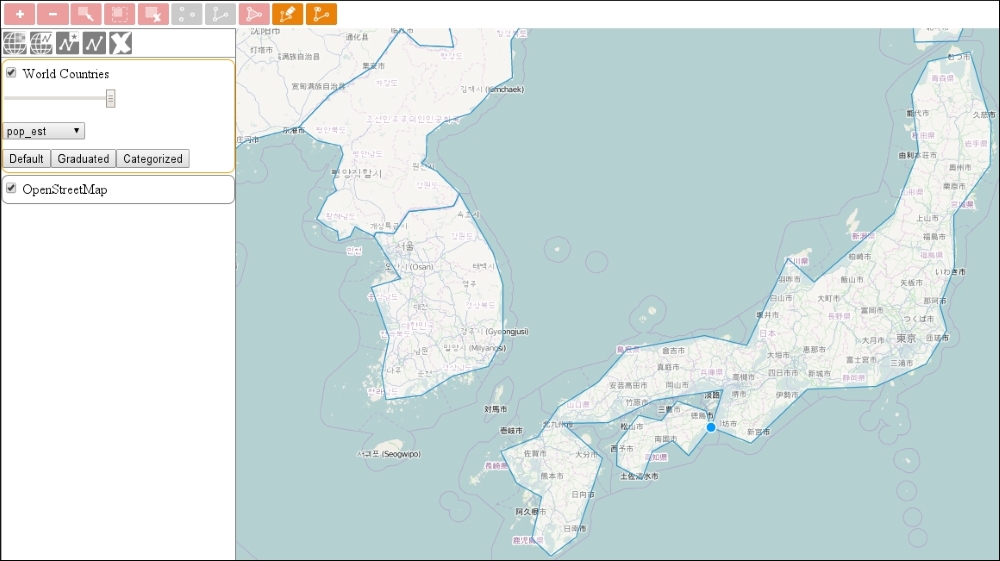
};If you save and load up the example, you can see our new controls in action: