Table of Contents for
Mastering OpenLayers 3
 Mastering OpenLayers 3
Published by
Packt Publishing, 2016
Mastering OpenLayers 3
Published by
Packt Publishing, 2016
- Cover
- Table of Contents
- Mastering OpenLayers 3
- Mastering OpenLayers 3
- Credits
- About the Author
- About the Reviewer
- www.PacktPub.com
- Preface
- What you need for this book
- Who this book is for
- Conventions
- Reader feedback
- Customer support
- 1. Creating Simple Maps with OpenLayers 3
- Structure of OpenLayers 3
- Building the layout
- Using the API documentation
- Debugging the code
- Summary
- 2. Applying Custom Styles
- Customizing the default appearance
- Styling vector layers
- Customizing the appearance with JavaScript
- Creating a WebGIS client layout
- Summary
- 3. Working with Layers
- Building a layer tree
- Adding layers dynamically
- Adding vector layers with the File API
- Adding vector layers with a library
- Removing layers dynamically
- Changing layer attributes
- Changing the layer order with the Drag and Drop API
- Clearing the message bar
- Summary
- 4. Using Vector Data
- Accessing attributes
- Setting attributes
- Validating attributes
- Creating thematic layers
- Saving vector data
- Saving with WFS-T
- Modifying the geometry
- Summary
- 5. Creating Responsive Applications with Interactions and Controls
- Building the toolbar
- Mapping interactions to controls
- Building a set of feature selection controls
- Adding new vector layers
- Building a set of drawing tools
- Modifying and snapping to features
- Creating new interactions
- Building a measuring control
- Summary
- 6. Controlling the Map – View and Projection
- Customizing a view
- Constraining a view
- Creating a navigation history
- Working with extents
- Rotating a view
- Changing the map's projection
- Creating custom animations
- Summary
- 7. Mastering Renderers
- Using different renderers
- Creating a WebGL map
- Drawing lines and polygons with WebGL
- Blending layers
- Clipping layers
- Exporting a map
- Creating a raster calculator
- Creating a convolution matrix
- Clipping a layer with WebGL
- Summary
- 8. OpenLayers 3 for Mobile
- Responsive styling with CSS
- Generating geocaches
- Adding device-dependent controls
- Vectorizing the mobile version
- Making the mobile application interactive
- Summary
- 9. Tools of the Trade – Integrating Third-Party Applications
- Exporting a QGIS project
- Importing shapefiles
- Spatial analysis with Turf
- Spatial analysis with JSTS
- 3D rendering with Cesium
- Summary
- 10. Compiling Custom Builds with Closure
- Configuring Node JS
- Compiling OpenLayers 3
- Bundling an application with OpenLayers 3
- Extending OpenLayers 3
- Creating rich documentation with JSDoc
- Summary
- Index
In this example, called
ch05_draw, we extend our toolbar with a method that creates a set of drawing tools. We store these tools in a new collection, as we would like to enable them, only if a vector layer is selected. As they are placed in a collection, we can easily iterate through them. Firstly, we create some new rules in our CSS file for the buttons and the disabled controls:
.toolbar .ol-control button:disabled {
    background-color: rgba(0,0,0,.2);
}
.toolbar .ol-control button:disabled:hover {
    background-color: rgba(0,0,0,.2);
}
.toolbar .ol-addpoint button {
    background-image: url(../../res/button_addpoint.png);
}
.toolbar .ol-addline button {
    background-image: url(../../res/button_addline.png);
}
.toolbar .ol-addpolygon button {
    background-image: url(../../res/button_addpolygon.png);
}Before starting our method, we extend our custom interaction control with the disabling capability. It is a very simple method that sets the disabled property of the button element, if the argument is a Boolean literal:
ol.control.Interaction = function (opt_options) {
    […]
    this.setDisabled = function (bool) {
        if (typeof bool === 'boolean') {
            controlButton.disabled = bool;
            return this;
        }
    };
    […]
};
Next, we can create our new method that constructs the three necessary drawing controls and adds them to the collection of editing controls:
Note
By default, ol.interaction.Draw finishes the current sketch if you click within the 12 pixels radius of one of the sketch's vertices. For precise digitizing, this behavior is unacceptable; therefore, we set the snapTolerance parameter to 1. This way, we can only finish our sketch with a double-click on the last vertex, but we also help the library to identify a double-click, especially when our snapping control will be active.
toolBar.prototype.addEditingToolBar = function () {
    var layertree = this.layertree;
    this.editingControls = new ol.Collection();
    var drawPoint = new ol.control.Interaction({
        label: ' ',
        tipLabel: 'Add points',
        className: 'ol-addpoint ol-unselectable ol-control',
        interaction: this.handleEvents(new ol.interaction.Draw({
            type: 'Point',
            snapTolerance: 1
        }), 'point')
    }).setDisabled(true);
    this.editingControls.push(drawPoint);
    var drawLine = new ol.control.Interaction({
        label: ' ',
        tipLabel: 'Add lines',
        className: 'ol-addline ol-unselectable ol-control',
        interaction: this.handleEvents(new ol.interaction.Draw({
            type: 'LineString',
            snapTolerance: 1
        }), 'line')
    }).setDisabled(true);
    this.editingControls.push(drawLine);
    var drawPolygon = new ol.control.Interaction({
        label: ' ',
        tipLabel: 'Add polygons',
        className: 'ol-addpolygon ol-unselectable ol-control',
        interaction: this.handleEvents(new ol.interaction.Draw({
            type: 'Polygon',
            snapTolerance: 1
        }), 'polygon')
    }).setDisabled(true);
    this.editingControls.push(drawPolygon);
Note
We can assign a layer filter in the select interaction, which is considered an easy case. However, the draw interactions require a source object to work with, which cannot be changed after instantiation. To tackle this problem, we do not specify a source in the interactions, but we will add the features to the appropriate source manually via event listeners.
Note that, later, we will dedicate a method to register listeners on the drawing interactions called handleEvents. Don't worry about that now, we will discuss it right after we finish this method.
We disable every editing control by default as, in the application's default state, none of the layers are selected. Next, we close our method by registering an event on the layer tree's selectEventEmitter object and add the controls to the toolbar:
    layertree.selectEventEmitter.on('change', function () {
        var layer = layertree.getLayerById(layertree.selectedLayer.id);
        if (layer instanceof ol.layer.Vector) {
            this.editingControls.forEach(function (control) {
                control.setDisabled(false);
            });
            var layerType = layer.get('type');
            if (layerType !== 'point' && layerType !== 'geomcollection') drawPoint.setDisabled(true).set('active', false);
            if (layerType !== 'line' && layerType !== 'geomcollection') drawLine.setDisabled(true).set('active', false);
            if (layerType !== 'polygon' && layerType !== 'geomcollection') drawPolygon.setDisabled(true).set('active', false);
        } else {
            this.editingControls.forEach(function (control) {
                control.set('active', false);
                control.setDisabled(true);
            });
        }
    }, this);
    this.addControl(drawPoint).addControl(drawLine).addControl(drawPolygon);
    return this;
};
If the selected layer changes, we check the new selection. We follow two different logics based on the layer's type. If the layer has a vector type, we use a permissive logic. We enable every editing control, check for the type of the layer, and disable the inappropriate drawing controls. We also deactivate them; therefore, they do not get stuck if we change the selected layer during an editing session. If the layer is not a vector, we use a restrictive logic and disable every editing control.
Now, it's time to define a method to register events to the draw interactions. There is a mandatory event on finishing a sketch where we add the feature to the selected vector layer's source, if there is a vector layer selected. However, it is advisable to do a check when we start drawing. Disabling controls can be considered as a good visual feedback for users, as to whether they can use a given drawing tool or not. On the other hand, the disabled property of a DOM element can be overridden from the browser; thus, we should make the drawing process completely foolproof. We start with a listener that implements this extra security consideration:
toolBar.prototype.handleEvents = function (interaction, type) {
    if (type !== 'point') {
        interaction.on('drawstart', function (evt) {
            var error = false;
            if (this.layertree.selectedLayer) {
                var selectedLayer = this.layertree.getLayerById(this.layertree.selectedLayer.id);
                var layerType = selectedLayer.get('type');
                error = (layerType !== type && layerType !== 'geomcollection') ? true : false;
            } else {
                error = true;
            }
            if (error) {
                interaction.finishDrawing();
            }
        }, this);
    }
If we are working with a draw line or draw polygon tool, we check for the active layer. If it is not a vector, we simply call the interaction's finishDrawing method. Note that calling this method in a draw point tool results in an error as the sketch feature becomes null. Next, we add an event when a sketch is finished, which is responsible for adding a feature to the source and displaying errors:
Note
We can check for an empty string in a conditional statement, as it is a false value in JavaScript. This means, not only the Boolean literal false can be used for conditional checking, but any other value can get evaluated to true or false in such cases. You can see the full list by searching for JavaScript truthy falsey.
    interaction.on('drawend', function (evt) {
        var error = '';
        errorcheck: if (this.layertree.selectedLayer) {
            var selectedLayer = this.layertree.getLayerById(this.layertree.selectedLayer.id);
            error = selectedLayer instanceof ol.layer.Vector ? '' : 'Please select a valid vector layer.';
            if (error) break errorcheck;
            var layerType = selectedLayer.get('type');
            error = (layerType === type || layerType === 'geomcollection') ? '' : 'Selected layer has a different vector type.';
        } else {
            error = 'Please select a layer first.';
        }
        if (! error) {
            selectedLayer.getSource().addFeature(evt.feature);
        } else {
            this.layertree.messages.textContent = error;
        }
    }, this);
    return interaction;
};
Tip
You can use the break statement to break out of any labeled code block, not just from the switch statements or the for loops. This is considered as not a good practice because using this technique can decrease the readability of your code, especially in case of poor label name choice. However, in some cases, like ours (as we do not want our error to be overwritten), this can come handy.
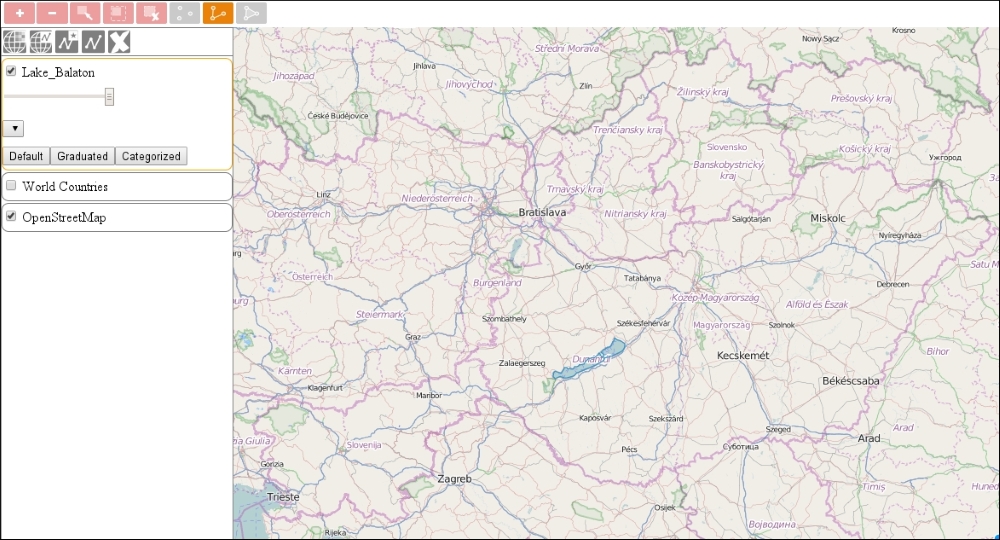
If you save the code so far and open it up, you will see the drawing controls in action. Add some new typed layers and draw some shapes with the corresponding tool(s) that can be activated when the layer is selected. For an extra experience, manually enable a disabled drawing control with your preferred browser's Developer Tools, try to draw something, and see what happens: