Table of Contents for
Mastering OpenLayers 3
 Mastering OpenLayers 3
Published by
Packt Publishing, 2016
Mastering OpenLayers 3
Published by
Packt Publishing, 2016
- Cover
- Table of Contents
- Mastering OpenLayers 3
- Mastering OpenLayers 3
- Credits
- About the Author
- About the Reviewer
- www.PacktPub.com
- Preface
- What you need for this book
- Who this book is for
- Conventions
- Reader feedback
- Customer support
- 1. Creating Simple Maps with OpenLayers 3
- Structure of OpenLayers 3
- Building the layout
- Using the API documentation
- Debugging the code
- Summary
- 2. Applying Custom Styles
- Customizing the default appearance
- Styling vector layers
- Customizing the appearance with JavaScript
- Creating a WebGIS client layout
- Summary
- 3. Working with Layers
- Building a layer tree
- Adding layers dynamically
- Adding vector layers with the File API
- Adding vector layers with a library
- Removing layers dynamically
- Changing layer attributes
- Changing the layer order with the Drag and Drop API
- Clearing the message bar
- Summary
- 4. Using Vector Data
- Accessing attributes
- Setting attributes
- Validating attributes
- Creating thematic layers
- Saving vector data
- Saving with WFS-T
- Modifying the geometry
- Summary
- 5. Creating Responsive Applications with Interactions and Controls
- Building the toolbar
- Mapping interactions to controls
- Building a set of feature selection controls
- Adding new vector layers
- Building a set of drawing tools
- Modifying and snapping to features
- Creating new interactions
- Building a measuring control
- Summary
- 6. Controlling the Map – View and Projection
- Customizing a view
- Constraining a view
- Creating a navigation history
- Working with extents
- Rotating a view
- Changing the map's projection
- Creating custom animations
- Summary
- 7. Mastering Renderers
- Using different renderers
- Creating a WebGL map
- Drawing lines and polygons with WebGL
- Blending layers
- Clipping layers
- Exporting a map
- Creating a raster calculator
- Creating a convolution matrix
- Clipping a layer with WebGL
- Summary
- 8. OpenLayers 3 for Mobile
- Responsive styling with CSS
- Generating geocaches
- Adding device-dependent controls
- Vectorizing the mobile version
- Making the mobile application interactive
- Summary
- 9. Tools of the Trade – Integrating Third-Party Applications
- Exporting a QGIS project
- Importing shapefiles
- Spatial analysis with Turf
- Spatial analysis with JSTS
- 3D rendering with Cesium
- Summary
- 10. Compiling Custom Builds with Closure
- Configuring Node JS
- Compiling OpenLayers 3
- Bundling an application with OpenLayers 3
- Extending OpenLayers 3
- Creating rich documentation with JSDoc
- Summary
- Index
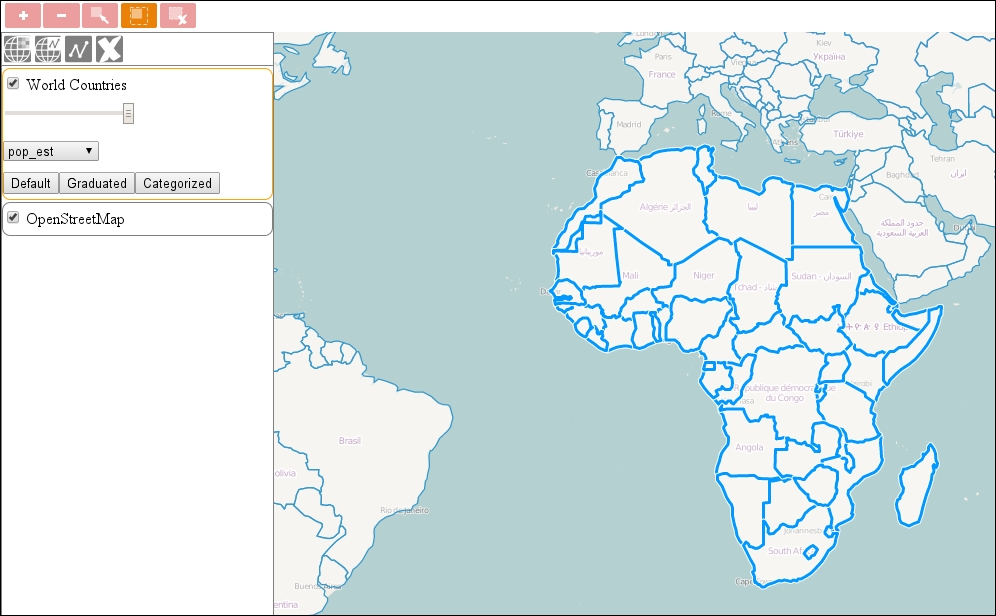
Interactions in OpenLayers 3 are related to the view or vector layers. These interactions related to vector data mostly have only this in common. Their working mechanism is highly inconsistent, it depends on the type of the given interaction. This peculiarity requires us to customize every interaction individually for our needs. In this example, called ch05_select_complex, we will create three selection tools.
Firstly, we create some styles for the control buttons. We will use some nice background images to describe the controls. As we leave the text content of the buttons empty, we have to vertically center the buttons, not just the container div element. We also need to set some rules for the background images to render them properly:
.toolbar .ol-control button {
[…]
    vertical-align: middle;
    background-size: 1em;
    background-repeat: no-repeat;
    background-position: 50%;
}
[…]
.toolbar .ol-singleselect button {
    background-image: url(../../res/button_select.png);
}
.toolbar .ol-multiselect button {
    background-image: url(../../res/button_multiselect.png);
}
.toolbar .ol-deselect button {
    background-image: url(../../res/button_deselect.png);
}To set up and manage the selection controls, we extend the toolbar with a method that creates the required controls and adds them to the map. We will use one central select interaction. This way, if we ever need to make operations on the current selection, we only have to query a single interaction:
toolBar.prototype.addSelectControls = function () {
    var layertree = this.layertree;
    var selectInteraction = new ol.interaction.Select({
        layers: function (layer) {
            if (layertree.selectedLayer) {
                if (layer === layertree.getLayerById(layertree.selectedLayer.id)) {
                    return true;
                }
            }
            return false;
        }
    });
    var selectSingle = new ol.control.Interaction({
        label: ' ',
        tipLabel: 'Select feature',
        className: 'ol-singleselect ol-unselectable ol-control',
        interaction: selectInteraction
    });
Luckily, the select interaction accepts a filter function, with which we can narrow down the candidate layers to the currently selected one. Next, we create another custom control with a drag box interaction attached to it:
    var boxInteraction = new ol.interaction.DragBox();
    var selectMulti = new ol.control.Interaction({
        label: ' ',
        tipLabel: 'Select features with a box',
        className: 'ol-multiselect ol-unselectable ol-control',
        interaction: boxInteraction
    });
Next, we assign an event to the drag box. When a box is drawn, we clear the selected interaction's underlying feature collection, detect every feature intersecting the box in the selected layer, and add them to the collection. Note that the selected interaction doesn't have to be active to highlight selected features:
    boxInteraction.on('boxend', function (evt) {
        selectInteraction.getFeatures().clear();
        var extent = boxInteraction.getGeometry().getExtent();
        if (this.layertree.selectedLayer) {
            var source = this.layertree.getLayerById(this.layertree.selectedLayer.id).getSource();
            if (source instanceof ol.source.Vector) {
                source.forEachFeatureIntersectingExtent(extent, function (feature) {
                    selectInteraction.getFeatures().push(feature);
                });
            }
        }
    }, this);
Note
The ol.source.Vector class has two methods for hit detection. The first one, forEachFeatureInExtent, compares the supplied extent with every feature's extent. This is a very fast method, as OpenLayers 3 uses an R-Tree for spatial indexing, but often yields incorrect results. The second one, forEachFeatureIntersectingExtent, compares the supplied extent with every feature's geometry. It is slower, but also more accurate.
Finally, we close our method by creating a third control to remove selections. This control is plain simple, and cannot be toggled; thus, we build it as a custom ol.control.Control. We also add the newly created controls to the toolbar:
    var controlDiv = document.createElement('div');
    controlDiv.className = 'ol-deselect ol-unselectable ol-control';
    var controlButton = document.createElement('button');
    controlButton.title = 'Remove selection(s)';
    controlDiv.appendChild(controlButton);
    controlButton.addEventListener('click', function () {
        selectInteraction.getFeatures().clear();
    });
    var deselectControl = new ol.control.Control({
        element: controlDiv
    });
    this.addControl(selectSingle)
        .addControl(selectMulti)
        .addControl(deselectControl);
    return this;
};
The only thing left to do is to call our new method in the init function:
var tools = new toolBar({
    map: map,
    target: 'toolbar',
    layertree: tree,
}).addControl(new ol.control.Zoom()).addSelectControls();
If you save the example and load it up, you can play around with our selecting mechanism. Just don't forget to select the vector layer first: