
We're going to use a plugin that triggers an action when scrolled to an element. The plugin is called Waypoints and can be downloaded from this link: http://imakewebthings.com/waypoints/:
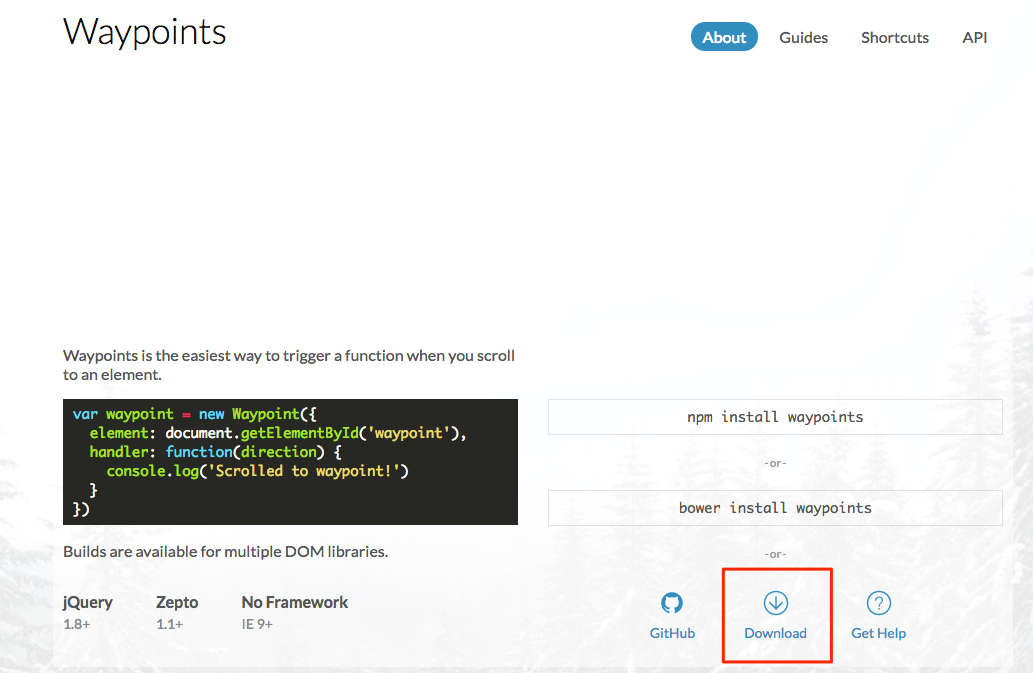
Simply click on the Download button to download the files. In the files that you have downloaded, only one file will be necessary. Go to the lib folder and look for jquery.waypoints.min. Copy this file and paste it to our Web Project folder, specifically in our js | vendor folder.
Once pasted, we need to link it to our HTML page. To do so, go to our HTML file before the closing tag </body>. You'll see a bunch of scripts that were already linked previously for our jQuery file. Before the last file main.js, simply add the following:
<script src="js/vendor/jquery.waypoints.min.js"></script>
main.js should be the last file in the list because it contains all our personal JS functions and needs to read by the browser last.
Every plugin has a different way to be used. The best way is to read the document provided by the author of the plugin. Here, I'll explain to you the easiest way to use this plugin.
To use .waypoint with jQuery, we can call it with the following:
$('elementToTrigger').waypoint(function(direction){
    /* JS code */
});
Here are some explanations:
- elementToTrigger will be the element we want the plugin to watch and trigger the action when the user scroll passes the element. In this case, it will be #blog.
- direction: this argument will serve to detect whether the user is scrolling down or up the page.
Let's head to our main.js and create our own JS code:
$('#blog').waypoint(function(direction) {

  });
Now what we want is to do an action when the user scrolls down and scrolls past the Blog section, but also do another action when the user scrolls up and leaves the blog section.
To do that, we'll need to use a condition, as we saw earlier:
$('#blog').waypoint(function(direction) {
    if (direction == 'down') {

    } else {

    }
  });
direction == 'down' means the direction of the scroll is equal to down.
Now what we want to do is to add the class sticky when the user scrolls down and passes the blog section, and remove the same class when the latter leaves it:
$('#blog').waypoint(function(direction) {
    if (direction == 'down') {
      $('header').addClass('sticky');
    } else {
      $('header').removeClass('sticky');
    }
  });
Let's save and see how it works:
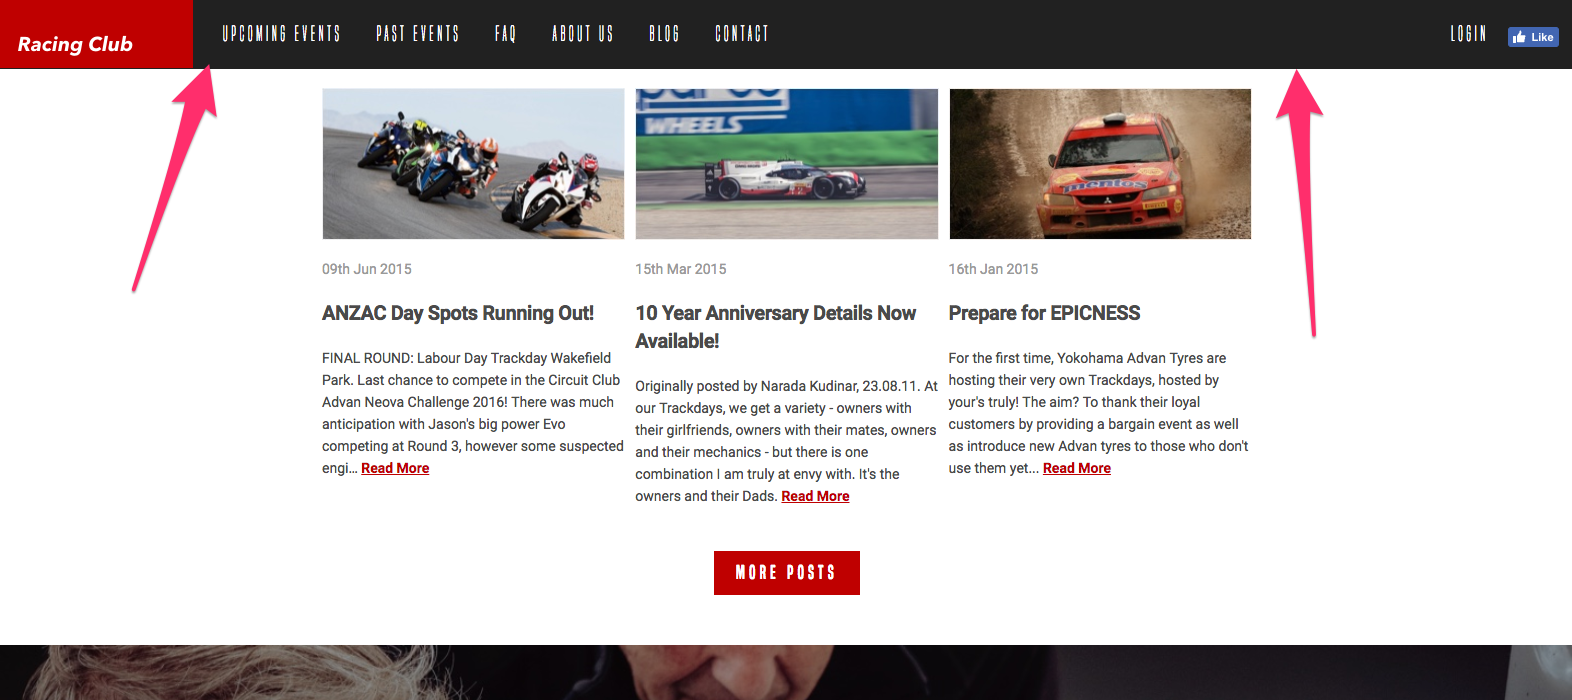
It works perfectly, but the header appears instantly, with no animation whatsoever. Let's try to make it a bit smoother. To add a bit a transition, we'll use, in this example, CSS animation.