Table of Contents for
Practical Web Design

Version ebook / Retour

Cover image for bash Cookbook, 2nd Edition Practical Web Design by Philippe Hong Published by Packt Publishing, 2018
  1. Practical Web Design
  2. Title Page
  3. Copyright and Credits
  4. Practical Web Design
  5. PacktPub.com
  6. Why subscribe?
  7. PacktPub.com
  8. Contributers
  9. About the author
  10. About the reviewers
  11. Packt is searching for authors like you
  12. Table of Contents
  13. Preface
  14. Who this book is for
  15. What this book covers
  16. To get the most out of this book
  17. Download the example code files
  18. Download the color images
  19. Conventions used
  20. Get in touch
  21. Reviews
  22. Evolution of Web Design
  23. The first ever website
  24. Table-based layouts
  25. Introduction of Flash
  26. CSS – the savior
  27. Web 2.0
  28. The rise of the mobile
  29. Responsive web design
  30. Flat design
  31. What's next?
  32. Summary
  33. Web Design and its Components
  34. Grids
  35. The cons
  36. Call to Action
  37. Making it obvious
  38. Using contrasting color
  39. Compelling copy
  40. Placement
  41. Breadcrumb
  42. The search bar
  43. The submit button
  44. Making it noticeable
  45. Placing the search bar correctly
  46. Icons
  47. Describing in a nutshell  
  48. Drawing attention of the users
  49. Directional
  50. Modal
  51. Typography
  52. Choosing a font that connects your brand
  53. Serif fonts
  54. Sans-serif
  55. Casual scripts
  56. Don't use too much typeface
  57. Colors
  58. What colors mean
  59. Usability
  60. Simplicity
  61. Navigability
  62. Accessibility
  63. Consistency
  64. So, how can we be consistent?
  65. Design
  66. Content
  67. Interactions
  68. Summary
  69. Website-Designing Workflow
  70. Our situation
  71. Goal identification
  72. What is the purpose of the website?
  73. Who is the website for?
  74. Is this useful for our audience?
  75. What do they expect to find or do there?
  76. Does the website need to follow a brand or have its own brand identity?
  77. Are there any competitors? If there are, how is the website different than others?
  78. Defining the scope
  79. Creating wireframes
  80. Designing
  81. Get inspiration
  82. Improve
  83. Invent
  84. Implementing, testing, and launching
  85. Summary
  86. Responsive Versus Adaptive Design
  87. Responsive design
  88. Adaptive design
  89. So which one is the best?
  90. The takeaway
  91. Summary
  92. Learning HTML5
  93. Our main tool
  94. What is HTML?
  95. HTML tags
  96. HTML attributes
  97. HTML structure
  98. Creating our first page
  99. HTML elements
  100. Titles and paragraphs
  101. Links and images
  102. Summary
  103. Learning CSS3
  104. The different ways to use CSS
  105. CSS formatting
  106. Parent and child elements
  107. Classes and IDs
  108. CSS box model  
  109. The boxes
  110. Block and inline
  111. CSS layout and dividers
  112. The basic layout
  113. Formatting and indenting your HTML
  114. Styling our class
  115. Summary
  116. Building Your Own Website
  117. Our design
  118. Installing HTML Boilerplate
  119. Editing index.html
  120. Creating our web page
  121. Images folder
  122. Installing our font
  123. Importing Google Font
  124. Adding normalize.css
  125. The header
  126. Creating a menu
  127. Inserting links
  128. Adding a logo
  129. Right-hand side menu
  130. Adding a Facebook like button
  131. Styling our header
  132. Adding the hero section
  133. CSS flexbox
  134. Positioning in CSS
  135. Position static
  136. Position relative
  137. Position absolute
  138. Position fixed
  139. Position sticky
  140. Blog section
  141. Creating the ABOUT US section
  142. Adding the Partner section
  143. Adding the footer section
  144. Summary
  145. Making Our Website Responsive
  146. What are media queries? 
  147. Opening the inspector
  148. Desktop first
  149. Designing the menu
  150. What is jQuery? 
  151. jQuery syntax
  152. Making the hero section responsive
  153. Making the Blog section responsive
  154. Making the ABOUT US section responsive
  155. Making the footer section responsive
  156. Summary
  157. Adding Interaction and Dynamic Content
  158. CSS pseudo-classes
  159. Sticky navigation 
  160. JS Plugin: Waypoints
  161. CSS animation
  162. Adding a dynamic Instagram feed
  163. Installing Instafeed.js
  164. Getting images from your user account
  165. Finding our userID and TokenAccess
  166. Getting our access token
  167. Displaying the feed
  168. Summary
  169. Optimizing and Launching Our Website
  170. Creating a favicon
  171. Site performance optimization
  172. Optimizing images
  173. Optimizing our code
  174. Basic SEO improvement
  175. What is search engine optimization?
  176. Meta description
  177. Valid HTML
  178. Keywords
  179. Links
  180. Launching our website
  181. Buying a domain name
  182. Google analytics
  183. Google Search Console
  184. Summary
  185. What is Bootstrap?
  186. What is Bootstrap?
  187. Components
  188. Bootstrap Grid system
  189. Media queries
  190. Summary
  191. Building a Website with Bootstrap
  192. Installing Bootstrap 
  193. Setting up our project 
  194. Bootstrap navbar 
  195. Coding the Bootstrap navigation
  196. Styling our navigation bar 
  197. Styling the hero section
  198. Styling the Blog section
  199. Styling the about section 
  200. Styling the partner section
  201. Styling the footer
  202. Summary
  203. Introduction to Client-Side Rendering
  204. What is server-side rendering?
  205. What is client-side rendering?
  206. Pros and cons of server and client-side rendering
  207. Server-side rendering
  208. Client-side rendering
  209. Introducing to VueJS
  210. Setting up VueJS
  211. Creating a weather application in VueJS
  212. Vue Material
  213. Components
  214. OpenWeather API
  215. The API call
  216. Summary
  217. Tools to Help Your Workflow
  218. HTML Boilerplate
  219. Lorem Ipsum
  220. CSS preprocessor – LESS
  221. CSS preprocessor – SCSS
  222. ColorZilla
  223. Foundation
  224. Fontastic
  225. webflow
  226. Modernizr
  227. CSS3 Generator
  228. git
  229. CodeKit
  230. Animate.css
  231. TinyPNG
  232. Unsplash
  233. Summary
  234. Other Books You May Enjoy
  235. Leave a review - let other readers know what you think

Buying a domain name

First, we need to choose and buy a domain name. For our website, that could be www.racingclub.com. Then, we need to buy web hosting; think of it as a folder on the internet where we'll put all our files. To ensure that our website runs smoothly, we need the right amount of bandwidth. That is the amount of data transfer we are allowed within a certain time period.

Once we have both of those things, we just need to upload our website to our web space, and then we are ready to go. There are many domain registration companies and web-hosting companies. Of course, I will not tell you which one you should choose. All I can tell you is that I have used namecheap.com to both register the domain name and buy web hosting. The service there was always great, but I can't tell you that it's the best web host out there because I have not tried any other server so far.

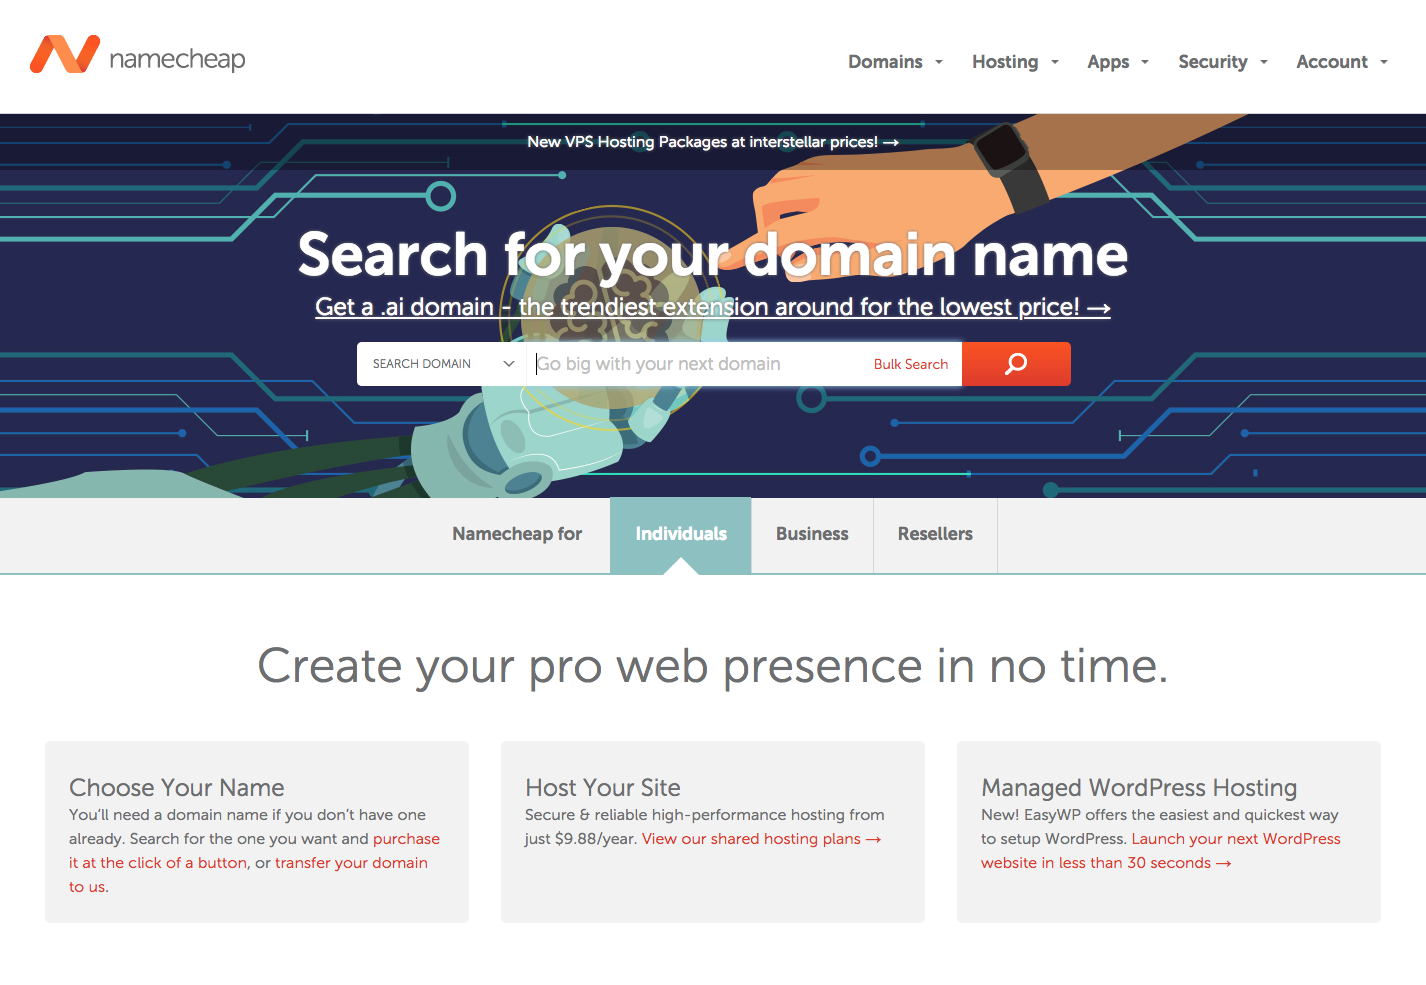
You can go to the Namecheap website and check whether your domain is available before you buy it. This is pretty easy and straightforward:

Once you have your domain, you need a host. I recommend getting the hosting and the domain with the same provider so it's easier to manage. 

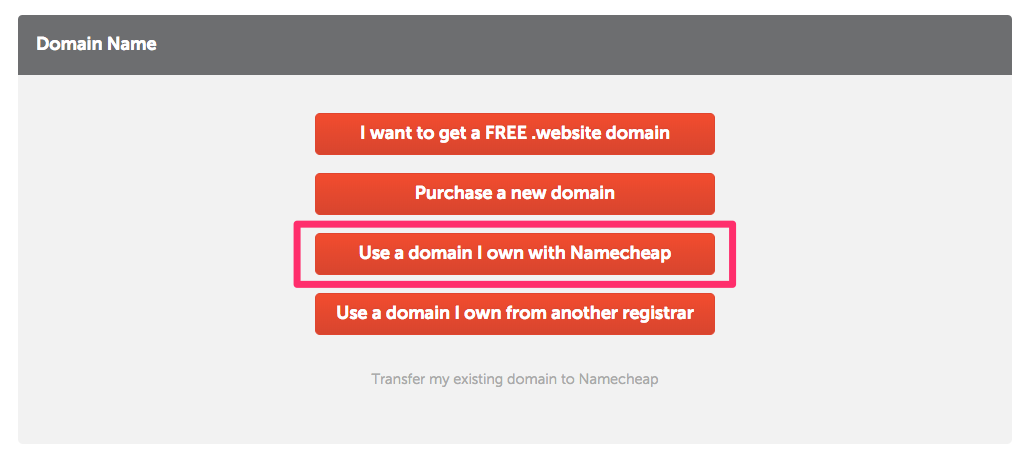
When purchasing your hosting, you can choose to use the domain you purchased or your own one:

Buying hosting with Namecheap

Once you have bought your hosting and linked it to your domain, you'll receive a few emails confirming your purchase, but, more importantly, all the credentials for you to connect to your server as well as your File Transfer Protocol (FTP). This is a protocol used to transfer files to a server. To upload our files, we need a tool that uses this protocol. I always use FileZilla. Easy and open source, it does the job. The next step is to download FileZilla (https://filezilla-project.org/):

FileZilla website

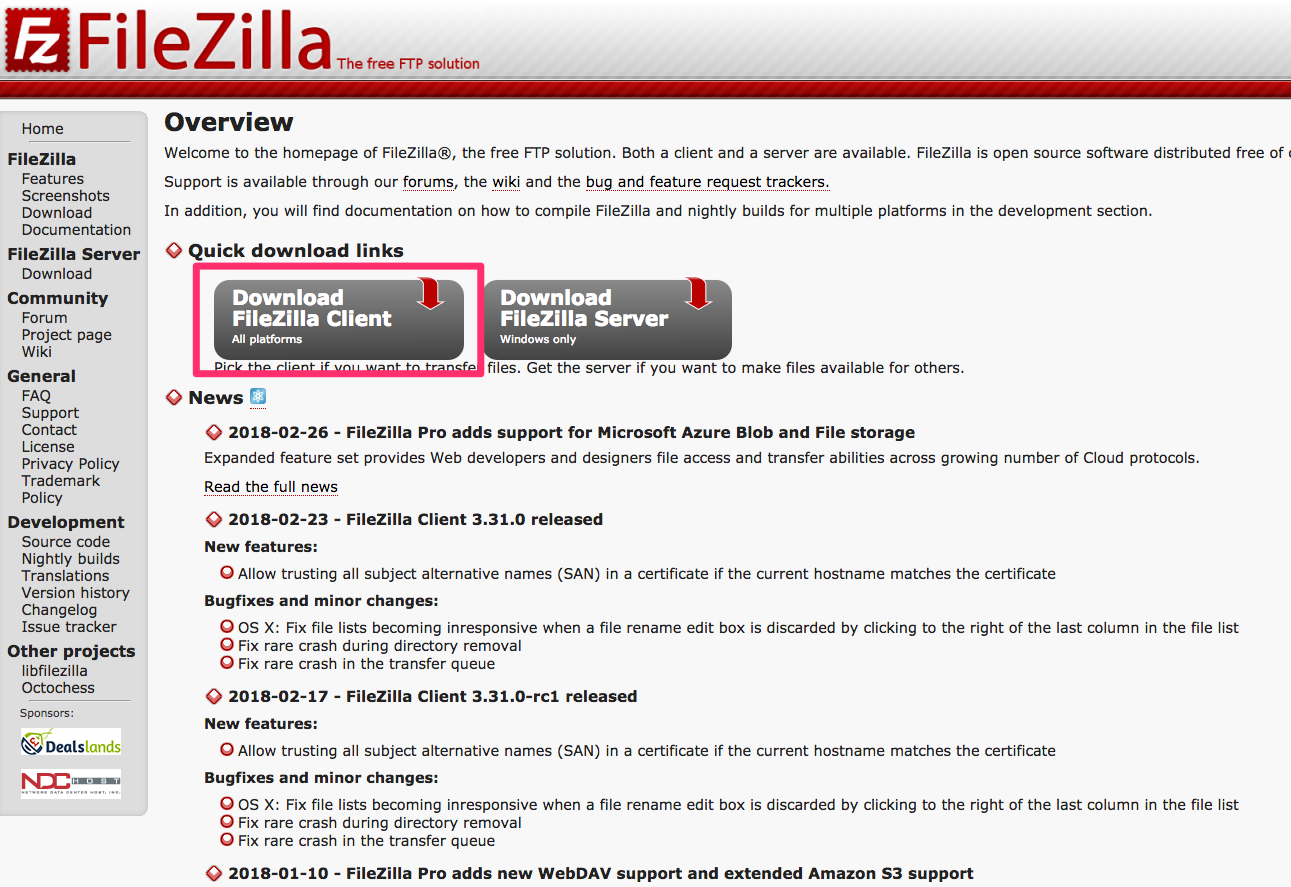
Click on Download FileZilla Client, and install FileZilla properly. 

Once you're on FileZilla, click on File | Site Manager

FileZilla  new website

Now we need to add a new site, but we need to find the credentials Namecheap sent us. Go to your email and look for SFTP Details, which should look something like this: 

Namecheap SFTP credentials

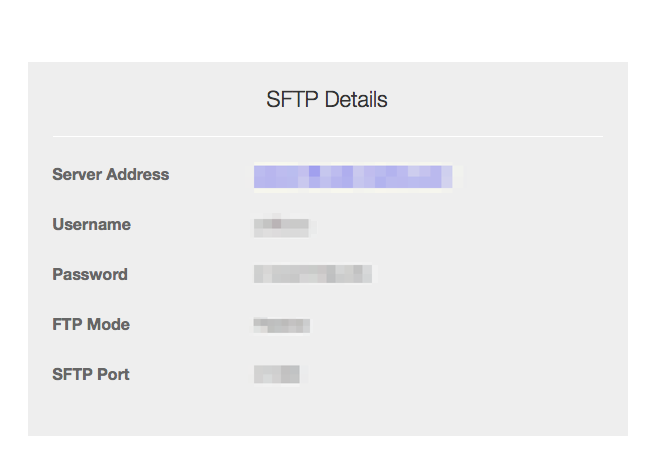
Look at these descriptions of the SFTP details so that you put in the correct information: 

  • Host: This is the server address
  • Port: This  is the Port 
  • Protocol: Needs to be set in SFTP
  • Login Type: Set to Normal
  • Username and Password: Put accordingly 

Click on Connect

Now you'll see a bunch of folders, with every sort of name. Don't worry about them; look for public_html, since this will be your public folder. Once inside, you can delete the files set by default. 

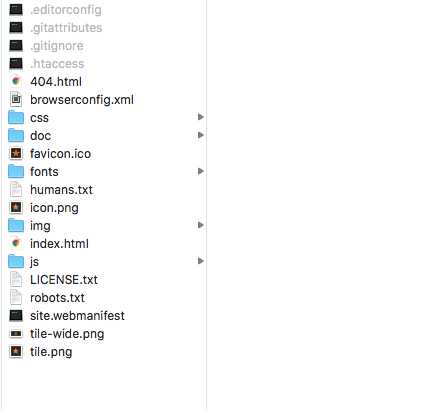
Now go to Web Project and select all the files that you with to drop into FileZilla. Be careful; all of the files, including hidden files, need to be uploaded. If you're in Windows, you don't need to worry about this, but for Mac users, hidden files are shown with a dot before the files. To show hidden files, simply use the shortcut Shift + CMD +  to show our hidden files:

Showing hidden files in macOS

Now drag and drop all the files to FileZilla. It will automatically upload them to your server. Once this is done, your website is now officially online! 

This will be different with every hosting provider, but generally, it is the same process. FileZilla is a great tool and can be used with every hosting if they're using FTP or SFTP to transfer files.