
We will now have a look at the jQuery syntax. The following syntax is an example of a jQuery and JavaScript code that changes the background of the body:
jQuery
$('body').css('background', '#fff');

Javascript
function changeBackgroundColor(color) {
   document.body.style.background = color;
}
onload="changeBackgroundColor('white');"
You can see the big difference between them.
The basic syntax of jQuery is very simple:
$(selector).action();
- The $ sign starts any jQuery action
- The (selector) is used to query (or find) HTML elements, by ID or class like in CSS (# or .)
- action() is the action to be performed on the element(s)
- The semicolon (;) is used to close the action
For example, to add a class in jQuery, we can use the jQuery action .addClass:
$('main').addClass('active');
To make this happen, we will need to create a JS file beforehand and write all our JS code in there. However, we can use the one created by HTML boilerplate located in our js folder, called main.js.
To call jQuery and say that we need to do those actions, we will need to add the following code:
$(document).ready(function(){

   // jQuery methods go here...

});
This is to prevent any jQuery code from running before the document has finished loading.
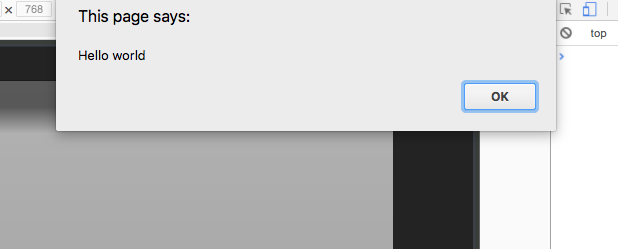
Now, to test whether our jQuery is correctly linked with our HTML file, a quick thing we can do is to show an alert when the page loads.
To do so, we can use the JavaScript alert action:
$(document).ready(function(){

  alert("Hello world");

});
We can remove the alert action and add the little code we created earlier:
$(document).ready(function(){

  $('main').addClass('active');

});
Let's save and check whether everything works:
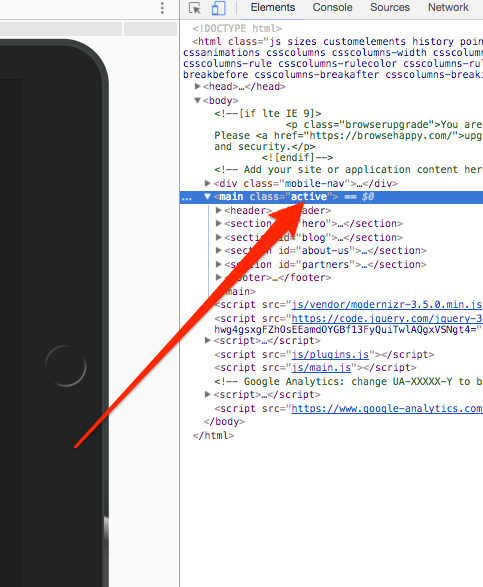
Indeed, we have our class active right from the start.
To change this action to when the user clicks on the menu, we will need to use the jQuery action, click:
$('.hamburger-menu').click();
We can define this, but this will not do anything, as we need to define the action when the icon is clicked. To do so, we will need to set a function inside. A function is a set of actions that you can set and is followed by an open and a closed curly bracket:
$('.hamburger-menu').click(function(){

});
Now, inside the function, we will add the addClass action:
$('.hamburger-menu').click(function(){
    $('main').addClass('active');
  });
Now save your JS file and refresh the page. As you click on the hamburger-menu, the container moves to the left. Well done! We have our first step. However, now we want to close the menu and move the container back.
We can add this:
$('main').click(function(){
    $('main').removeClass('active');
});
However, this won't work, as it will always try to remove the class active as <main> is the parent of .hamburger-menu. To solve that, we will need to tell the script to stop the click event from bubbling up when we click on the trigger. This means that it will never reach the <main> level and won't trigger the .removeClass() method. To do so, we will need to add a way to track the click event and tell it not to bubble up:
$('.hamburger-menu').click(function(event){
    event.stopPropagation();
    $('main').addClass('active');
  });
You can now check your menu. It's working properly as expected, but when you click on the .hamburger-menu itself, it doesn't do anything. This is because we didn't tell it to do anything.
We will need to make the <main> return to its initial position when we click on the hamburger-menu. However, right now, we have only set it to add a class active to <main>.
We need to configure a way to remove the class only if <main> has an active on it. To do so, we will need to apply a condition. To apply a condition in jQuery, we will simply need to use the condition if and else inside a function:
$('.hamburger-menu').click(function(event){
    event.stopPropagation();
    if (condition){

    } else {

    }
  });
So, the action we want is as follows:
- If <main> has the class active, remove the class active
- If <main> doesn't have the class active, add the class active
To check whether an element has a class, we can use the jQuery action hasClass, as follows:
$('.hamburger-menu').click(function(event){
    event.stopPropagation();
    if ($('main').hasClass('active')){
      $('main').removeClass('active');
    } else {
      $('main').addClass('active');
    }
  });
Now save your JS document. Our JS is working perfectly, but if you have a tendency to be a perfectionist, adding some animation won't kill you. We can add some transition to the container to add some smoothness to the animation:
main {
  position: relative;
  background-color: white;
  left: 0px;
  transition: all 0.2s ease-in-out;
}
The transition will only work on the element that is moving, which is, in this case, the <main> element.
Our responsive is finally done; let's move to the hero section.