
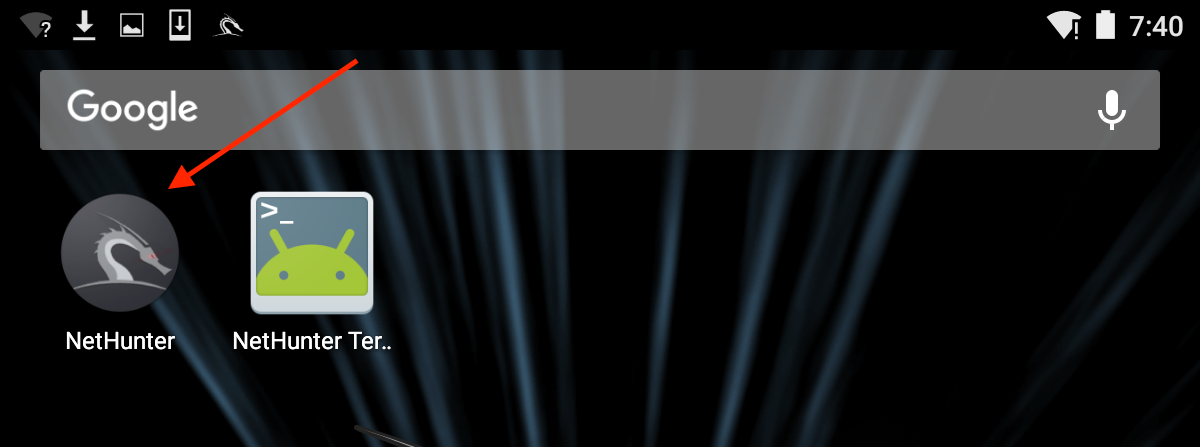
Once NetHunter has been installed on your device, there are two icons that are installed as part of the image. You will find these in the Apps menu. You will be utilizing these icons quite extensively, so I recommend you move them to the top-level screen. The first icon is the Kali NetHunter menu. This menu includes configuration settings and tools that are commonly used in penetration testing. First, click on the NetHunter icon:
You will be brought to a home screen with a list of tools, along with the some of the configuration setting menus. The one menu that we want to examine now is the Kali Services menu. This menu allows you to configure the different services available on NetHunter without having to use the command line:
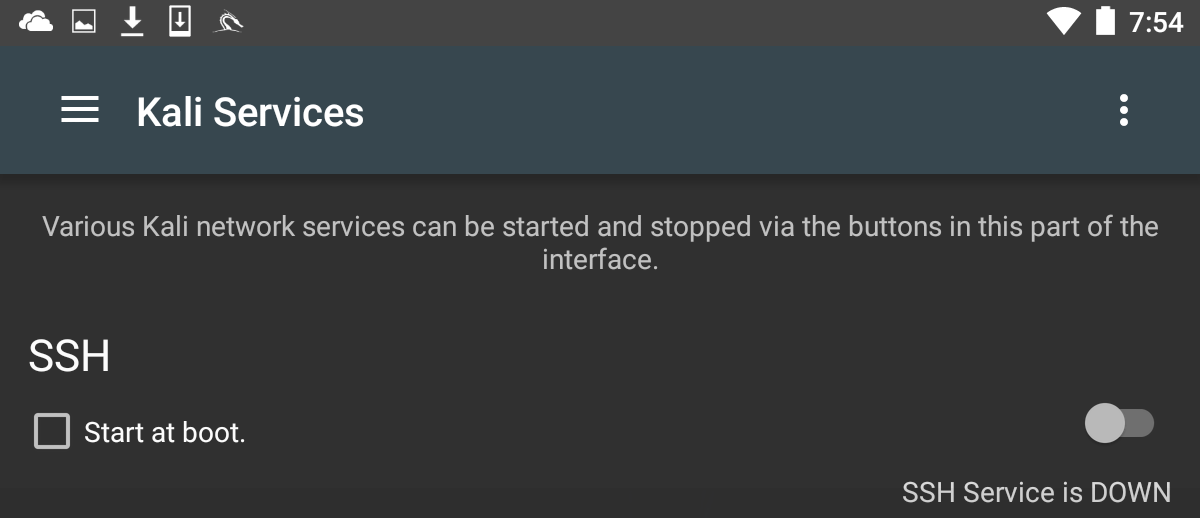
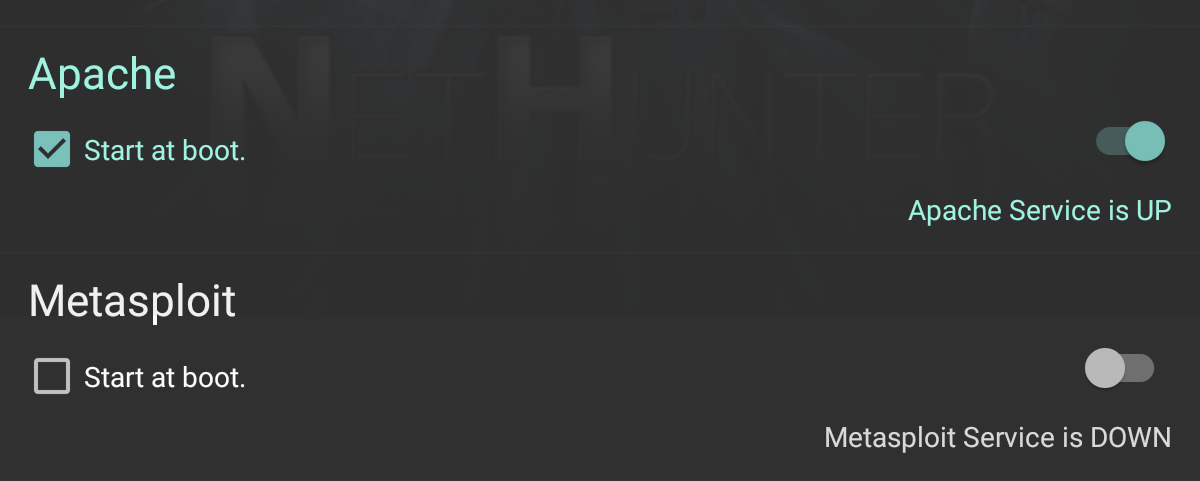
In this menu, you can configure a number of services to start on boot or to toggle on and off depending on your specific requirements. Two specific services that we have covered in other chapters include the Apache web server and the Metasploit service. Both of these can be started from this menu:
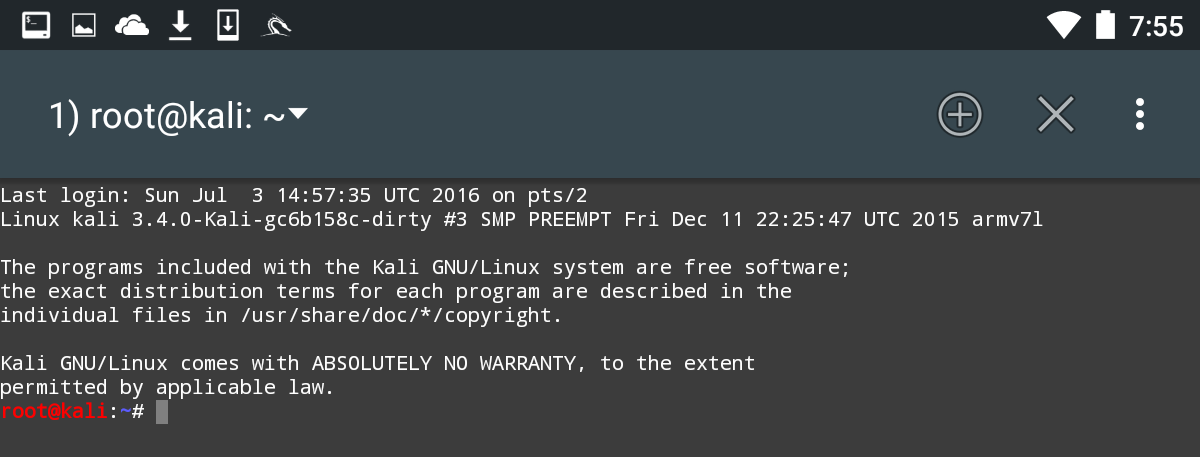
In addition to the menu options, NetHunter has an icon for accessing the command line. To access the Terminal, click on NetHunter Terminal:

This will then open the Command Prompt, which looks like the standard interface that we have seen throughout the previous chapters:
The three vertical dots in the upper-right corner will allow you to access options that allow you to use special keys, access the help menu, and set your preferences, among other options. In addition, Kali NetHunter comes preconfigured with Hacker's Keyboard. Navigate to the Apps pages in the tablet menu. You will find an icon for Hacker's Keyboard. This keyboard is a little more user-friendly, which is useful when using the command line.