
ping is the most famous tool that is used to check whether a particular host is available. The ping tool works by sending an Internet Control Message Protocol (ICMP) echo request packet to the target host. If the target host is available and the firewall is not blocking the ICMP echo request packet, it will reply with the ICMP echo reply packet.
Although you can't find ping in the Kali Linux menu, you can open the console and type the ping command, along with its options.
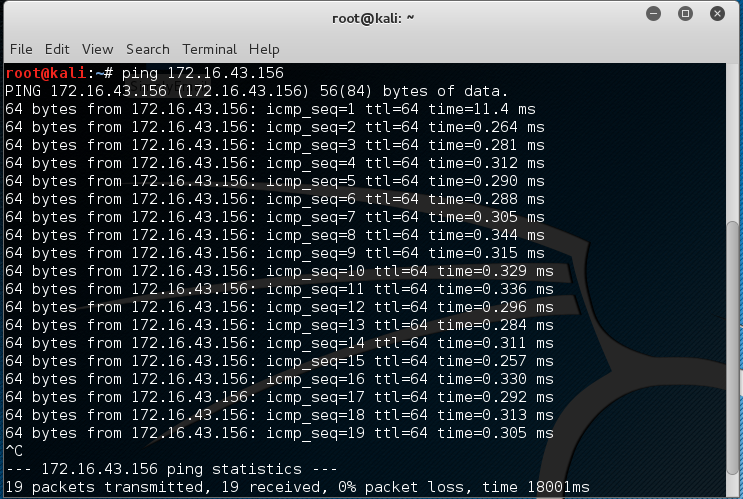
To use ping, you can just type ping and the destination address, as shown in the following screenshot:
In Kali Linux, by default, ping will run continuously until you press Ctrl + C.
The ping tool has a lot of options, but the following are a few that are often used:
- The -c count: This is the number of echo request packets to be sent.
- The -I interface address: This is the network interface of the source address. The argument may be a numeric IP address (such as 192.168.56.102) or the name of the device (such as eth0). This option is required if you want to ping the IPv6 link-local address.
- The -s packet size: This specifies the number of data bytes to be sent. The default is 56 bytes, which translates into 64 ICMP data bytes when combined with the 8 bytes of the ICMP header data.
Let's use the preceding information in practice.
Suppose you are starting with internal penetration-testing work. The customer gave you access to their network using a LAN cable and they also gave you the list of target servers' IP addresses.
The first thing you would want to do before launching a full penetration-testing arsenal is to check whether these servers are accessible from your machine. You can use ping for this task.
The target server is located at 172.16.43.156, while your machine has an IP address of 172.16.43.150. To check the target server availability, you can give the following command:
ping -c 1 172.16.43.156
The following screenshot is the result of the preceding ping command:

From the preceding screenshot, we know that one ICMP echo request packet was sent to the destination (IP address = 172.16.43.156). Also, the sending host (IP address = 172.16.43.150) received one ICMP echo reply packet. The round-trip time required was .869 ms, and there was no packet loss during the process.
Let's see the network packets that are transmitted and received by our machine. We are going to use Wireshark, a network protocol analyzer, on our machine to capture these packets, as shown in the following screenshot:

From the preceding screenshot, we can see that our host (172.16.43.150) sent one ICMP echo request packet to the destination host (172.16.43.156). Since the destination is alive and allows the ICMP echo request packet, it sent the ICMP echo reply packet back to our machine. We will cover Wireshark in more detail in the Network sniffers section in Chapter 9, Privilege Escalation.
If your target is using an IPv6 address, such as fe80::20c:29ff:fe18:f08, you can use the ping6 tool to check its availability. You need to give the -I option for the command to work against the link-local address:
    # ping6 -c 1 fe80::20c:29ff:fe18:f08 -I eth0
    PING fe80::20c:29ff:fe18:f08(fe80::20c:29ff:fe18:f08) from fe80::20c:29ff:feb3:137 eth0: 56 data bytes
    64 bytes from fe80::20c:29ff:fe18:f08: icmp_seq=1 ttl=64 time=7.98 ms

    --- fe80::20c:29ff:fe18:f08 ping statistics ---
    1 packets transmitted, 1 received, 0% packet loss, time 0ms
    rtt min/avg/max/mdev = 7.988/7.988/7.988/0.000 ms
The following screenshot shows the packets sent to complete the ping6 request:

From the preceding screenshot, we know that ping6 is using the ICMPv6 request and reply.
To block the ping request, the firewall can be configured to only allow the ICMP echo request packet from a specific host and to drop the packets sent from other hosts.