The Dradis framework is a user-friendly reporting framework that also supports collaboration. Running tests and assessments using a multitude of tools can be very exciting; however, when it comes to organized documentation, this can become a bit overwhelming, taking into consideration that there are output files to be included in the report, as well as screenshots of the output files, along with commands used during the assessments, which also have to be documented. The Dradis framework assists in this area by providing an easy-to-use interface that supports plugins for many tools, additional compliance guidelines, and the ability to easily customize checklists.
The Dradis framework can be found in Kali's menu by clicking Applications, then 12-Reporting Tools, and then Dradis framework.
Dradis can also be started directly from the Terminal by typing dradis:
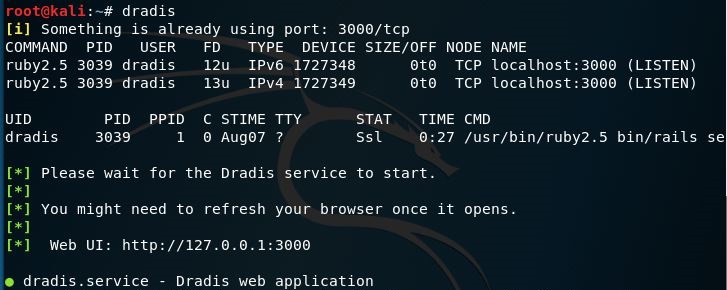
Both of the preceding methods result in the Dradis web interface being opened in a browser with 127.0.0.1:3000/setup as the URL. Enter the password that will be used by everyone accessing the server and then click on Create shared password and continue.
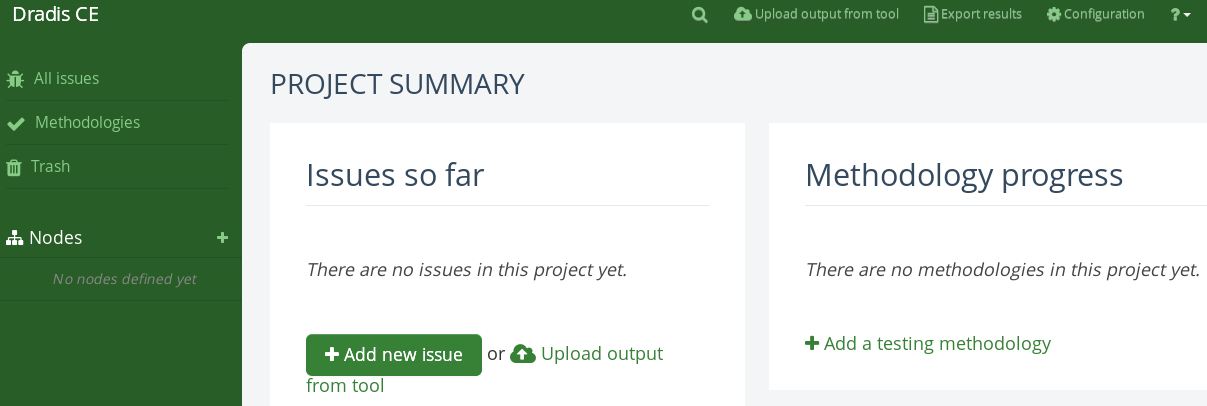
Next, enter a username and the password, and then click on Let me in! This brings us to the Dradis CE (Community Edition) dashboard. Dradis CE allows the user to create checklists as a methodology. You can do so by clicking on Methodologies (on the left pane), or by clicking on +Add a testing methodology under the Methodology progress section in the main window:
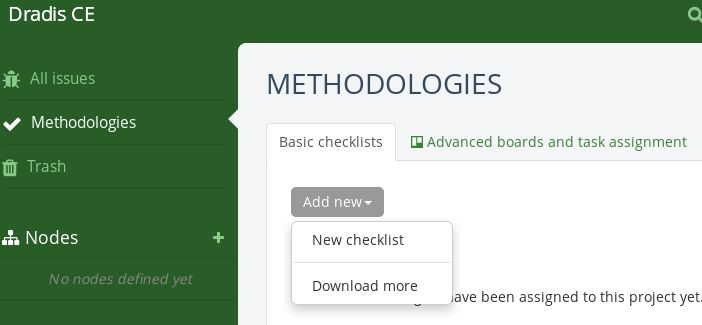
Dradis gives the user the options to either create a new methodology, or choose between other compliance packages (which must be downloaded). Should you wish to use a specific template for your methodology, instead of creating one, the Download more option can be selected, which directs the user to a page on compliance packages (https://dradisframework.com/academy/industry/compliance/) with various packages available, including the following:
- HIPAA compliance audit tool
- Offensive Security Certified Professional (OSCP) report
- OWASP testing guide v4
- PTES technical guides
To create a checklist for your methodology, select the New checklist option:
Give the new checklist a name and then click on Add to Project. This creates an unpopulated checklist with two section headings, to get us started:
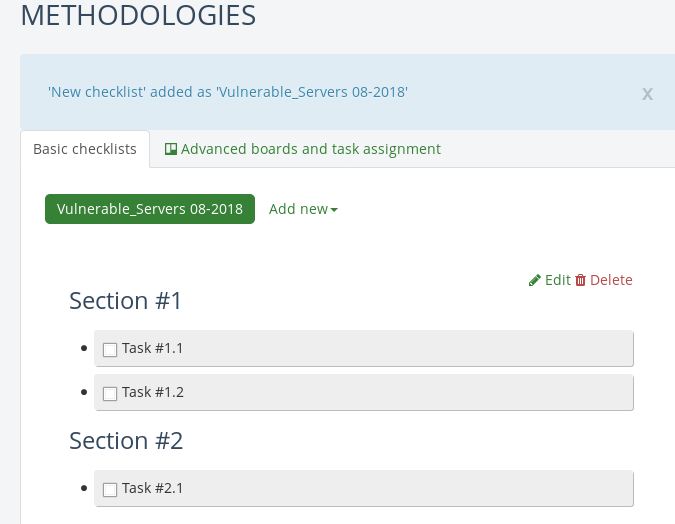
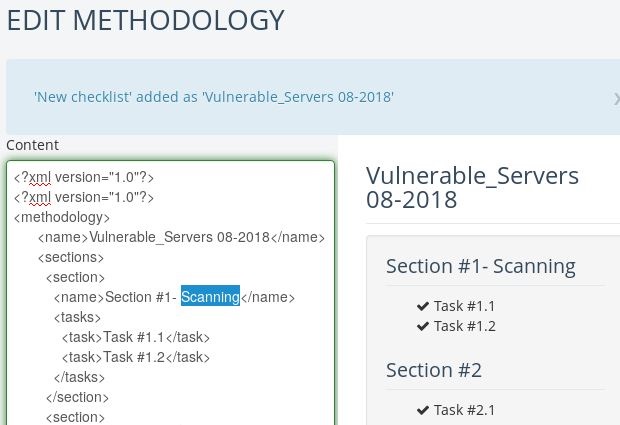
To edit the sections and tasks, click on the Edit button and edit the XML content. As an example, I've added Scanning in the Section 1 area. When you have finished editing, scroll to the bottom of the XML file and click on Update methodology:
In the left pane, click on Nodes to add the devices on which Dradis CE will be creating the report. If working with multiple nodes, enter the IPs of the nodes (one per line) and click on Add when finished:

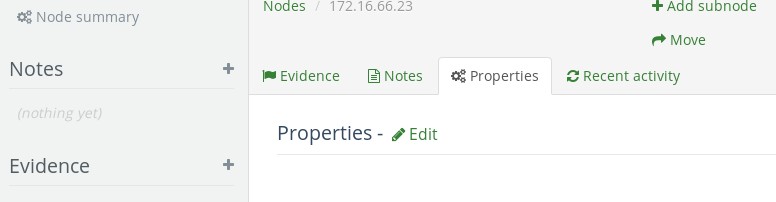
Clicking on the individual IPs under the Notes section in the left pane opens the Node Summary dashboard. In here, you can add Evidence, Notes, and even add a subnode if required, as demonstrated in the following screenshot:
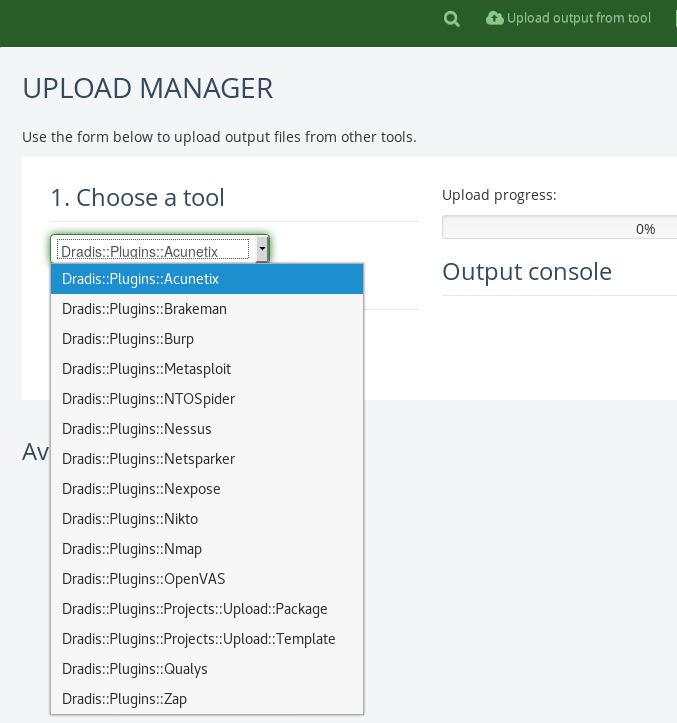
Dradis also simplifies the reporting process by being able to work with output from various tools including Acunetix, Burp, Metasploit, Nessus, Nikto, OpenVas, and others, for the report via plugins. Click on Upload output from tool at the top of the dashboard. Select a tool and choose a file to upload into Dradis, as in the following screenshot:
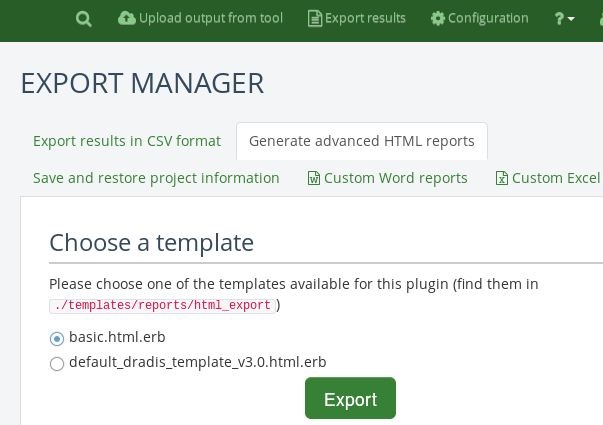
To complete your report, click on Export Results at the top of the dashboard. Reports can be generated in CSV and HTML formats, as well as custom Word and Excel reports. Select a template and click on Export to generate your file, as shown here: