Open Vulnerability Assessment System (OpenVAS) is an open source vulnerability scanning framework. OpenVAS is simple to install and has a user-friendly interface for performing vulnerability assessments. According to the OpenVAS website (http://www.openvas.org/about.html), there are over 50,000 Network Vulnerability Tests (NVTs) within the framework, which is a part of the Greenbone Networks commercial vulnerability management framework.
To install OpenVAS, open a new Terminal and type apt-get install openvas, as follows:

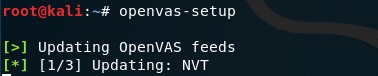
Once OpenVAS has been successfully installed, type openvas-setup into the Terminal to start the setup and configuration. This process may take quite some time, depending on your download speeds:
At the end of the setup and configuration process, OpenVAS will generate a password key that will be required when starting OpenVAS:

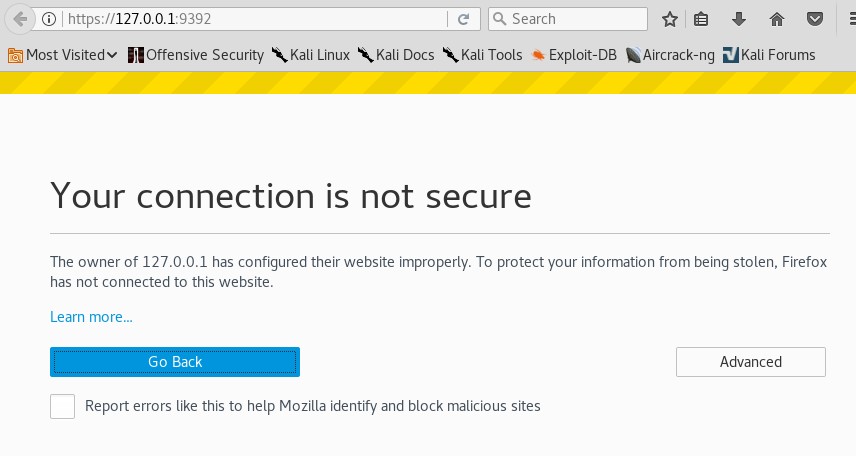
To start the OpenVAS service, type openvas-start, then connect to the web interface by typing https://127.0.0.1:9392 or https://localhost:9392 in a browser window.
You will also have to click on Advanced, then Add Exception, and then lastly Confirm Security Exception after entering the previous URL, as shown in the following screenshot:
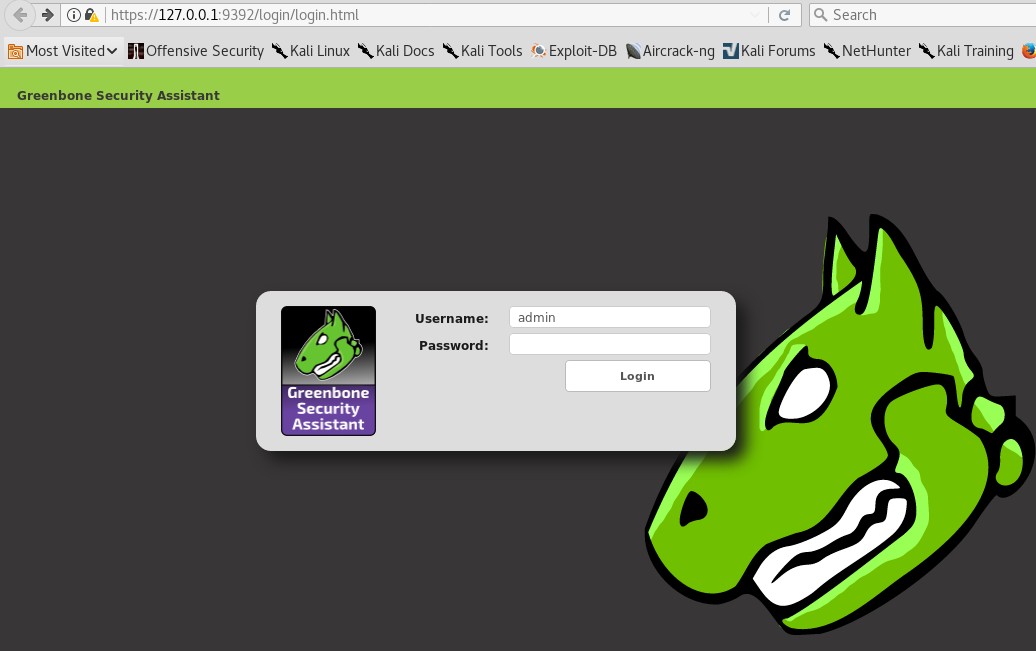
When prompted, log in with the username admin and the password generated in the setup process. Be sure to keep this login stored securely, as you will be required to log in whenever using OpenVAS, as shown here:
To run a scan, click on Scans and then Tasks. An information box will open, prompting you to position the mouse over the Task Wizard, the purple icon at the top-left of the screen, as shown here:
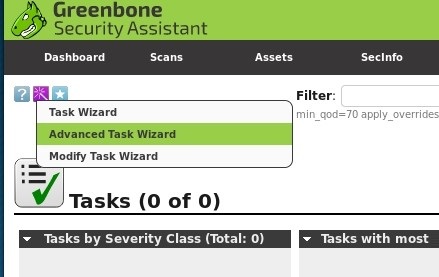
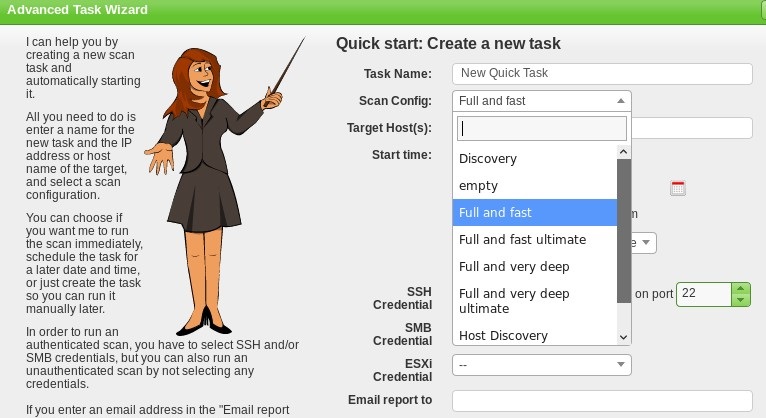
Click on Advanced Task Wizard. Enter the relevant information into the given fields. Note that the Scan Config field has several scan types to choose from, including Discovery, Full and Fast, Full and fast ultimate, and Full and very deep ultimate (the most time- and resource-consuming option). The Start time option allows the penetration tester to schedule the scan. This can be quite useful, as scans may be disruptive on the network, so you may wish to run scans after working hours or on weekends, if necessary:
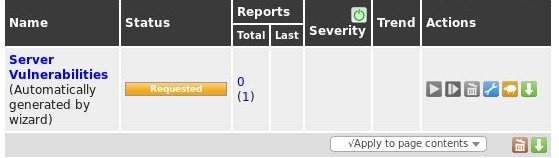
Once all relevant fields have been completed, scroll down and click on Create. This starts the scan and displays a summary of the scan details and status, as seen here:
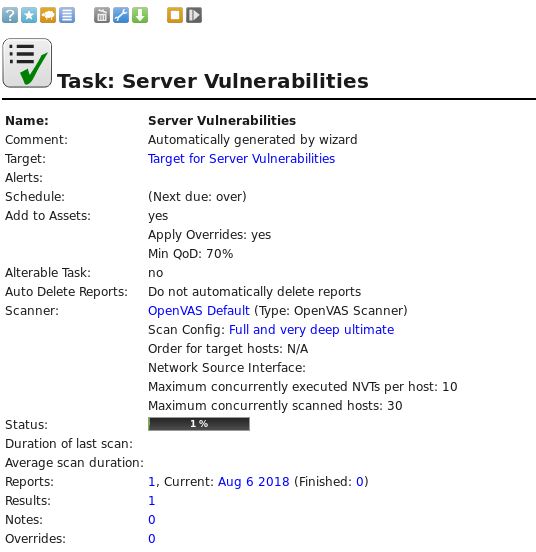
To view more details of the task, click on the task name within the Name field:
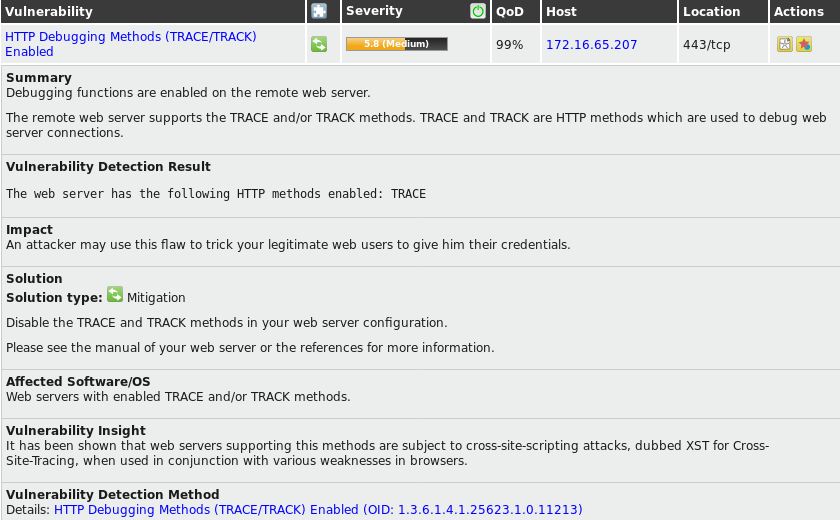
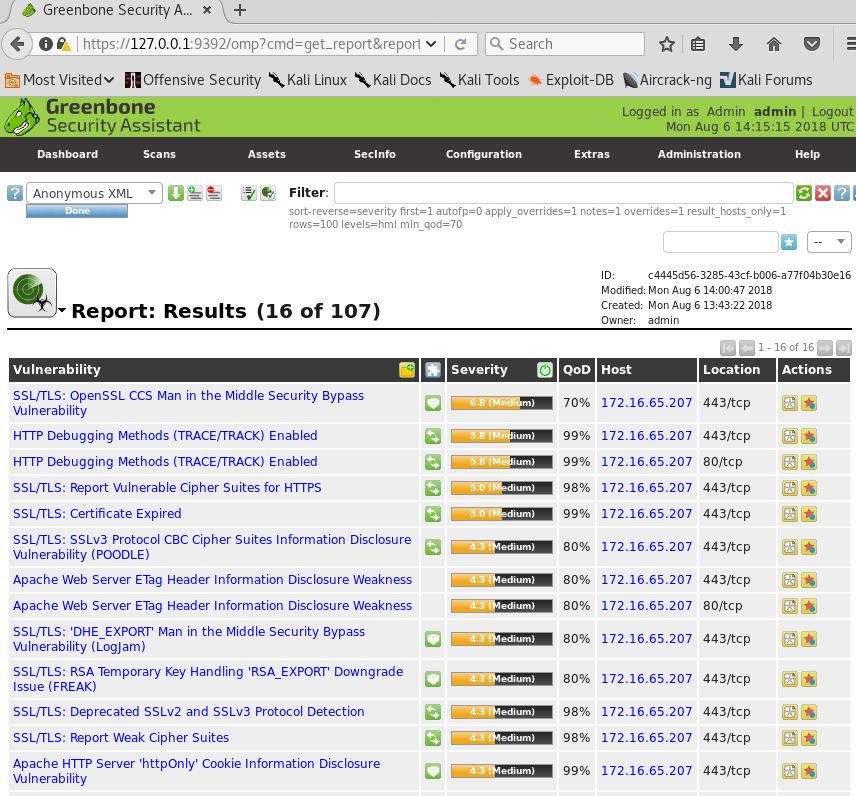
When the scan is complete, click on Done. This generates a report listing the vulnerabilities found, along with a severity rating for each one:
Clicking on each of the vulnerabilities listed shows more information, including a Summary, Impact, Solution, Affected Software/OS, and other insights, as shown in more detail in the following screenshot: