Table of Contents for
Magento 2 - Build World-Class online stores
 Magento 2 - Build World-Class online stores
Published by
Packt Publishing, 2017
Magento 2 - Build World-Class online stores
Published by
Packt Publishing, 2017
- Cover
- Table of Contents
- Magento 2 - Build World-Class online stores
- Magento 2 - Build World-Class online stores
- Credits
- Preface
- 1. Module 1
- 1. Magento Fundamentals
- XAMPP installation
- Magento
- Summary
- 2. Magento 2.0 Features
- An introduction to the Magento order management system
- Magento 2.0 command-line configuration
- The command-line utility
- Summary
- 3. Working with Search Engine Optimization
- Store configuration
- SEO and searching
- SEO catalog configuration
- Google Analytics tracking code
- Optimizing Magento pages
- Summary
- 4. Magento 2.0 Theme Development – the Developers' Holy Grail
- Magento 2.0 theme structure
- The Magento Luma theme
- Magento theme inheritance
- CMS blocks and pages
- Custom variables
- Creating a basic Magento 2.0 theme
- Summary
- 5. Creating a Responsive Magento 2.0 Theme
- Composer – the PHP dependency manager
- Building the CompStore theme
- CSS preprocessing with LESS
- Applying new CSS to the CompStore theme
- Creating the CompStore logo
- Applying the theme
- Creating CompStore content
- Customizing Magento 2.0 templates
- Summary
- 6. Write Magento 2.0 Extensions – a Great Place to Go
- Using the Zend framework
- Magento 2.0 extension structure
- Developing your first Magento extension
- The Twitter REST API
- The TweetsAbout module structure
- Using TwitterOAuth to authenticate our extension
- Developing the module
- Summary
- 7. Go Mobile with Magento 2.0!
- Adjusting the CompStore theme for mobile devices
- The Magento 2.0 responsive design
- The Magento UI
- Implementing a new CSS mixin media query
- Adjusting tweets about extensions for mobile devices
- Summary
- 8. Speeding up Your Magento 2.0
- Indexing and caching Magento
- Indexing and re-indexing data
- The Magento cron job
- Caching
- Fine-tuning the Magento hosting server
- Selecting the right Magento hosting service
- Apache web server deflation
- Enabling the expires header
- Minifying scripts
- Summary
- 9. Improving Your Magento Skills
- Magento knowledge center
- Improving your Magento skills
- Summary
- 2. Module 2
- 1. Magento 2 System Tools
- Installing Magento 2 sample data via GUI
- Installing Magento 2 sample data via the command line
- Managing Magento 2 indexes via the command line
- Managing Magento 2 cache via the command line
- Managing Magento 2 backup via the command line
- Managing Magento 2 set mode (MAGE_MODE)
- Transferring your Magento 1 database to Magento 2
- 2. Enabling Performance in Magento 2
- Configuring Redis for backend cache
- Configuring Memcached for session caching
- Configuring Varnish as the Full Page Cache
- Configuring Magento 2 with CloudFlare
- Configuring optimized images in Magento 2
- Configuring Magento 2 with HTTP/2
- Configuring Magento 2 performance testing
- 3. Creating Catalogs and Categories
- Create a Root Catalog
- Create subcategories
- Manage attribute sets
- Create products
- Manage products in a catalog grid
- 4. Managing Your Store
- Creating shipping and tax rules
- Managing customer groups
- Configuring inventories
- Configuring currency rates
- Managing advanced pricing
- 5. Creating Magento 2 Extensions – the Basics
- Initializing extension basics
- Working with database models
- Creating tables using setup scripts
- Creating a web route and controller to display data
- Creating system configuration fields
- Creating a backend data grid
- Creating a backend form to add/edit data
- 6. Creating Magento 2 Extensions – Advanced
- Using dependency injection to pass classes to your own class
- Modifying functions with the use of plugins – Interception
- Creating your own XML module configuration file
- Creating your own product type
- Working with service layers/contracts
- Creating a Magento CLI command option
- 3. Module 3
- 1. Planning for Magento
- Technical considerations
- Global-Website-Store methodology
- Planning for multiple stores
- Summary
- 2. Managing Products
- Managing products the customer focused way
- Creating products
- Managing inventory
- Pricing tools
- Autosettings
- Related products, up-sells, and cross-sells
- Importing products
- Summary
- 3. Designs and Themes
- The concept of theme inheritance
- Default installation of design packages and themes
- Installing third-party themes
- Inline translations
- Working with theme variants
- Customizing themes
- Customizing layouts
- Summary
- 4. Configuring to Sell
- Payment methods
- Shipping methods
- Managing taxes
- Transactional e-mails
- Summary
- 5. Managing Non-Product Content
- Summary
- 6. Marketing Tools
- Promotions
- Newsletters
- Using sitemaps
- Optimizing for search engines
- Summary
- 7. Extending Magento
- The new Magento module architecture
- Extending Magento functionality with Magento plugins
- Building your own extensions
- Summary
- 8. Optimizing Magento
- Indexing and caching
- Caching in Magento 2 – not just FPC
- Tuning your server for speed
- Summary
- 9. Advanced Techniques
- Version control
- Magento cron
- Backing up your database
- Upgrading Magento
- Summary
- 10. Pre-Launch Checklist
- System configurations
- Design configurations
- Search engine optimization
- Sales configurations
- Product configurations
- Maintenance configurations
- Summary
- Index
Once the new theme is activated, it's time to handle the content by creating some options and configuring the products and categories.
To create new categories, you will need access the Admin area (http://localhost/packt/admin_packt) and follow this recipe:
- Navigate to the Products | Categories menu.
- Delete all the subcategories of Default Category by clicking on them and pressing the Delete Category button.
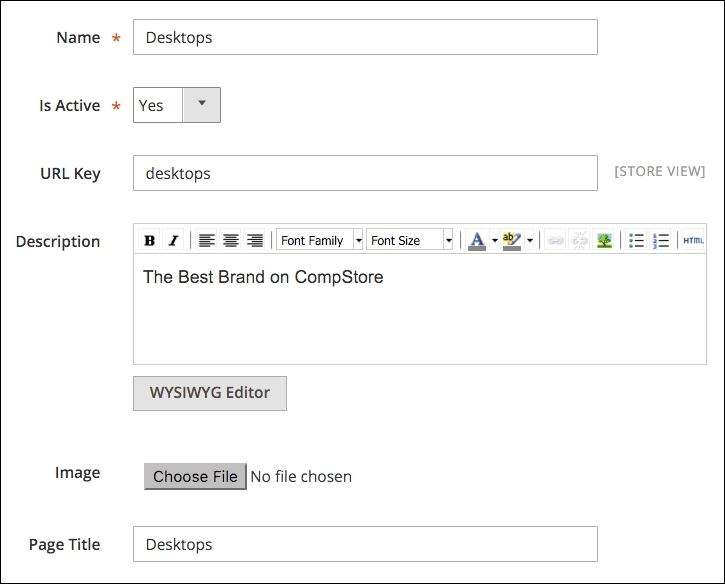
- Create three new subcategories of Default Category named Notebook, Desktops, and Peripherals. Be sure to set to Yes the Include in Navigation Menu option for each category.
In the Add Category option, you have option to fill the Description, Page Title, and Meta Information areas for SEO purposes, as shown in the following screenshot:
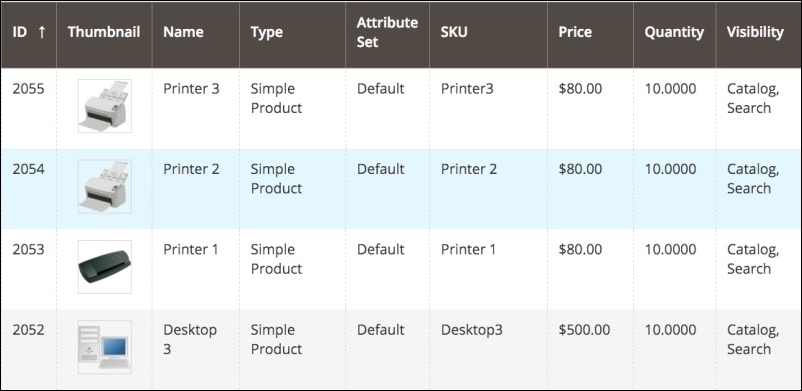
To create new products, you will need access to the Admin area (http://localhost/packt/admin_packt) and follow this recipe:
- Access the Admin area (
http://localhost/packt/admin_packt) and navigate to Products | Catalog. - Click on the Add Product button.
- In the New Product page, enter all the required Product Information input.
- Set the values of Price and Quantity categories.
- Choose an image to upload.
- Choose In Stock for the Stock Availability field.
- Choose Main Website in the Websites tab.
- Save your new product.
- You can add three to nine products for testing purposes.
Magento has a widget management system that allows the flexibility of the content. The widget helps create a specific list of new products in the home page. To create a new widget, follow these steps:
- Navigate to Content | Widgets
- Click on the Add Widget button
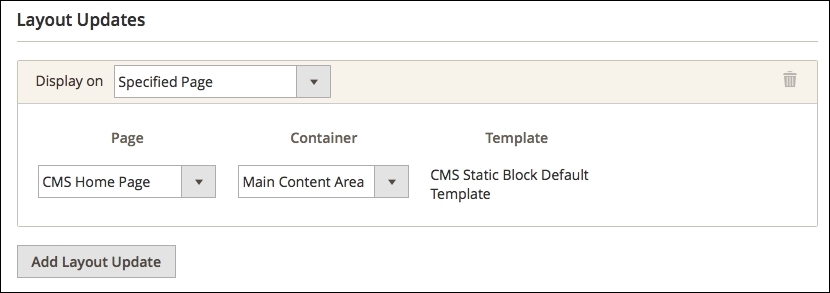
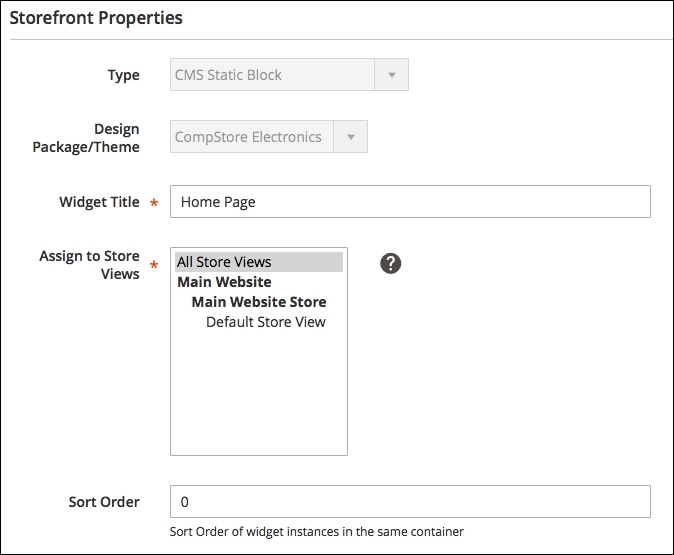
- Then, in the StoreFront properties, perform the following:
- For the Display on field, select the Specified Page option
- In the Page field, select the CMS Home Page option
- In the Container field, select the Main Content Area option
- The Template field should be CMS Static Block Default Template
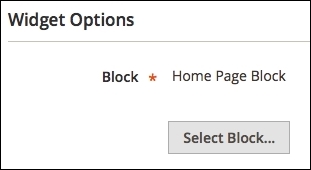
- In Widget Options, perform the following:
- Select Home Page Block.
- Then, click on the Save button.
The default block configuration contains the images and products of the Luma theme. Let's change it via the following steps:
- Navigate to Content | Blocks.
- Click to edit Home Page Block
- In the Content field, enter the following HTML code:
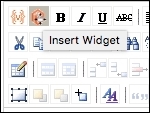
<div class="blocks-promo"> <a class="block-promo home-main" href="{{store url=""}}notebook.html"> <img src="{{media url="wysiwyg/home-main.jpg"}}" alt="" /> <span class="content bg-white"><span class="info">New Desktop available!</span> <strong class="title">New Brands</strong> <span class="action more button">Shop New Desktop</span> </span> </a> </div> <div class="content-heading"> <h2 class="title">New Products</h2> <p class="info">Here is what`s trending on CompStore now</p> - Position the cursor under the last line of the HTML code and click on the Insert Widget icon, as shown in the following screenshot:
- Select Catalog Products List as Widget Type.
- Select all the categories created earlier in the Conditions field.
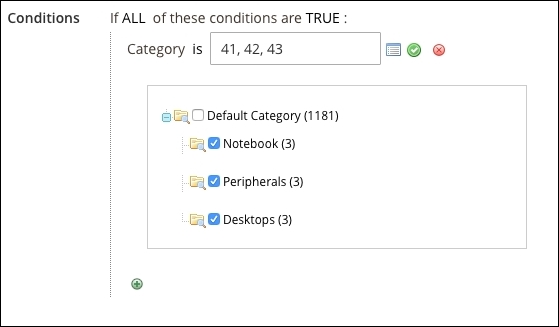
- Click on the Insert Widget button.
- If you prefer, you can change the image of the block.
- Finally, click on the Save Block button.
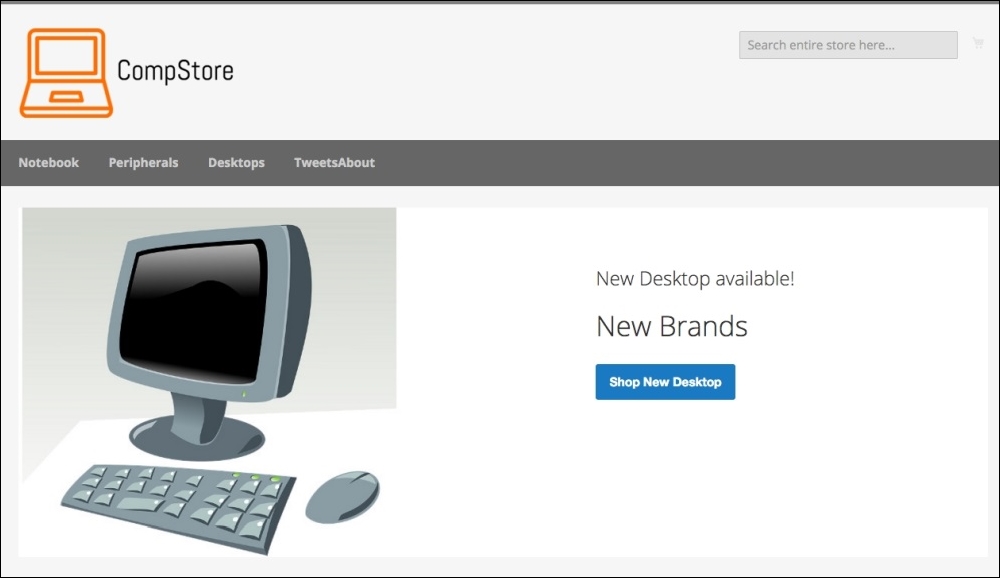
Go to the Home page to see the final result: