
- Go to Extend and install the Interface Translation module. It will prompt you to enable the Language, File, and Field modules to be installed, if they are not.
- After the module is installed, click on Configuration. Go to the Languages page under the Regional and Language section.
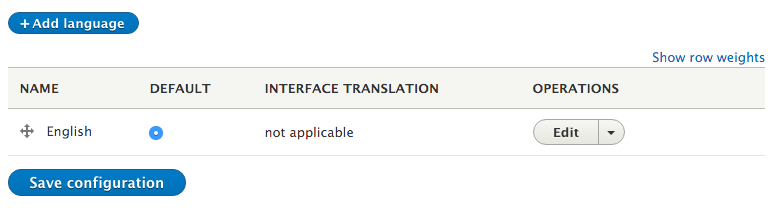
- Click on Add language in the languages overview table:
- The Add language page provides a select list of all available languages that the interface can be translated to. Select Spanish, and then click on Add language.
- A batch process will run, install the translation language files, and import them.
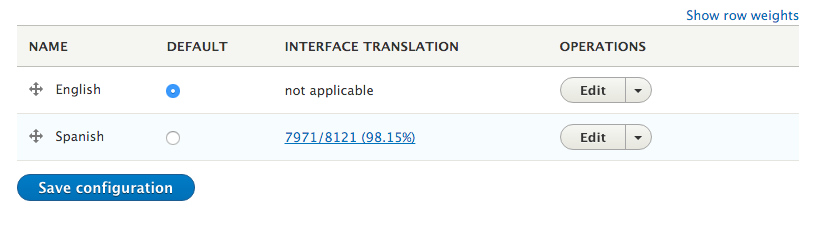
- The INTERFACE TRANSLATION column specifies the percentage of active translatable interface strings that have a matching translation. Clicking on the link allows you to view the User interface translation form:
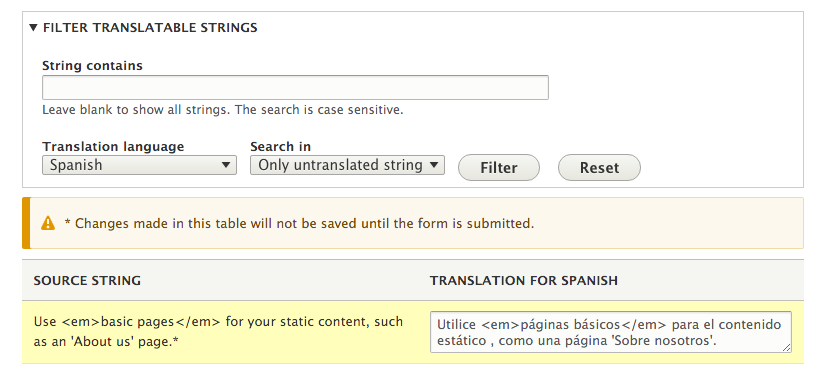
- The Filter Translatable Strings form allows you to search for translated strings or untranslated strings. Select Only untranslated strings from the Search in list and click on Filter.
- Using the textbox on the right-hand side of the screen, a custom translation can be added to Only untranslated strings. Type in a translation for the item:
- Click on Save translations to save the modification.
- Go to /es/node/add, and you will note that the Basic page content type description will now match your translation.