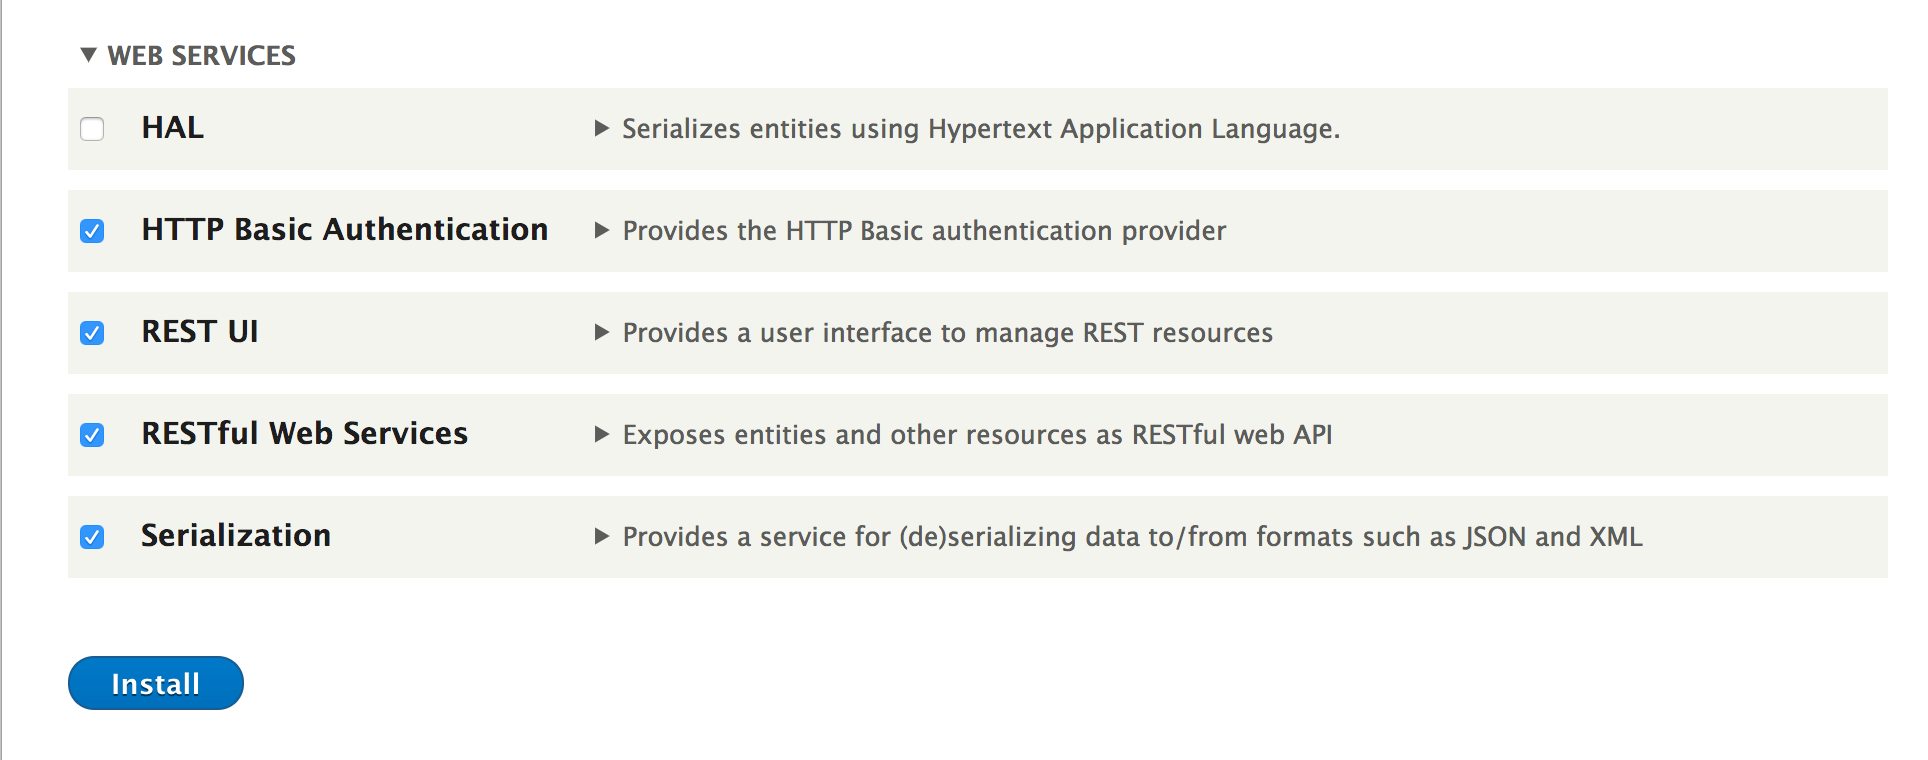
- Go to Extend from the administrative toolbar and install the following Web Services modules: Serialization, RESTful Web Services, REST UI, and HTTP Basic Authentication:
- Go to Configuration and click on REST under Web Services to configure the available endpoints.
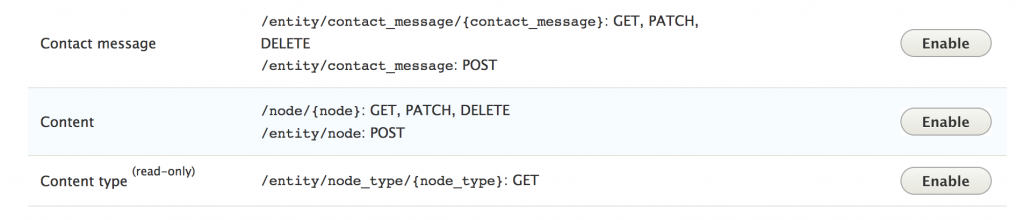
- Click on the Enable button for the Content row:
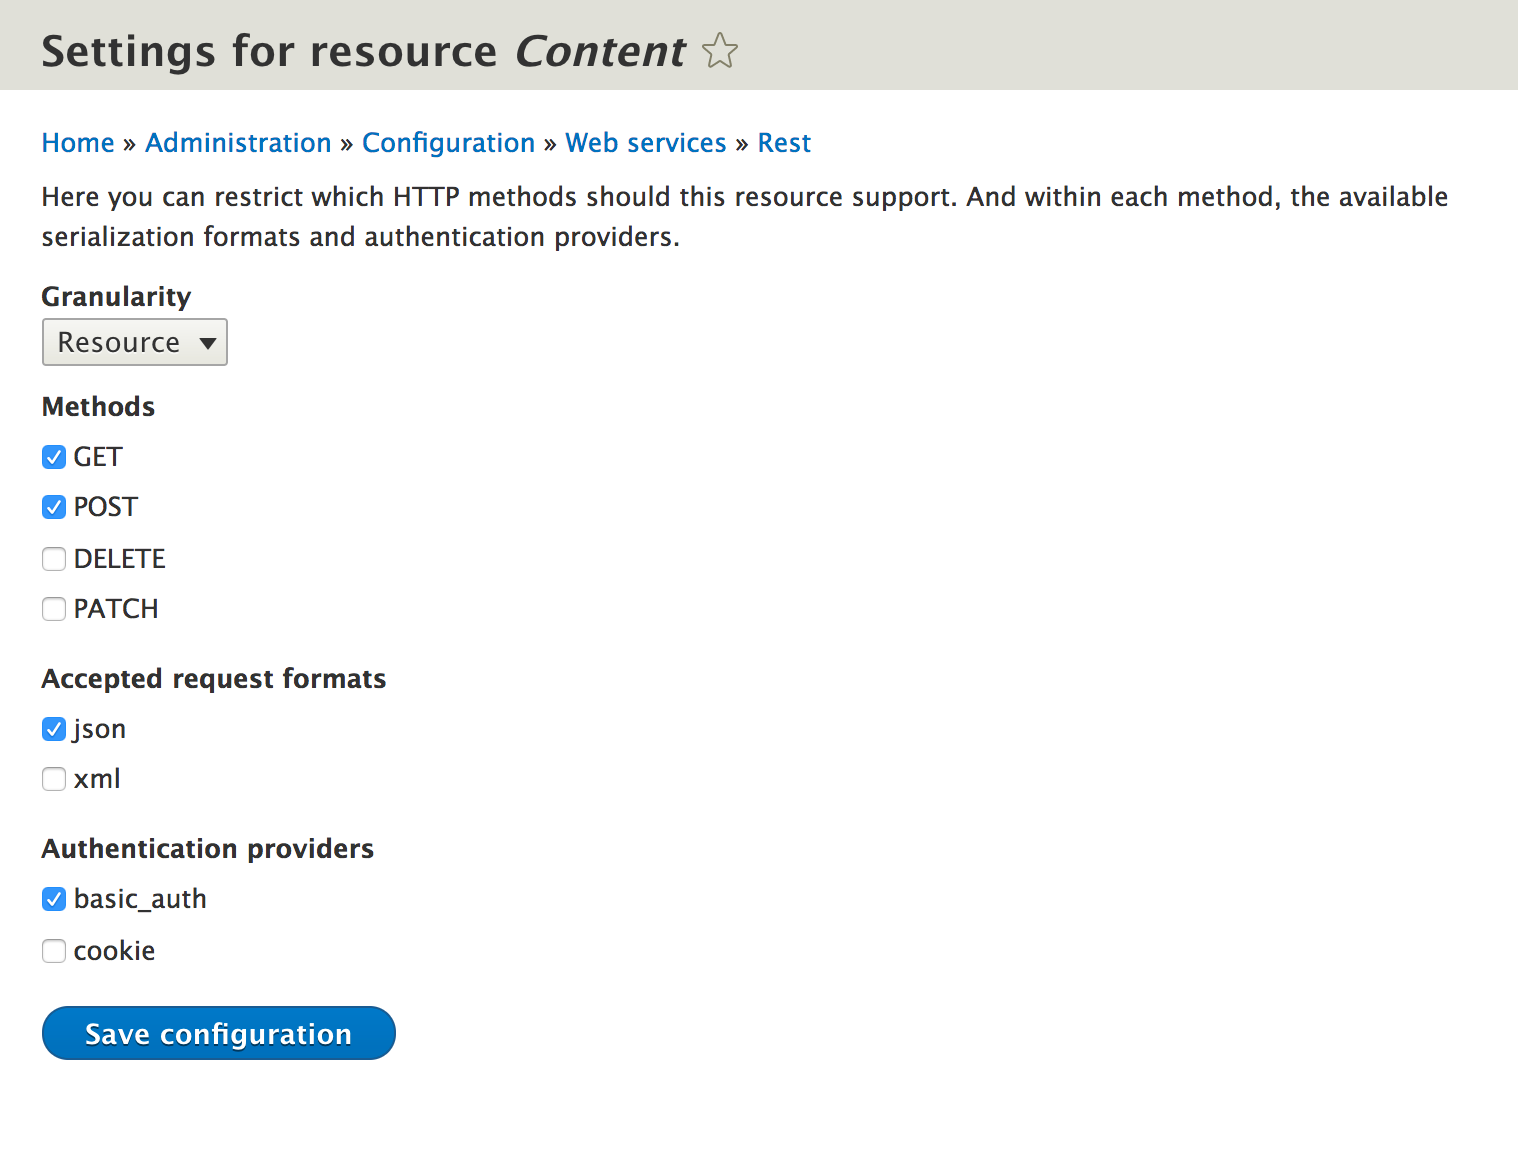
- With the endpoint enabled, it must be configured. Check the GET and POST methods checkbox to allow GET and POST requests. Then, check the json checkbox so that data can be returned as JSON. Check the basic_auth checkbox, and then save it:
- We create our JSON payload to match the field structure expected by Drupal:
{
  "type": "article",
  "status": {"value": true},
  "title": {"value": "Testing via REST!"},
  "body": {"value": "This article was created using a RESTful endpoint"}
}
- Before we send our JSON payload, we will need to retrieve a CSRF token. We do this by performing a GET request against /session/token. We'll use the returned value in our POST request header:
curl -X GET http://127.0.0.1:8888/session/token
- We can send the request containing our body payload to the /entity/node?_format=json endpoint path through an HTTP POST request to create our node. Ensure that you pass a valid user login where admin:admin is used:
curl -X POST \
  'http://127.0.0.1:8888/entity/node?_format=json' \
  -u admin:admin \
  -H 'content-type: application/json' \
  -H 'x-csrf-token: K5UW756_nWJxjX8Lt5NXXrE0xYSAqCn8MPKLbgE6Gps' \
  -d '{
  "type": "article",
  "status": {"value": true},
  "title": {"value": "Testing via REST!"},
  "body": {"value": "This article was created using a RESTful endpoint"}
}
'
- A successful request will return a 201 header code and the full values of the created node, including its identifier.
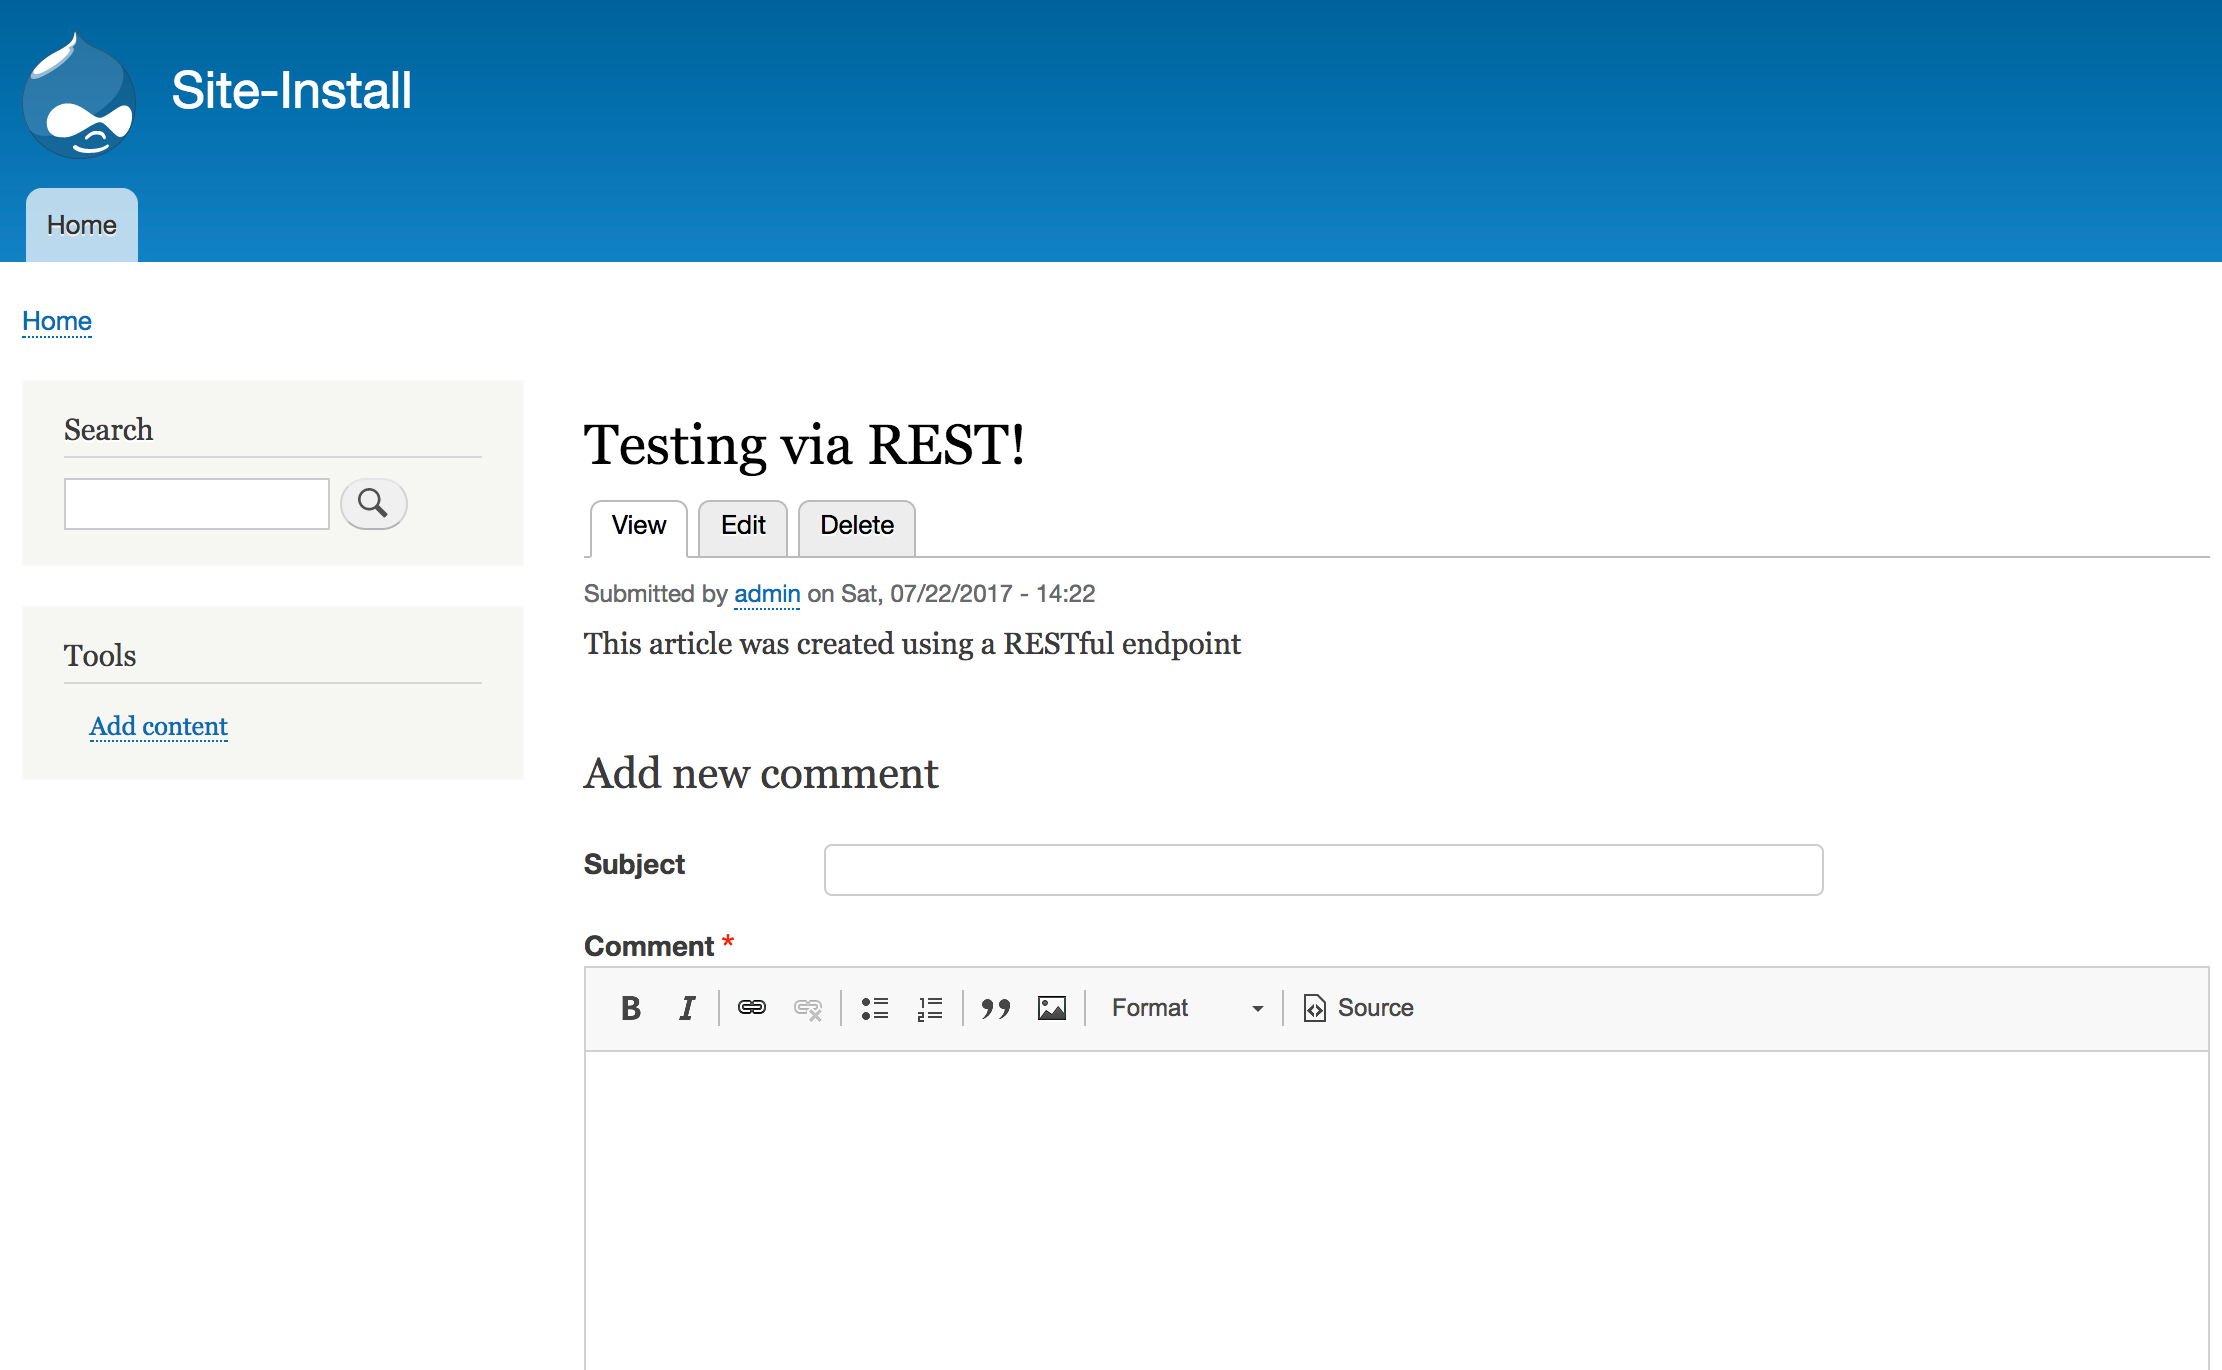
- View your Drupal site and verify that the node was created, by going to /node/{nid}, using the node ID from the request response: