
We'll investigate some issues with HTTP by looking at the error messages again and how to decrypt HTTPS (which is TLS now) traffic. This also works for SSL.
We'll download an example capture from the SampleCaptures section on the Wireshark wiki (https://wiki.wireshark.org/SampleCaptures). Once you go to the SampleCaptures page, go down to Specific Protocols and Protocol Families | HyperText Transport Protocol (HTTP):
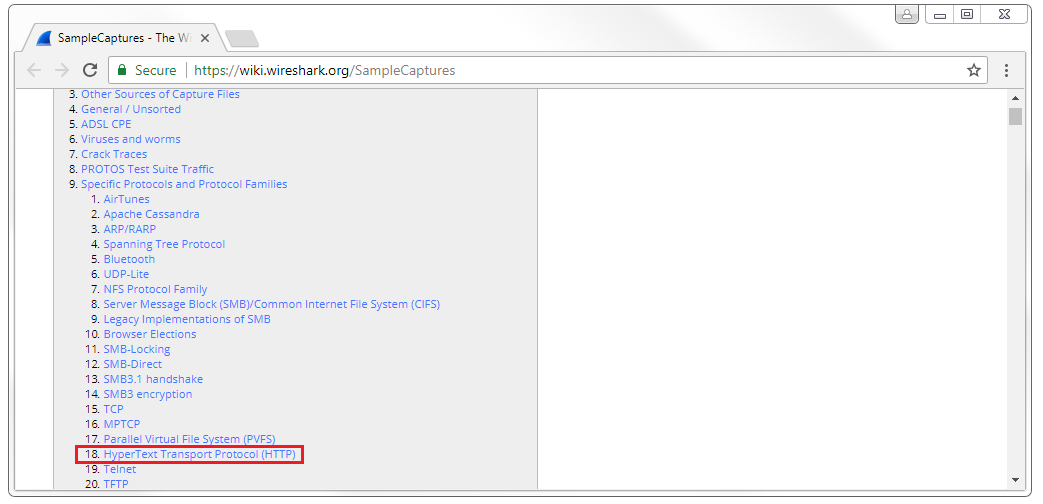
If you click on that, we'll have a list of some basic HTTP captures that we can look at. At the bottom it has a link to SSL with decryption keys, and we'll download the top link snake-oil2 070531.tgz file. All you'll need to do is extract that so that you can get to the files within.
When you open the cap file, you'll see that it's an older file. This is actually from somewhere around 2007, probably, so it's not a pcapng file. But it still opens up just fine in Wireshark. If we look at this, we see that we have a SYN; SYN, ACK; ACK with TCP, so there's our three-way handshake; and then we have an SSL Client Hello, an acknowledgment from the server, then the Server Hello acknowledgment. We start exchanging some key information for creating the SSL encryption; we share the cipher information; then we begin by actually encrypting the data after that. Here, we can see that we have an encrypted handshake and encrypted data. So we have this data that's encrypted, but we can't get to it. We have all this Application Data that you can see, and it is unreadable to us. If we expand any of this in SSL, it's just gibberish. So how do we see the HTTP within it? We need to decrypt it, and with Wireshark you can decrypt SSL or TLS traffic. However, you will need the private key from the server, so if you do not have access to the web server, you cannot do this. This is great if you're on a corporate network where someone's accessing a corporate resource that happens to be encrypted and you want to decrypt it. Well then, you have access to the server so you can retrieve the private key. If you want to do this over the internet, you have to get the private key from whoever's hosting it.
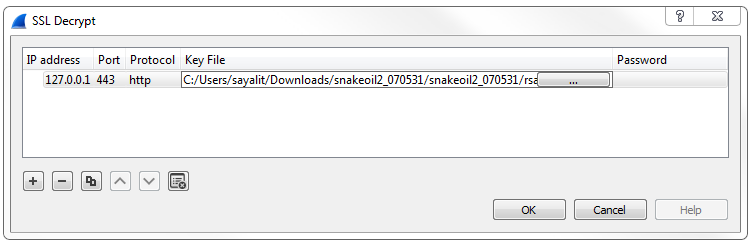
In order to set this up, we'll go to Edit | Preferences... | Protocols | SSL. You'll notice that TLS is not listed in the Protocols option. TLS falls under the SSL because TLS came about after SSL and was built off of SSL; it all falls under the SSL protocol section. So, we'll go to configure our RSA keys, the private keys, within the SSL protocol list—even if it is TLS that you're using. So what we'll do is click on Edit... and then the plus sign to add a new decryption key. What we'll do is add the IP address of our server. In this example, it was sanitized to 127.0.0.1, which is the localhost; it's just a loopback address. We'll define it as port 443 because we know this is HTTPS traffic that's using standard port 443, and we know that it's http traffic that's behind it. Then, we'll double-click on the Key File section and select our key. You can see in that extracted file we have the cap file, a README and the key file. We'll select the key file and then click on OK:
Now you'll see that the data has decrypted itself, so we no longer have all of these TLS protocol listings. It doesn't say Application Data; it actually shows us HTTP traffic now. We have now decrypted this. We still have the SSL protocol stuff up because that's actually SSL traffic. It's doing the handshake and exchanging the cipher information so it can encrypt; that's ok. The stuff at the bottom is what we cared about. So now we can actually do our display filter for http, and we can filter out just the HTTP communication. We can see that we have few problems in this packet capture. So, we have a GET request; it received a response from the server, saying: "I found that file." They then tried to get two more images over HTTP; they were downloading some images: it looks like the Debian logo and something else. Then, there was a response from the server, stating that the resource was not found. Here's that 404 message:
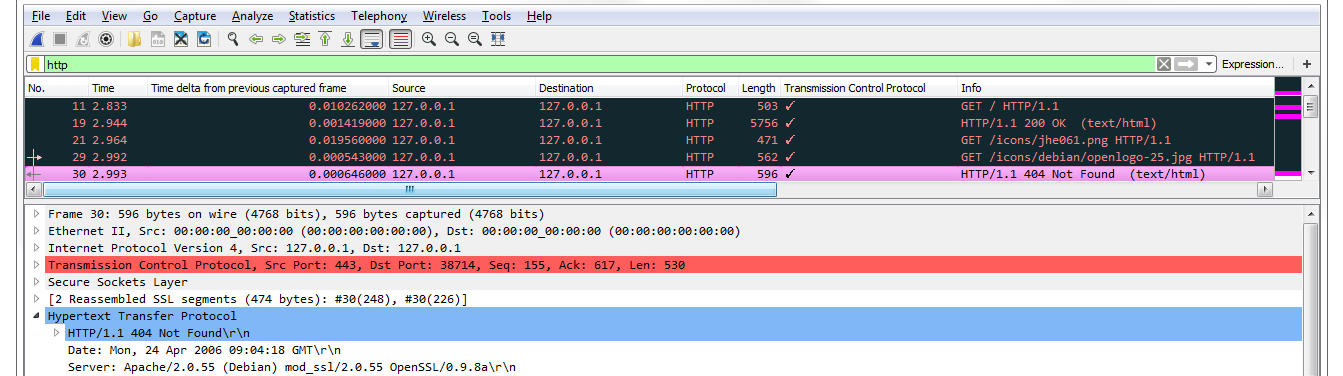
If we go in the packet details, we can see 404 in the HTTP option. You'll also see that it says "expert information". Go down to the bottom left, click on the circle icon, and it will provide you with all of the errors that are in this packet capture:
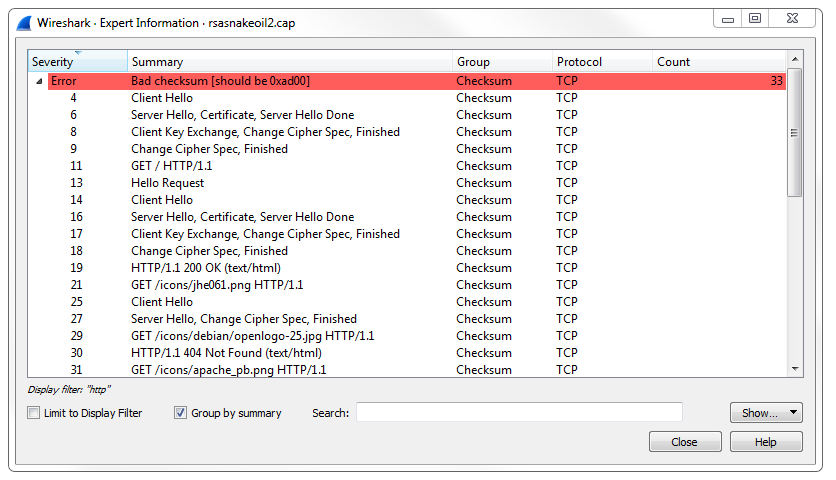
It pulls out HTTP errors along with anything that's of use.